
I am sooooooo excited about this card, it was requested by a friend for her niece who loves Rapunzel and pop-up storybooks and her Birthday Party colours will be pink and sparkles (Sparkles is a colour right?) so this card idea pretty much planned itself. It was a lot of work and there is a lot of detail so hopefully, I don’t miss anything in my directions.

to see other castle cards check this out https://mymessycraftroom.me/2018/08/13/hogwarts/
https://mymessycraftroom.me/2018/10/17/mermaid-birthday/
Click “Read More” to see more
Most of the cardstock is from Stampin’Up unless otherwise stated. All colours are listed throughout the directions 😀
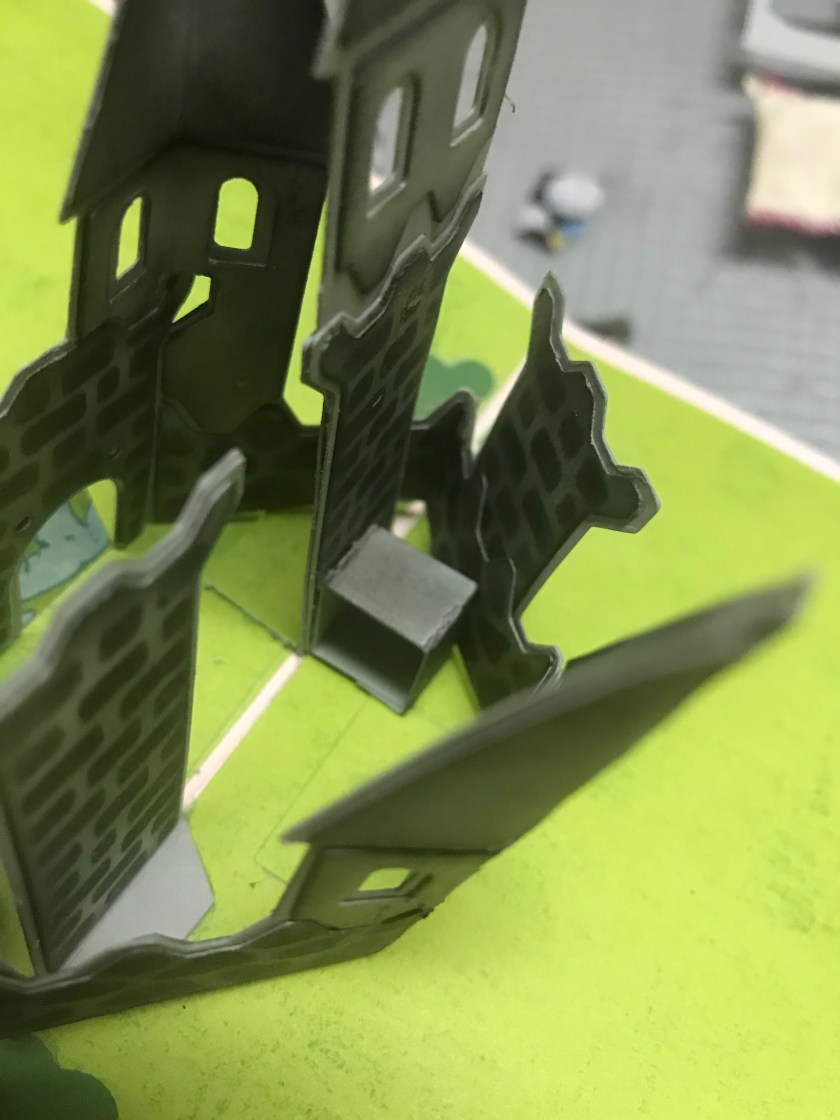
So I started this card by assembling the castle. The Castle die is a Karen Burniston die set. I cut all the pieces out of Going Gray cardstock and sponged the edges and the stencil of the bricks and stones with Basic Grey ink. I assembled most of the castle as per Karen’s directions https://youtu.be/LQ51iVHRkS8 I made a couple of changes. In Karen’s Video she only decorated the castle from the direction of viewing from the front, so only the front of the front wall and the front of the back wall are decorated, I like to decorate the front and backs of all the walls so you can see the bricks and the stone accents from all sides when viewing the card. I also added an extra tower. The tallest tower was created by adding the original tower and the roof peak from the castle wall. (Not my original idea I saw a posting a while back but sorry I didn’t keep track of the name will update if I ever find out) When adding all the brick and stone accents I added them to the castle before the castle was added to the card with the exception of two pieces. I held back on the pieces that cover where the castle attaches to the card, I added those 2 pieces after I attached the castle to the card to cover the cardstock that comes up from the card base, (see photo hard to describe)

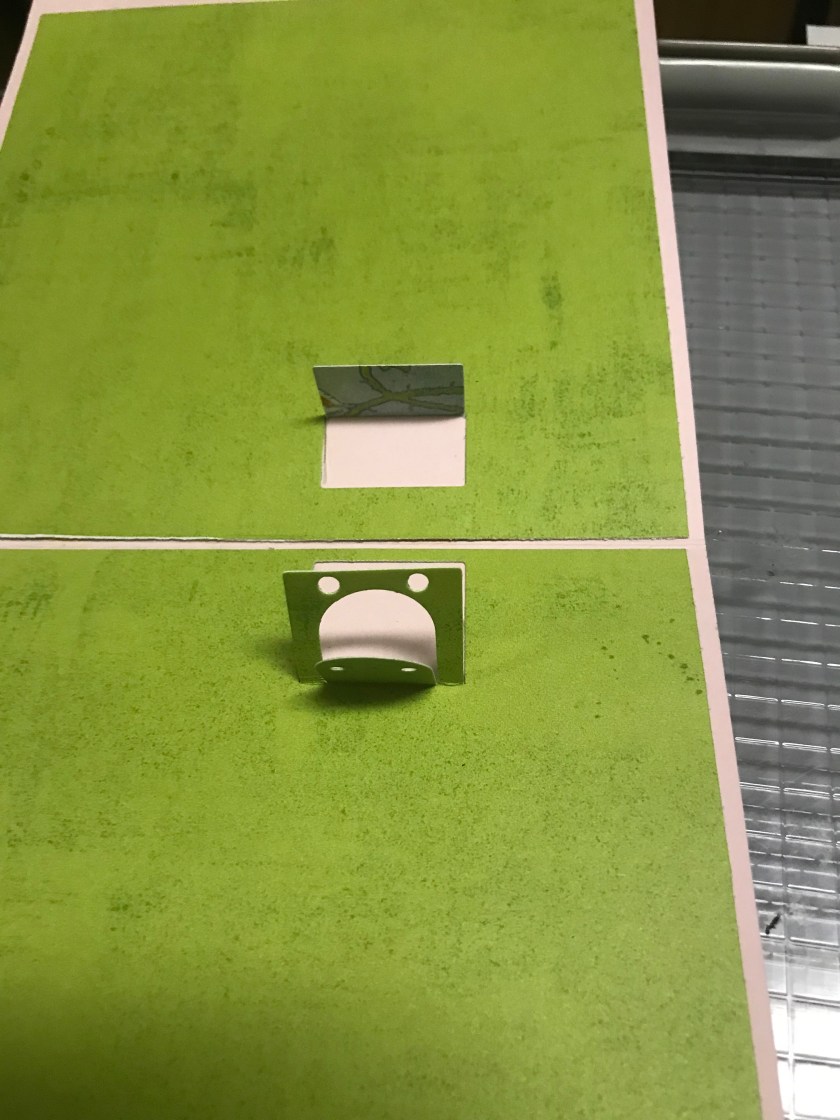
I also created a mini square pop-up base to support the extra tower as it leaned too far forward without the brace.

The card base was created using Pink Pirouette cardstock and a Green patterned paper from Kaleidoscope.
The inside- to finish off the inside I added white clouds and pink flags and a pink drawbridge to the castle (also included in the castle set). The Garden Green shrubbery was created by using the cloud dies.
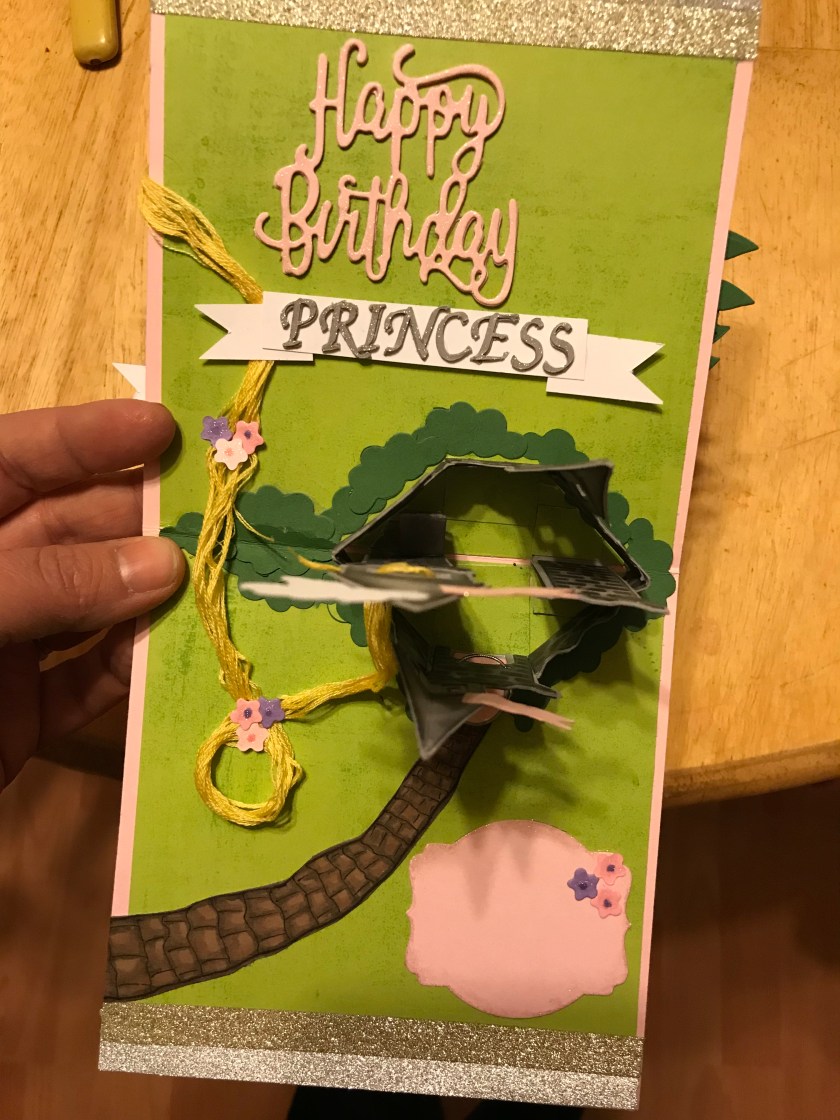
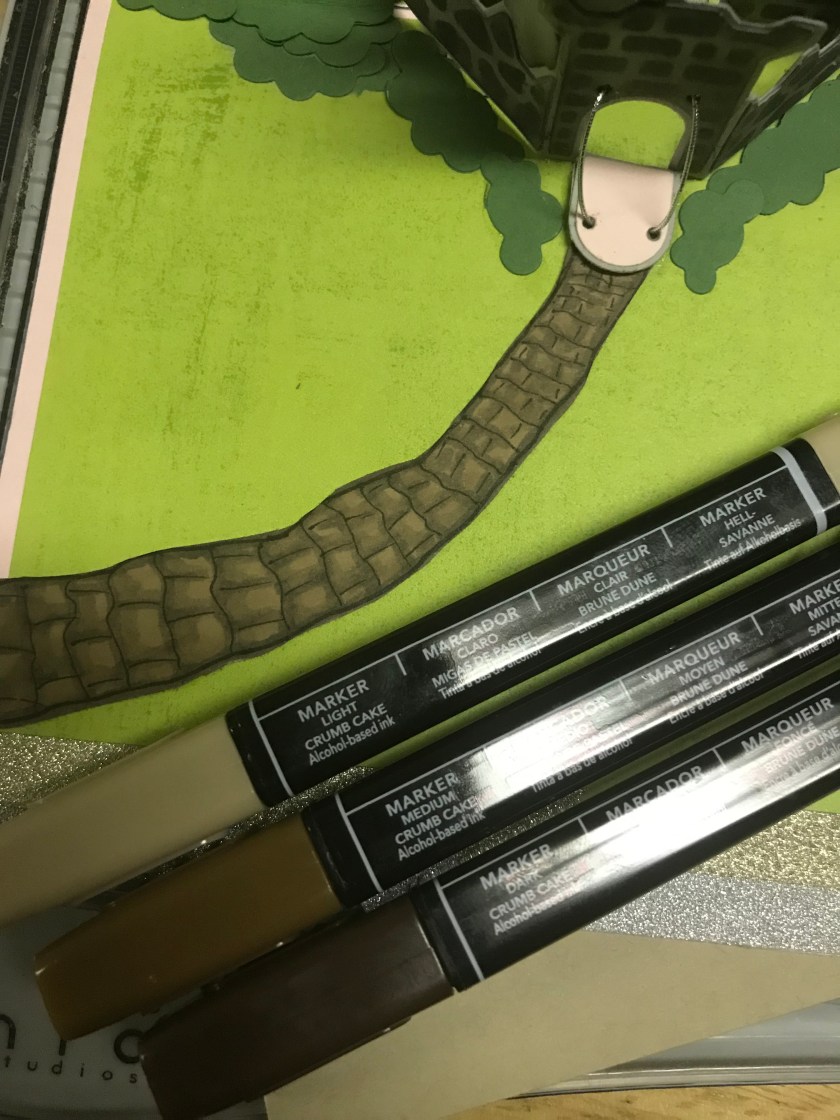
The road was hand drawn, hand cut, and coloured with alcohol markers.
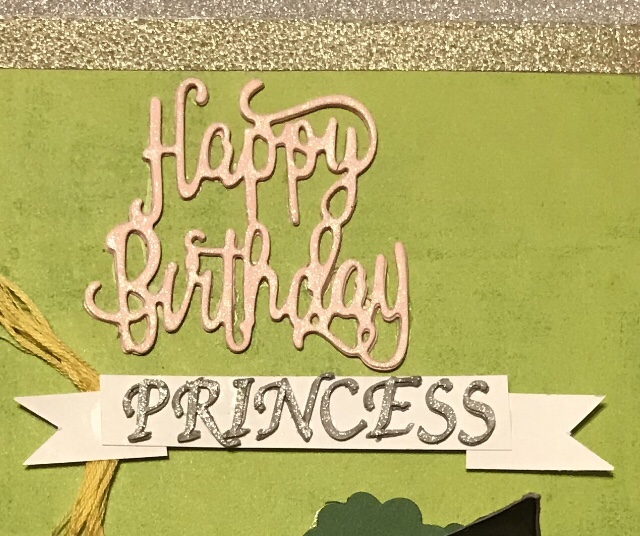
The Happy Birthday greeting was cut out with a die from my stash, I cut it out of Pink Pirouette cardstock three times and layered to give it some dimension, “Princess” was cut out of Going Gray card stock twice, using my Scan n Cut and then I added the letters to a hand cut banner.
The tag at the bottom was cut out with a Stampin Up die and it is there to sign.

I had silver and gold washi tape, now washi tape makes me nervous as it doesn’t always stick well so I used double-sided adhesive as a backup.
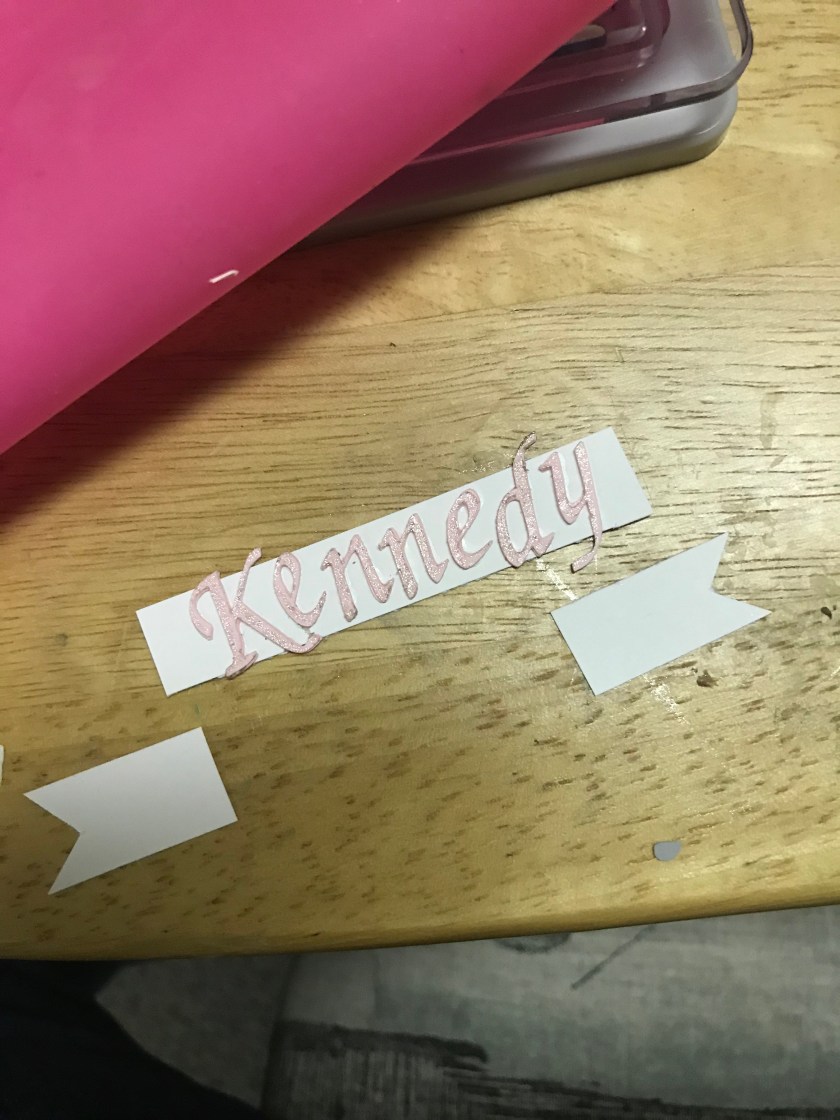
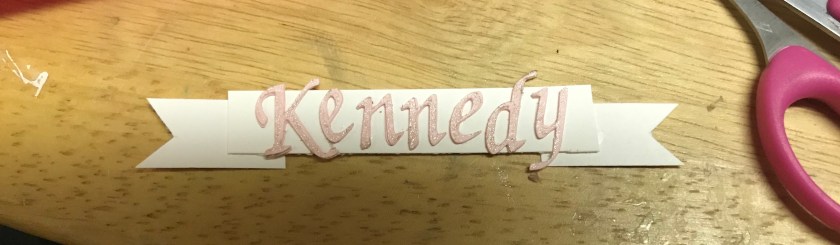
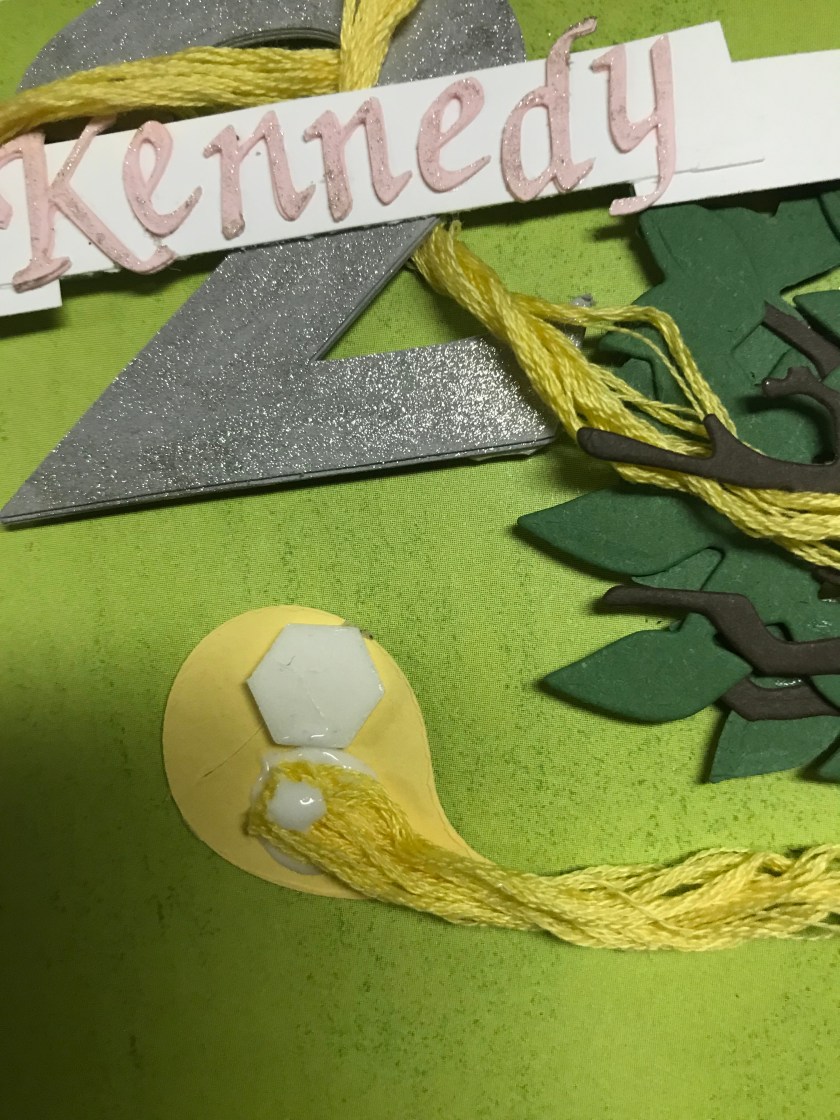
The front- The tree is from Karen Burnistons Tree Pop-Up die set (I cut out an extra branch and leaves). The 2 was cut out of Going Gray cardstock 3 times using my Scan n Cut and layered for dimension. Kennedy was also cut out with my Scan N cut twice and layered and added to a hand cut banner.
The 2 was added with Stampin Dimensionals and the Banner was added with a double layer of Stampin dimensionals. The Glitter border is a Walmart purchase.
And LAST but NOT least Rapunzel. Rapunzel was created using Karen Burnistons Princess and Mermaid die set. I used mostly retired colours- Lovely Lavender, Pretty in Pink, Blush Blossom, and So Saffron. I used yellow embroidery floss for her hair. I separated some of the threads so it wouldn’t appear too chunky. I started at her head and wrapped it around the tree, adding the extra branch and leaves, then up around the 2 back down to Rapunzel’s arm then it crosses over to the inside of the card, it goes under the princess banner, does a loop then up into the castle through the tower window.

I added Rapunzel to the card by using Stampin Dimensionals.

Some finishing touches are the little flowers in her hair, covering where I had to glue her hair to the card, I added a few flowers to the tag in the bottom inside corner. Wink Of Stella glitter pen played a huge part in this card, it may be hard to see but I added it to all the letters, the 2, the inside of the flowers, Rapunzel’s dress, the flags, the drawbridge door, and around the inside tag.


What a fabulous card, it’s beautiful xx
LikeLike