
Quick side note-Wordpress has changed some of their editing and formatting, and I’m still trying to figure it out, I can’t edit my links so there may not be as many of them. Also apologies over the overall look, there are spaces where there shouldn’t be and alignment is way off , not lovin the update, I had A LOT of difficulties tonight. Anyway, on with the show ….
This card was as fun to make as it was frustrating, if you read through you will see how even if you make mistakes along the way (and I made a few with this one) it is still possible to have a really great card in the end, just fix your mistake and move on to the next step. This card wouldn’t have been possible without this amazing video tutorial https://youtu.be/lvbe8unPQZE from Laura Dovalo https://www.youtube.com/user/ladovalo/videos. I recommend watching her video if you plan on making this card as it is a little tricky, but great interactive card at the end.
Continue Reading for all the fun details

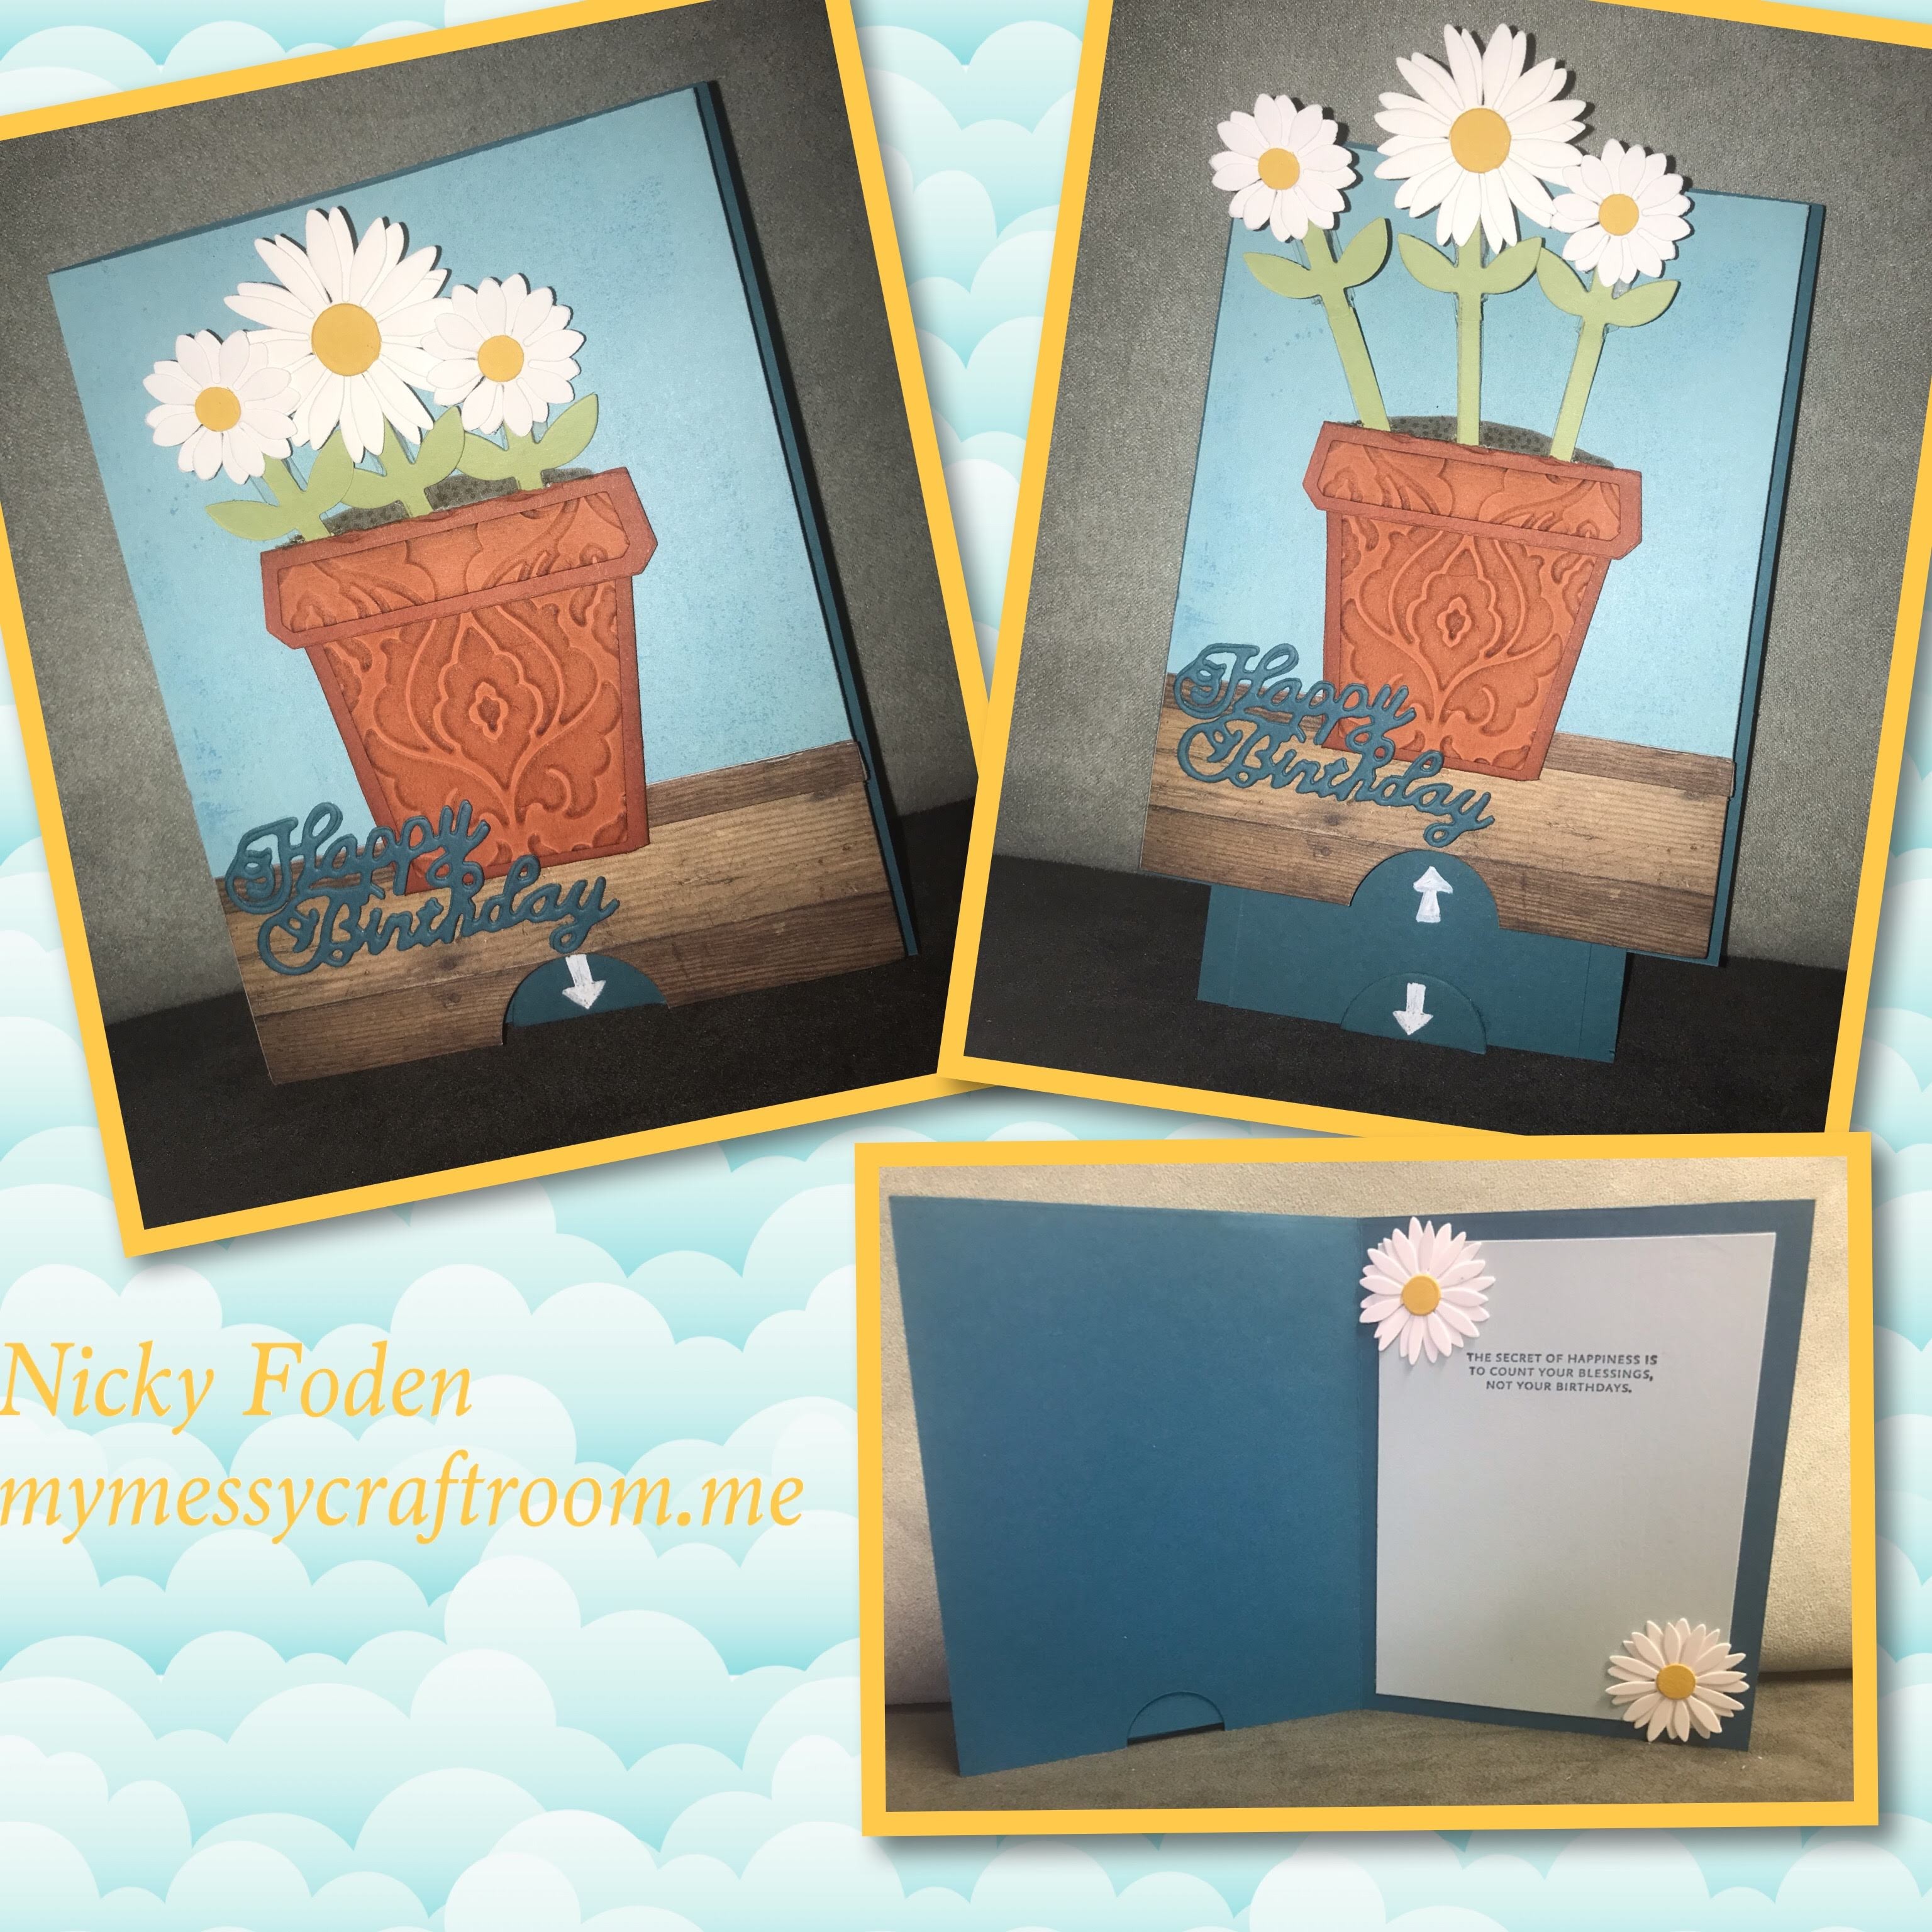
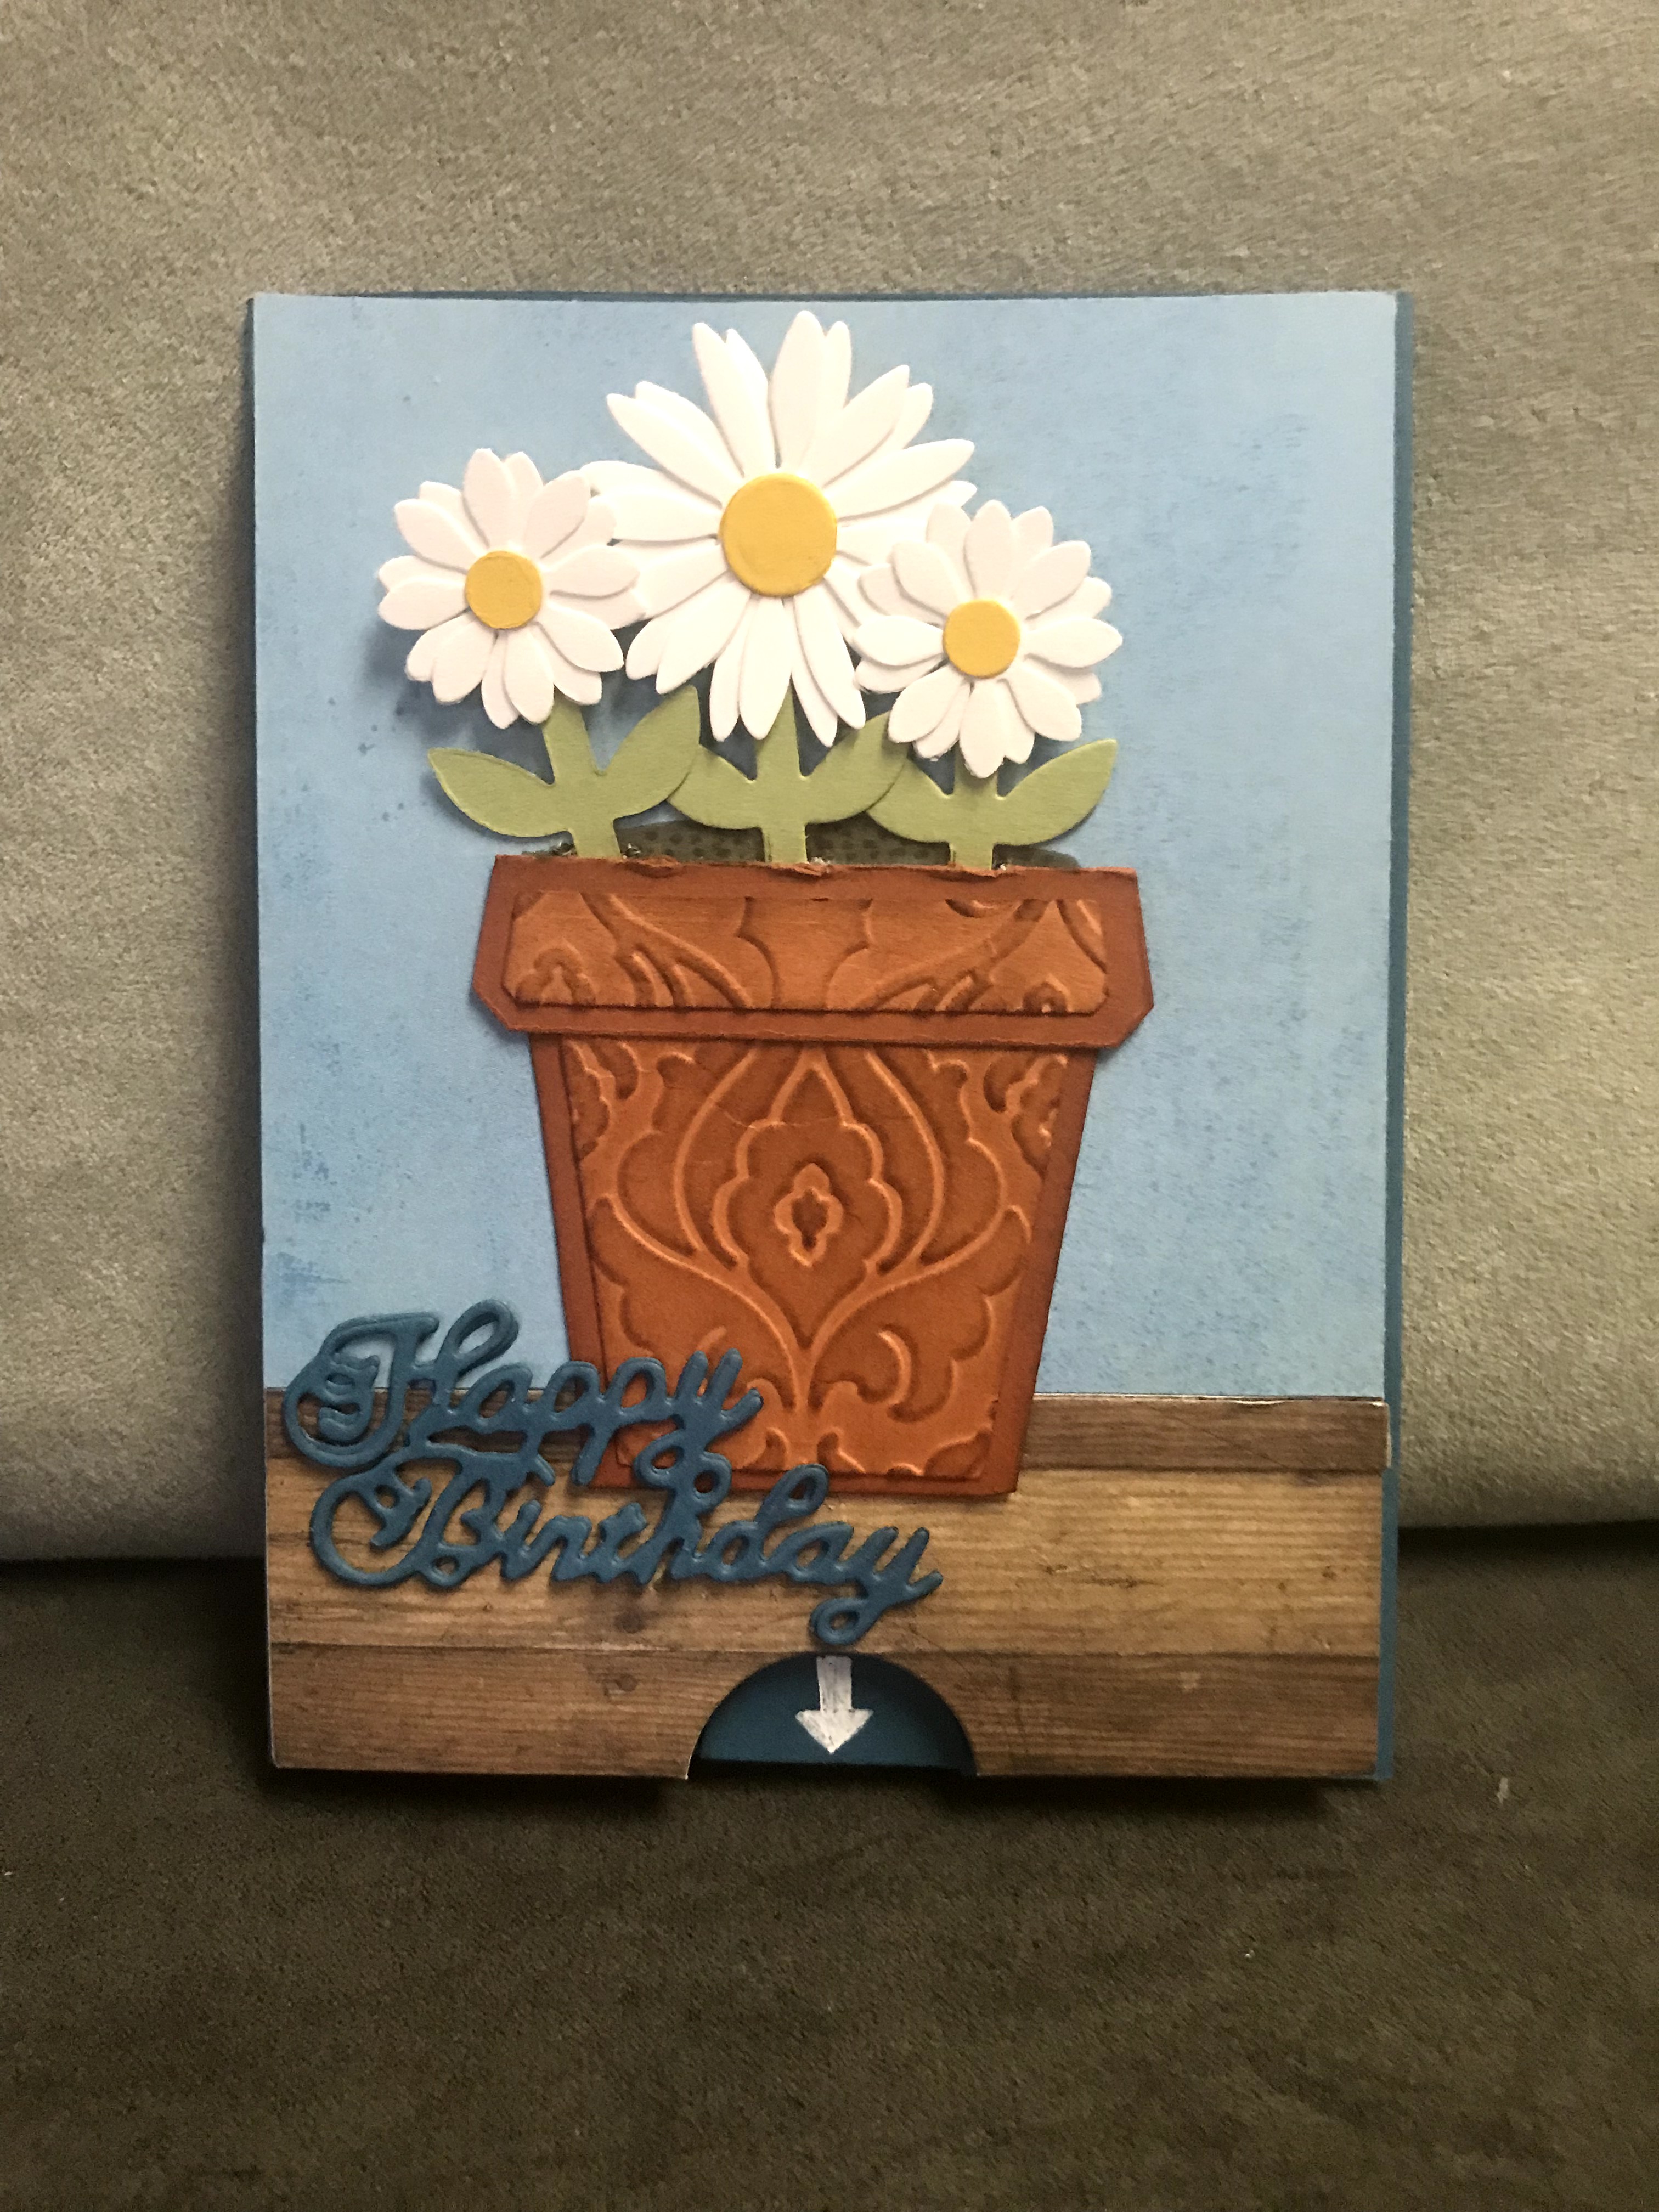
I started of by cutting out the flower pot from Karen Burniston’s Flower Pot Pop-up dieset https://karenburniston.com/flower-pot-pop-up-die-set/ I cut the bigger piece out of Cajun Craze cardstock and and the smaller pieces out of Really Rust (retired) both are Stampin UP colours.

I took the smaller pieces and ran them through my big shot with this Flourish embossing folder making sure to center it on one of the designs. I used a sponge and Cajun Craze ink to sponge the embossed image, I also sponged the edges of the all the pieces, including the large flower pot.

I wanted the flap to stay down so after I adhered all the piece together I glued the flap down and clamped it until the glue dried.

Just like in Laura’s directions I only partially cut out the stem and leaves so I can make the stems longer. These stems are from Karen Burnistons Upsy Daisy Pop-up die set https://karenburniston.com/upsy-daisy-pop-up/

I drew out the lines for the stems, I went longer than needed as it is easier to cut off the excess than it is to add more later.
I carefully trimmed the stems out with my paper trimmer


As per Laura’s directions I attached a piece of acetate to the back side of each of the three stems for stability. I left the acetate a little longer on the tops so there would be more to attach the daisy top to.
I cut a card front out of Going Grey cardstock. it is cut to 4′ x 5 1/4″

I started with a piece of sky paper that I trimmed to 4″ x 4 1/4″ and attached it to the top of the card front.
I cut a thin strip of the wood patterned paper. I wanted it to be a little darker so I dabbed it into Versa Mark ink
I cut a piece of wood grain paper to 4′ x 1/4″ and glued it to the bottom of the card front.


So along came mistake #1, I needed to cut a 1/2 circle out of the bottom where the pull tab would go, so I ran the whole card front through my bigshot with a small circle die and ended up creasing the whole top of the card front 😦
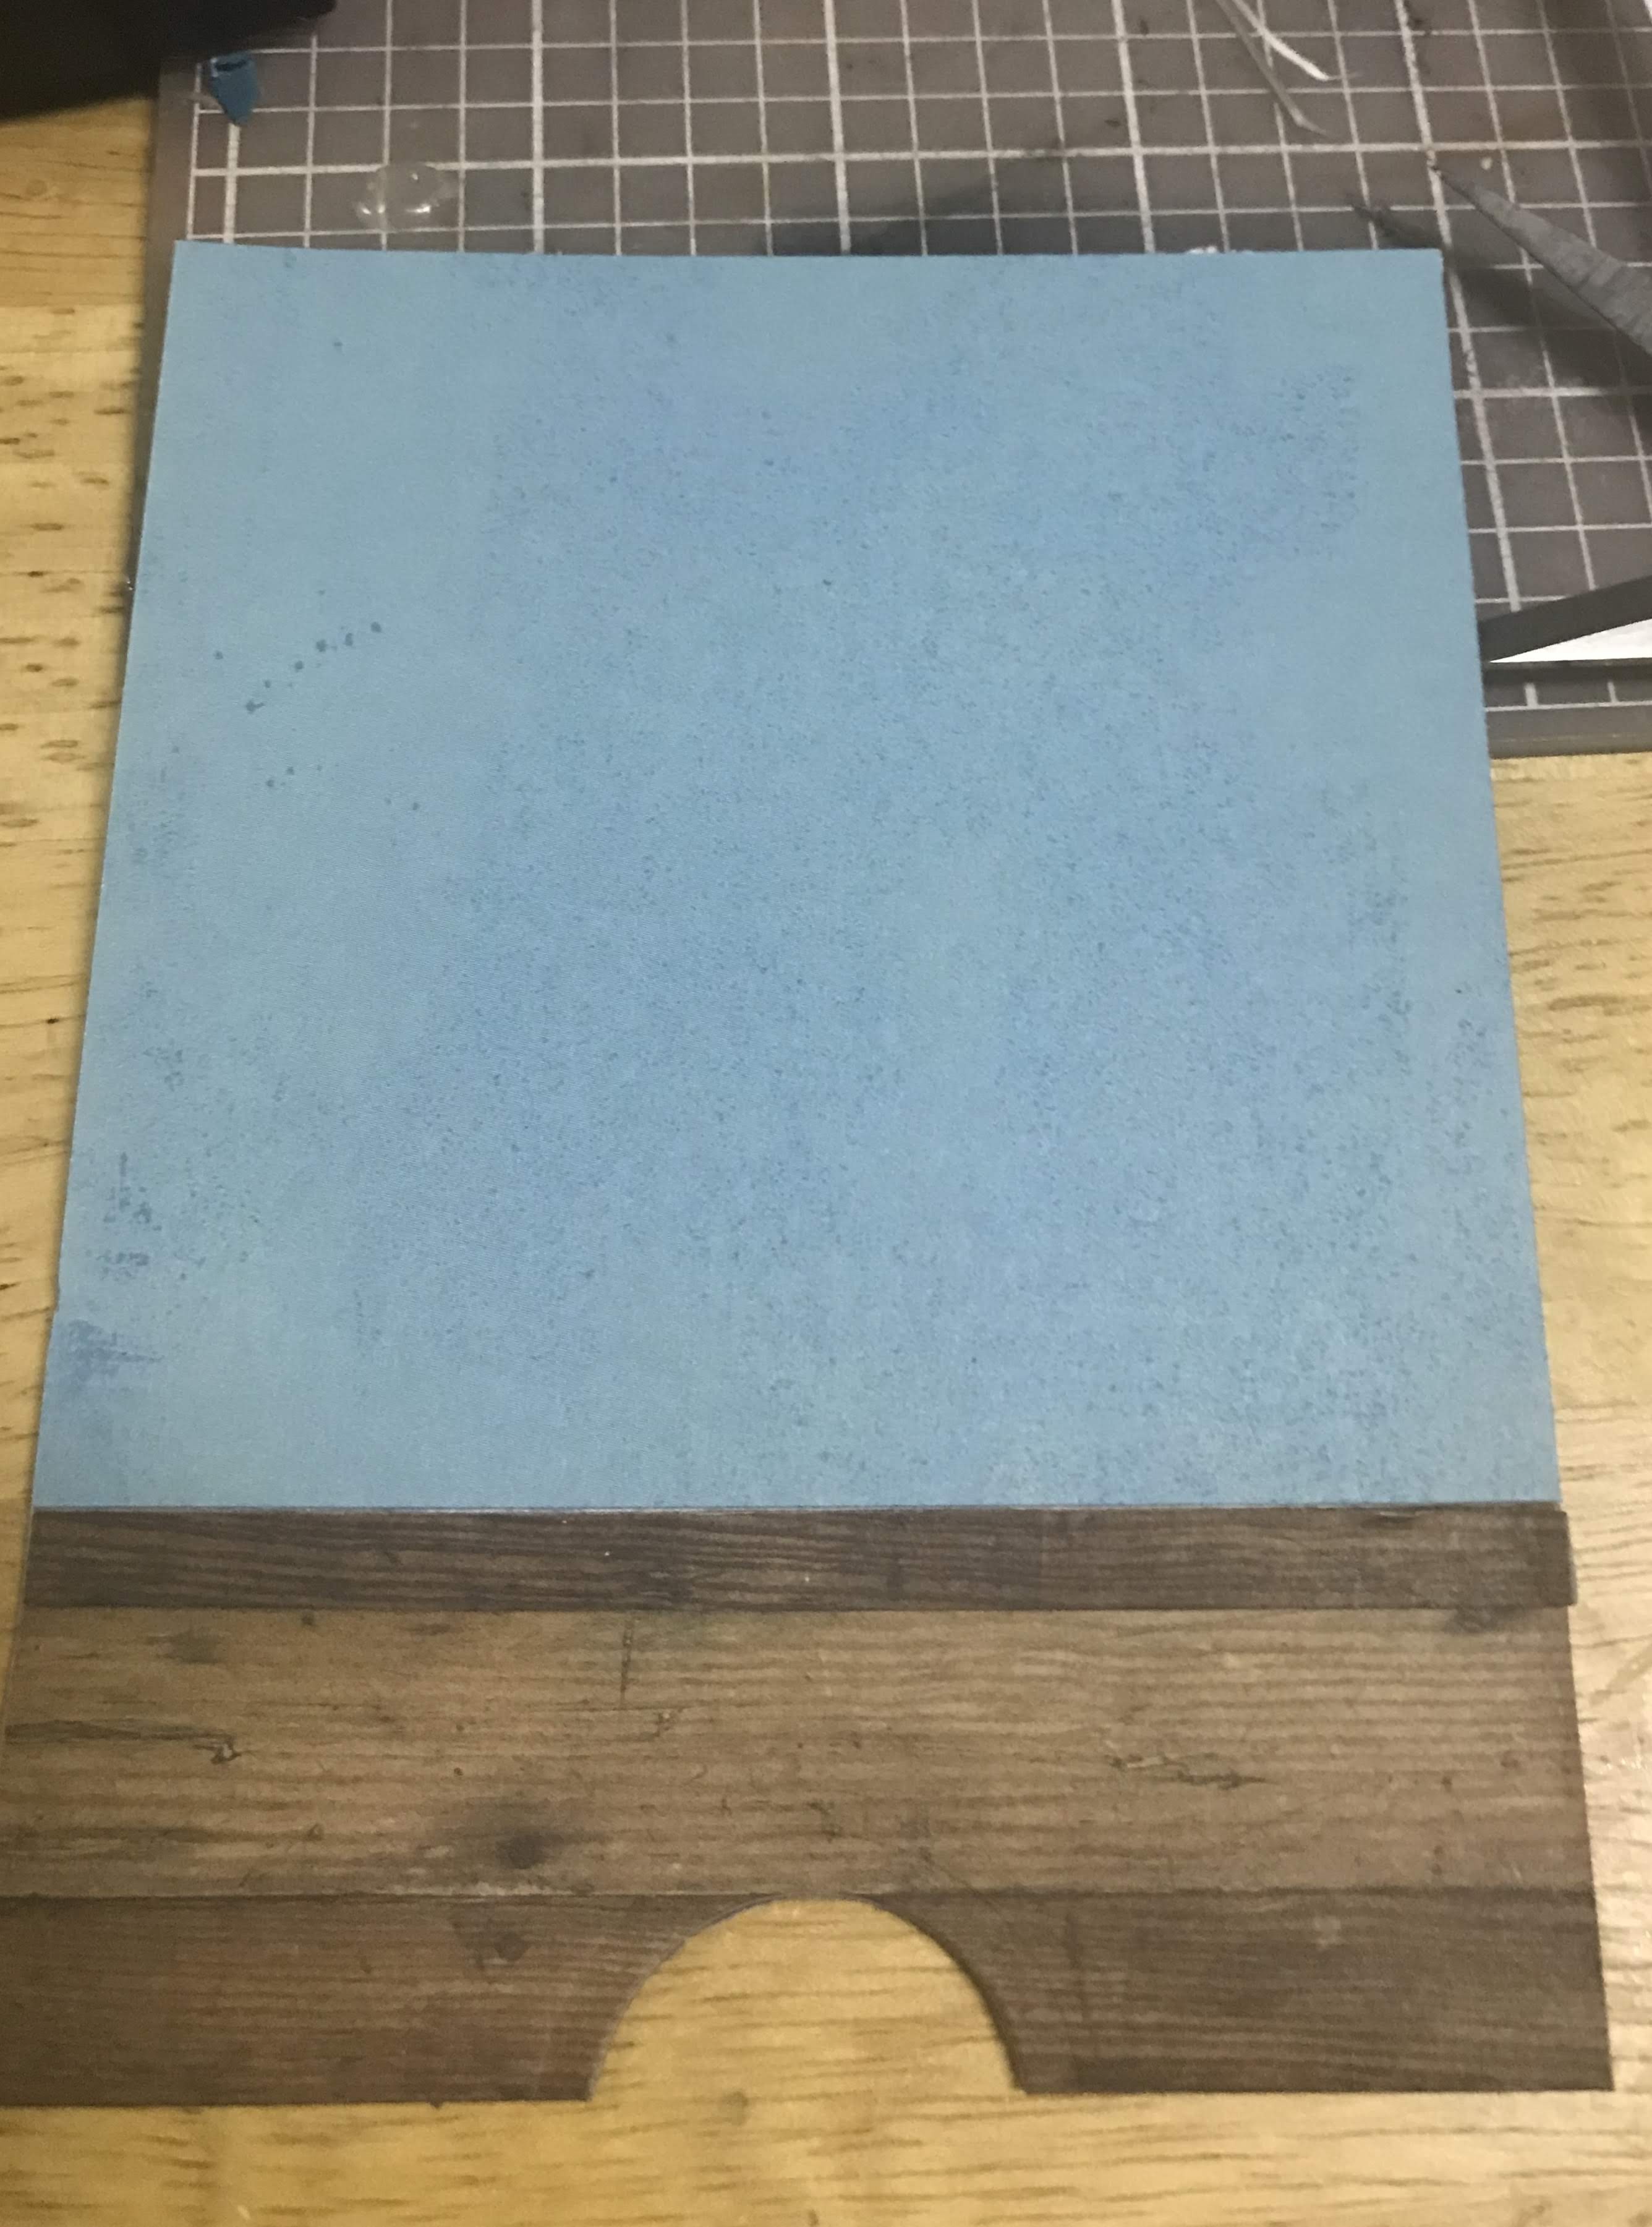
I didn’t think I had any sky paper left so I found a nice bright blue paper from my scrap bin and cut it to fit right over the sky piece.

I hand cut a little mound of dirt and adhered it to the card front along with the flower pot.

I cut three little slits in the mound of dirt, I tucked in the stems and gave them a test run and then I found mistake #2. with the mound of dirt the flowers didn’t go straight up they came forward on a strange angle so I popped off the flower pot and removed the dirt and saw that I had ripped the paper so I had to move the flower pot up higher to cover the rip.

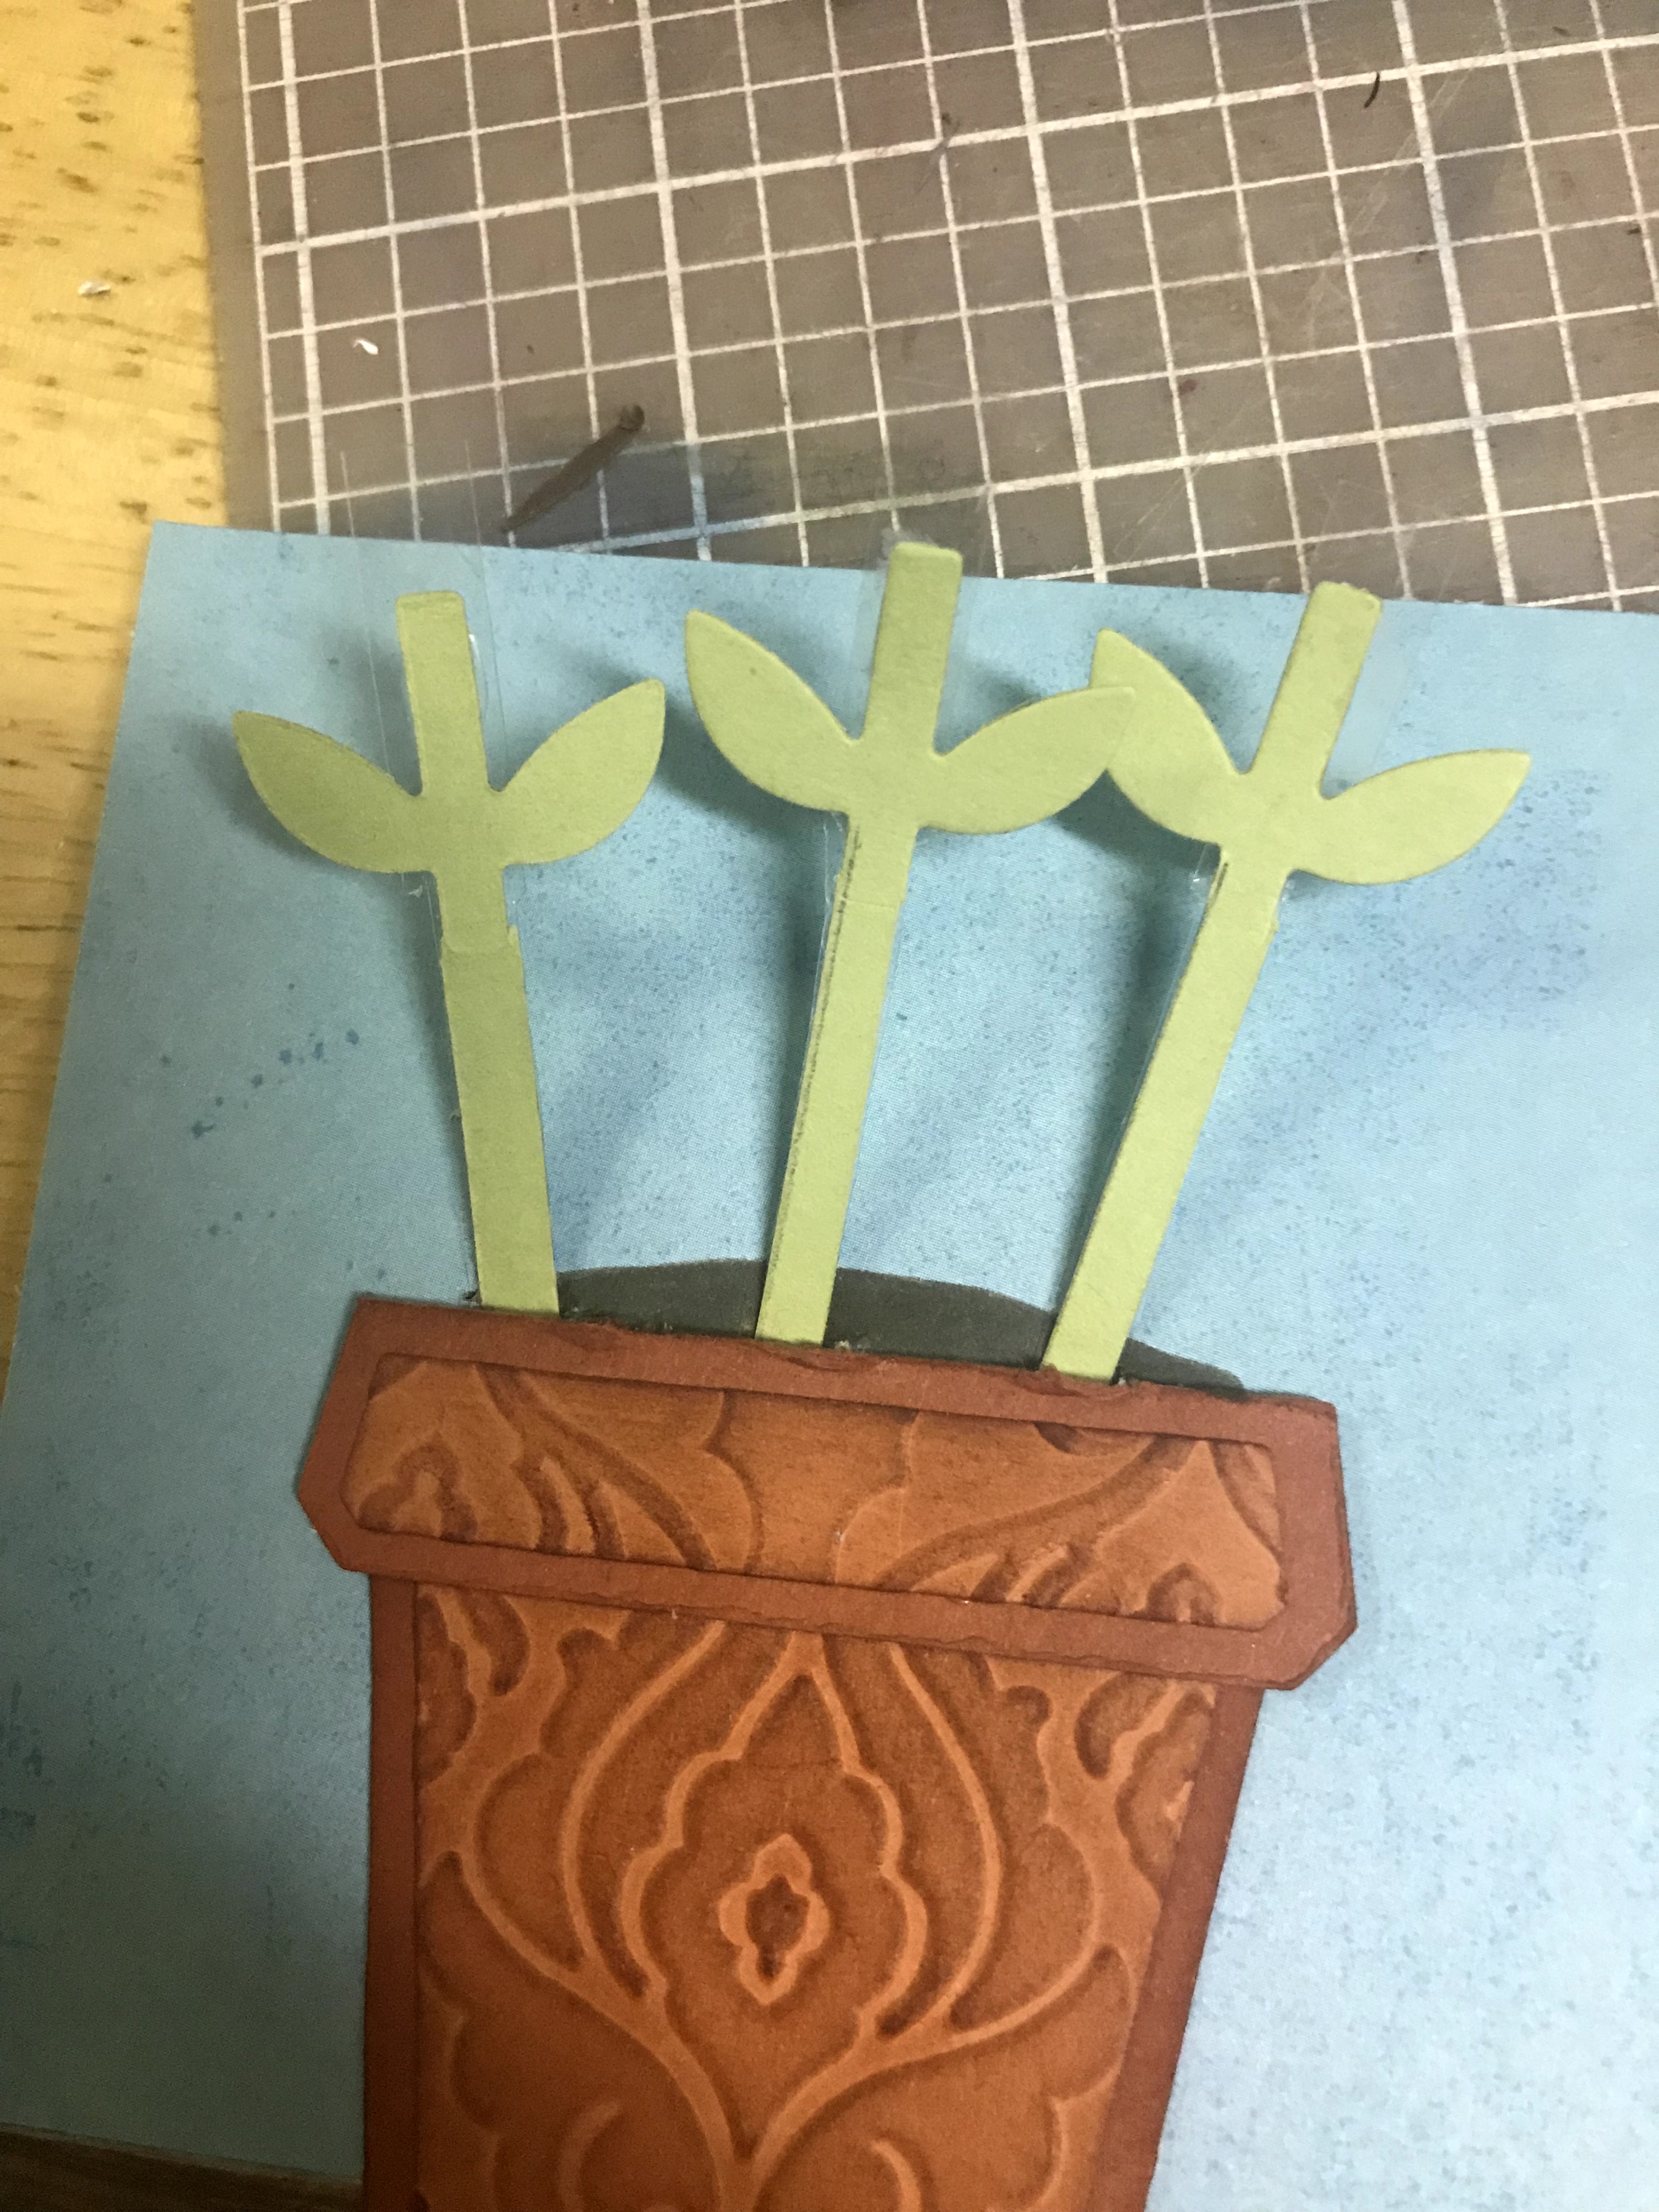
I decided to draw on the dirt with an Early Espresso marker.
I added the stems into the slits.

I wanted 3 nice big daisies so I cut out 6 daisies with 3 centers.


This is where I made mistake #3, the daisies were too big, when I pushed them up they were good, but when pulling down the petals would tangle.
so I swapped out the 2 outer daisies and traded them for the smaller daisies. The daisy dies come with flowerpot die set.
Now to work on the mechanism

I cut a piece of grey cardstock to 4″ x 5 1/4″ and drew pencil lines 1/2″ up all four sides.

As per Laura’s instructions I cut a track in by cutting the 1/2″ section off both ends. (see photo)
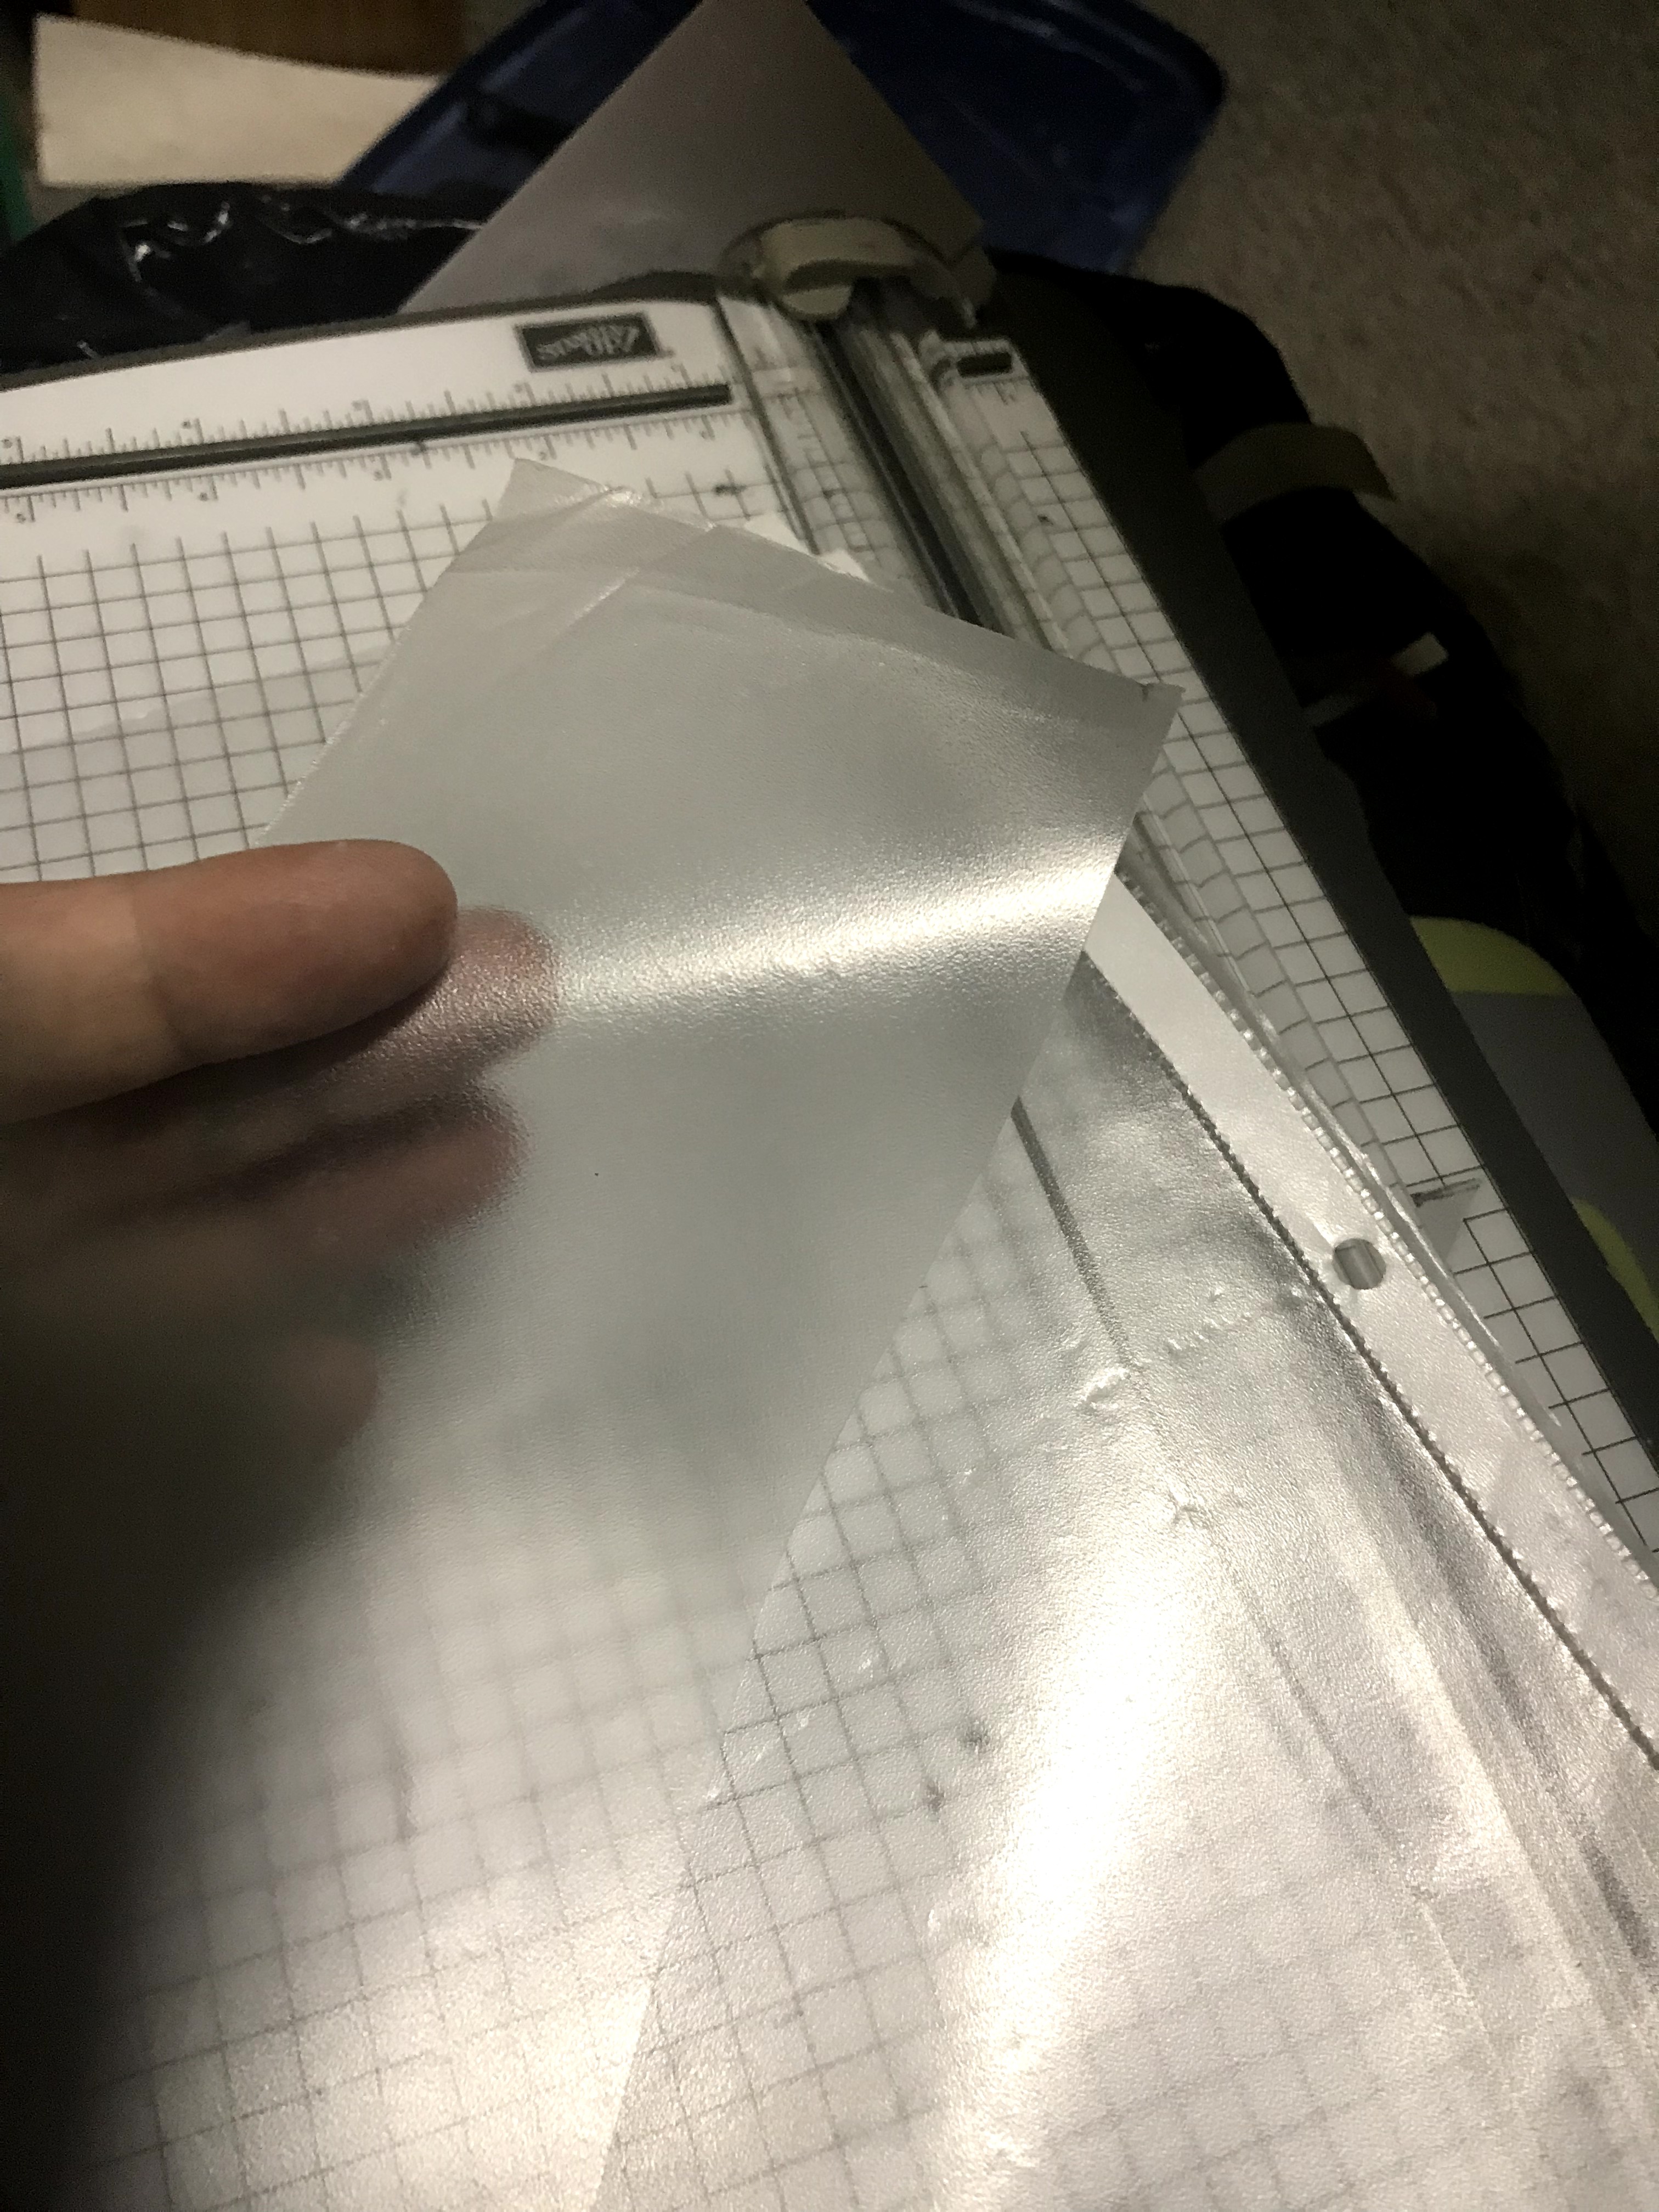
I cut an old page protector to be 3″ wide and kept it’s full length as I wasn’t sure how long I would need it to be.
I wrapped the page protector around the track of the cardstock. I used 2 pieces of sticky srtip to adhered the ends. Not too tight as it has to roll around the track and I cut the end off.

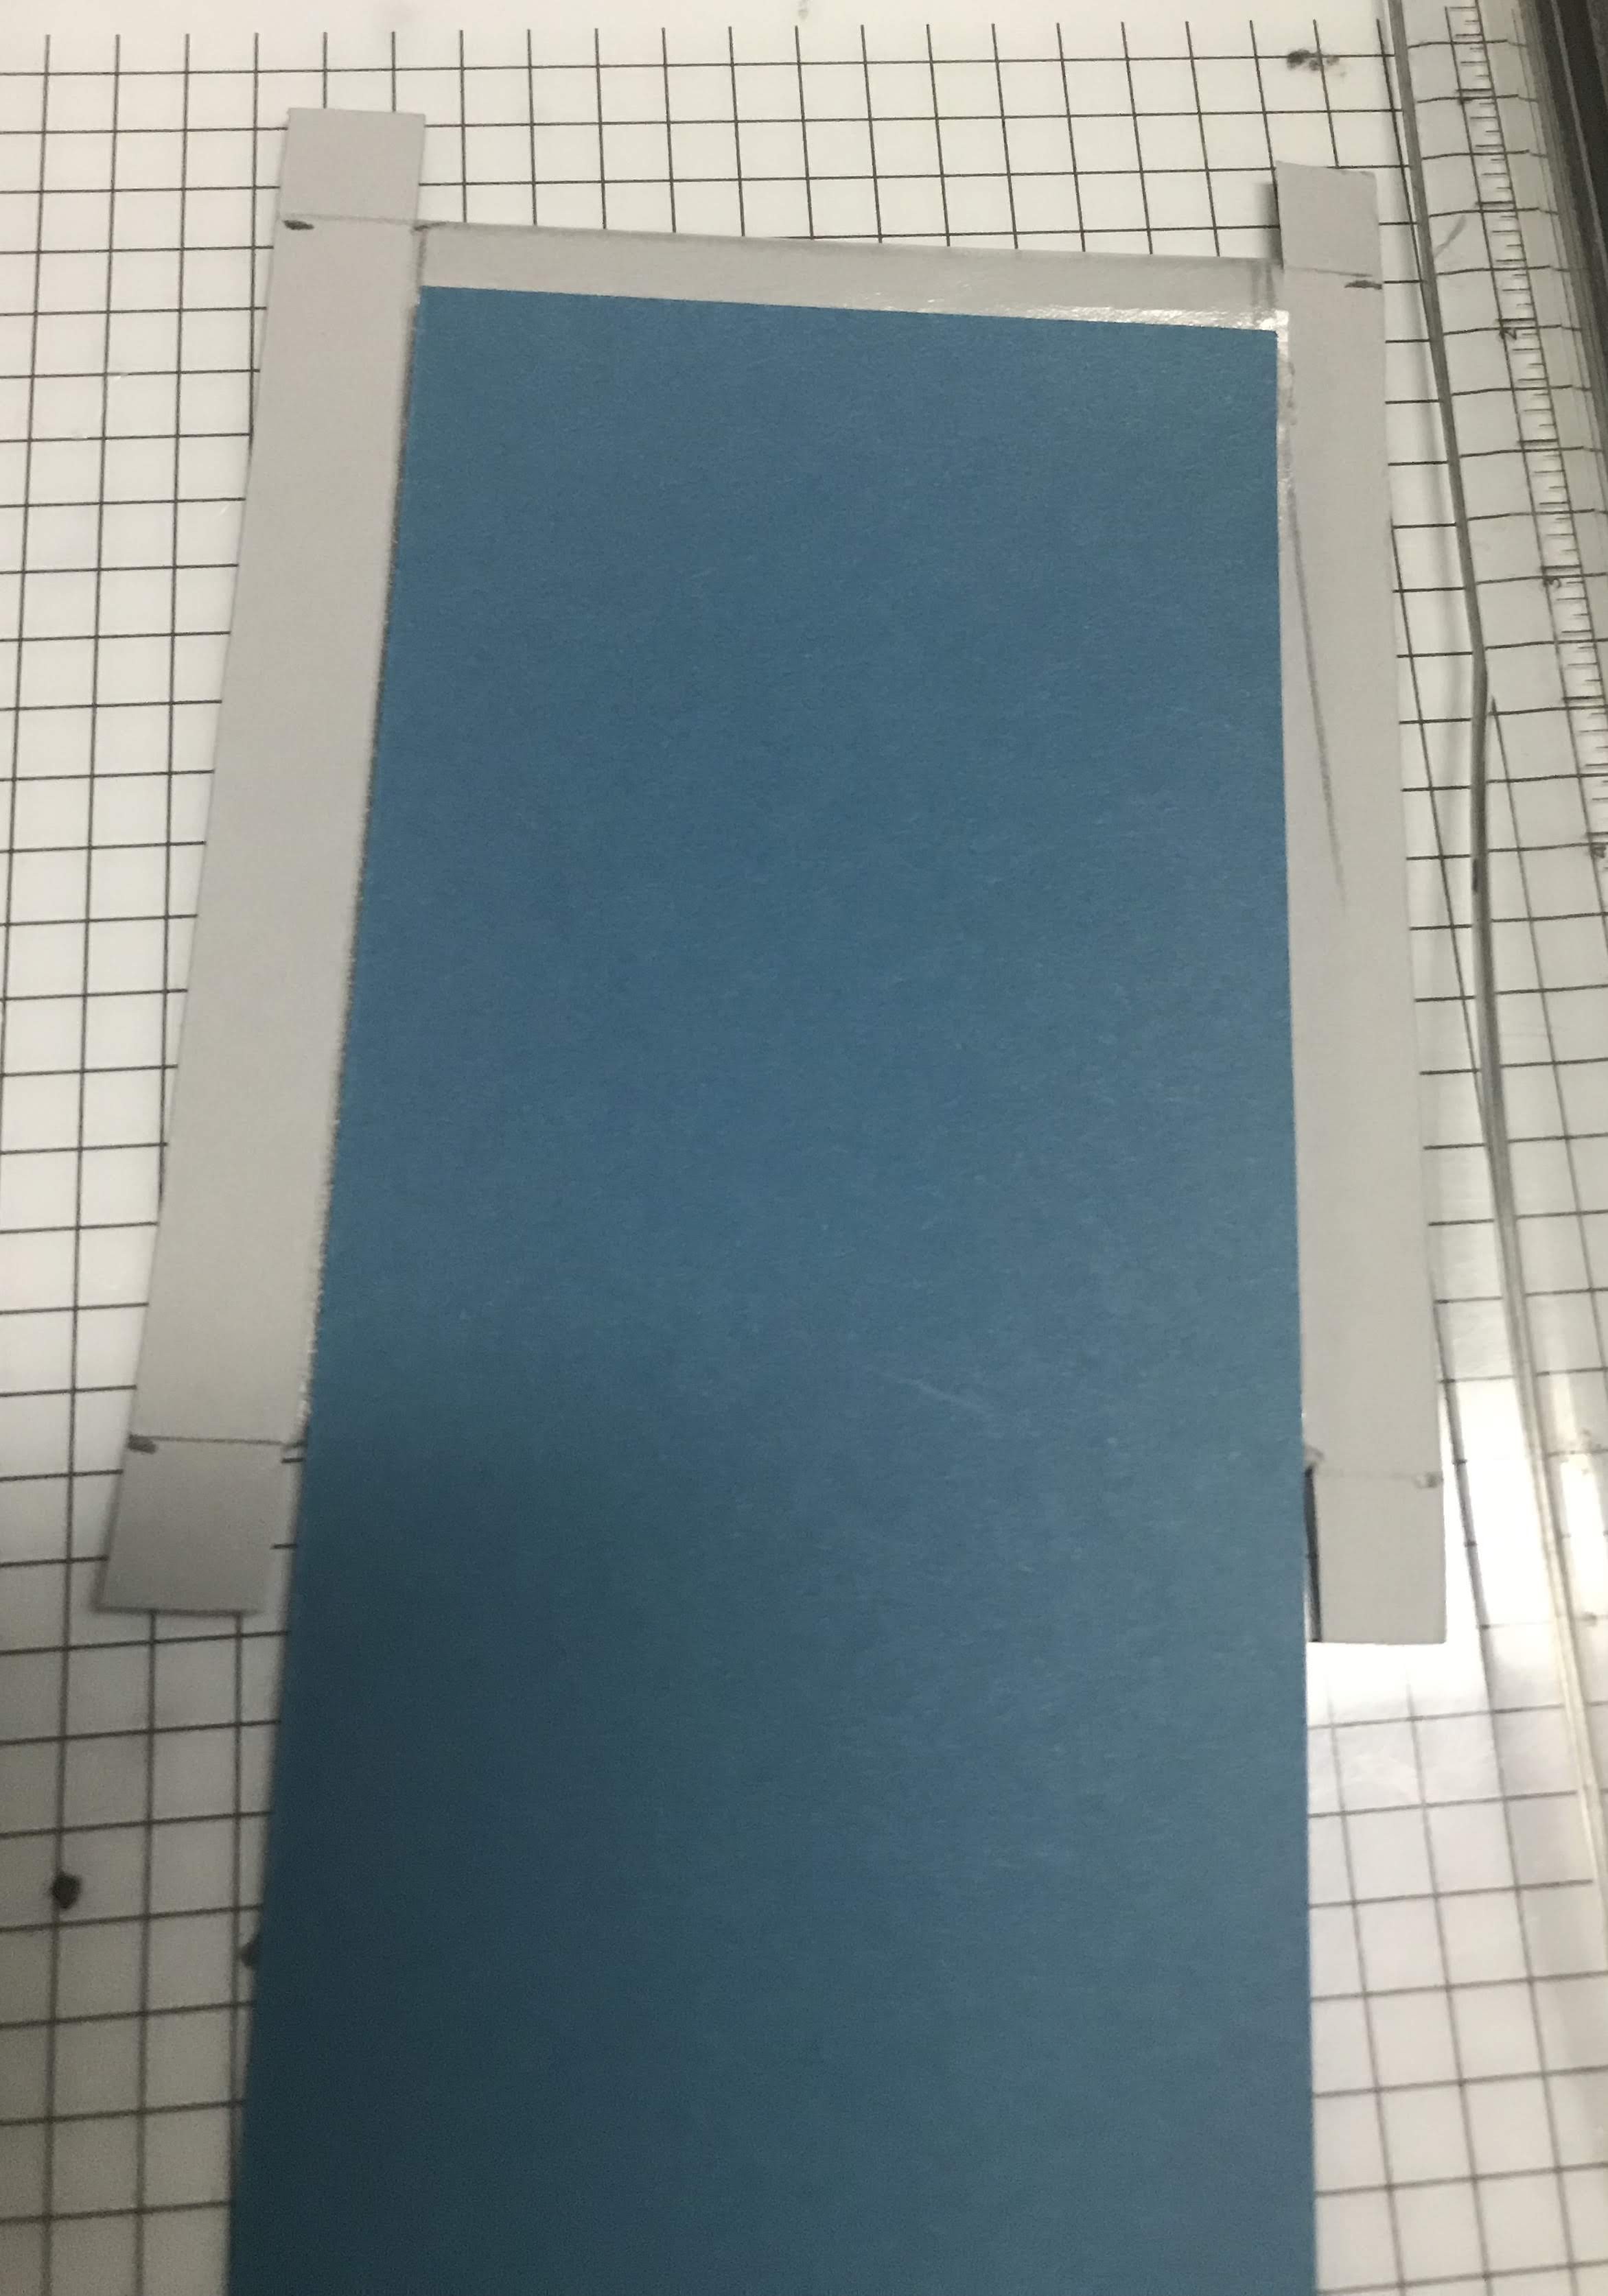
I cut a panel out of Island Indigo cardstock, it is 3″ wide and about 8″long (it will be trimmed). I used sticky strip and I stuck down one end of the cardstock to the top of the plastic on the mechanism piece.

I used some washi tape to hold down the daisies so they wouldn’t move. They need to be in the start position, near the bottom.

Next I added foam adhesive to the edges of the front of the mechanism, the blue panel that we pull is attached to the back of the mechanism and it is pushed all the way up to the top of the mechanism. I also put some sticky trip on the ends of the daisies.

I VERY carefully added the front panel to the mechanism panel making sure to line it up just right. Also make sure to push the daisy ends so they make contact with the plastic on the mechanism.

I cut the card base to be 4 1/4″ x 5 1/2″ and I cut it out of Island Indigo cardstock. I cut a 1/2 circle out of the front of the card that lines up with the cut out circle on the front panel

I trimmed the bottom of the pull panel to be level with the bottom of the card. Then I added foam adhesive to back of the mechanism, on the sides. Then I carefully placed the front panel/mechanism piece and centered it on to the card base.
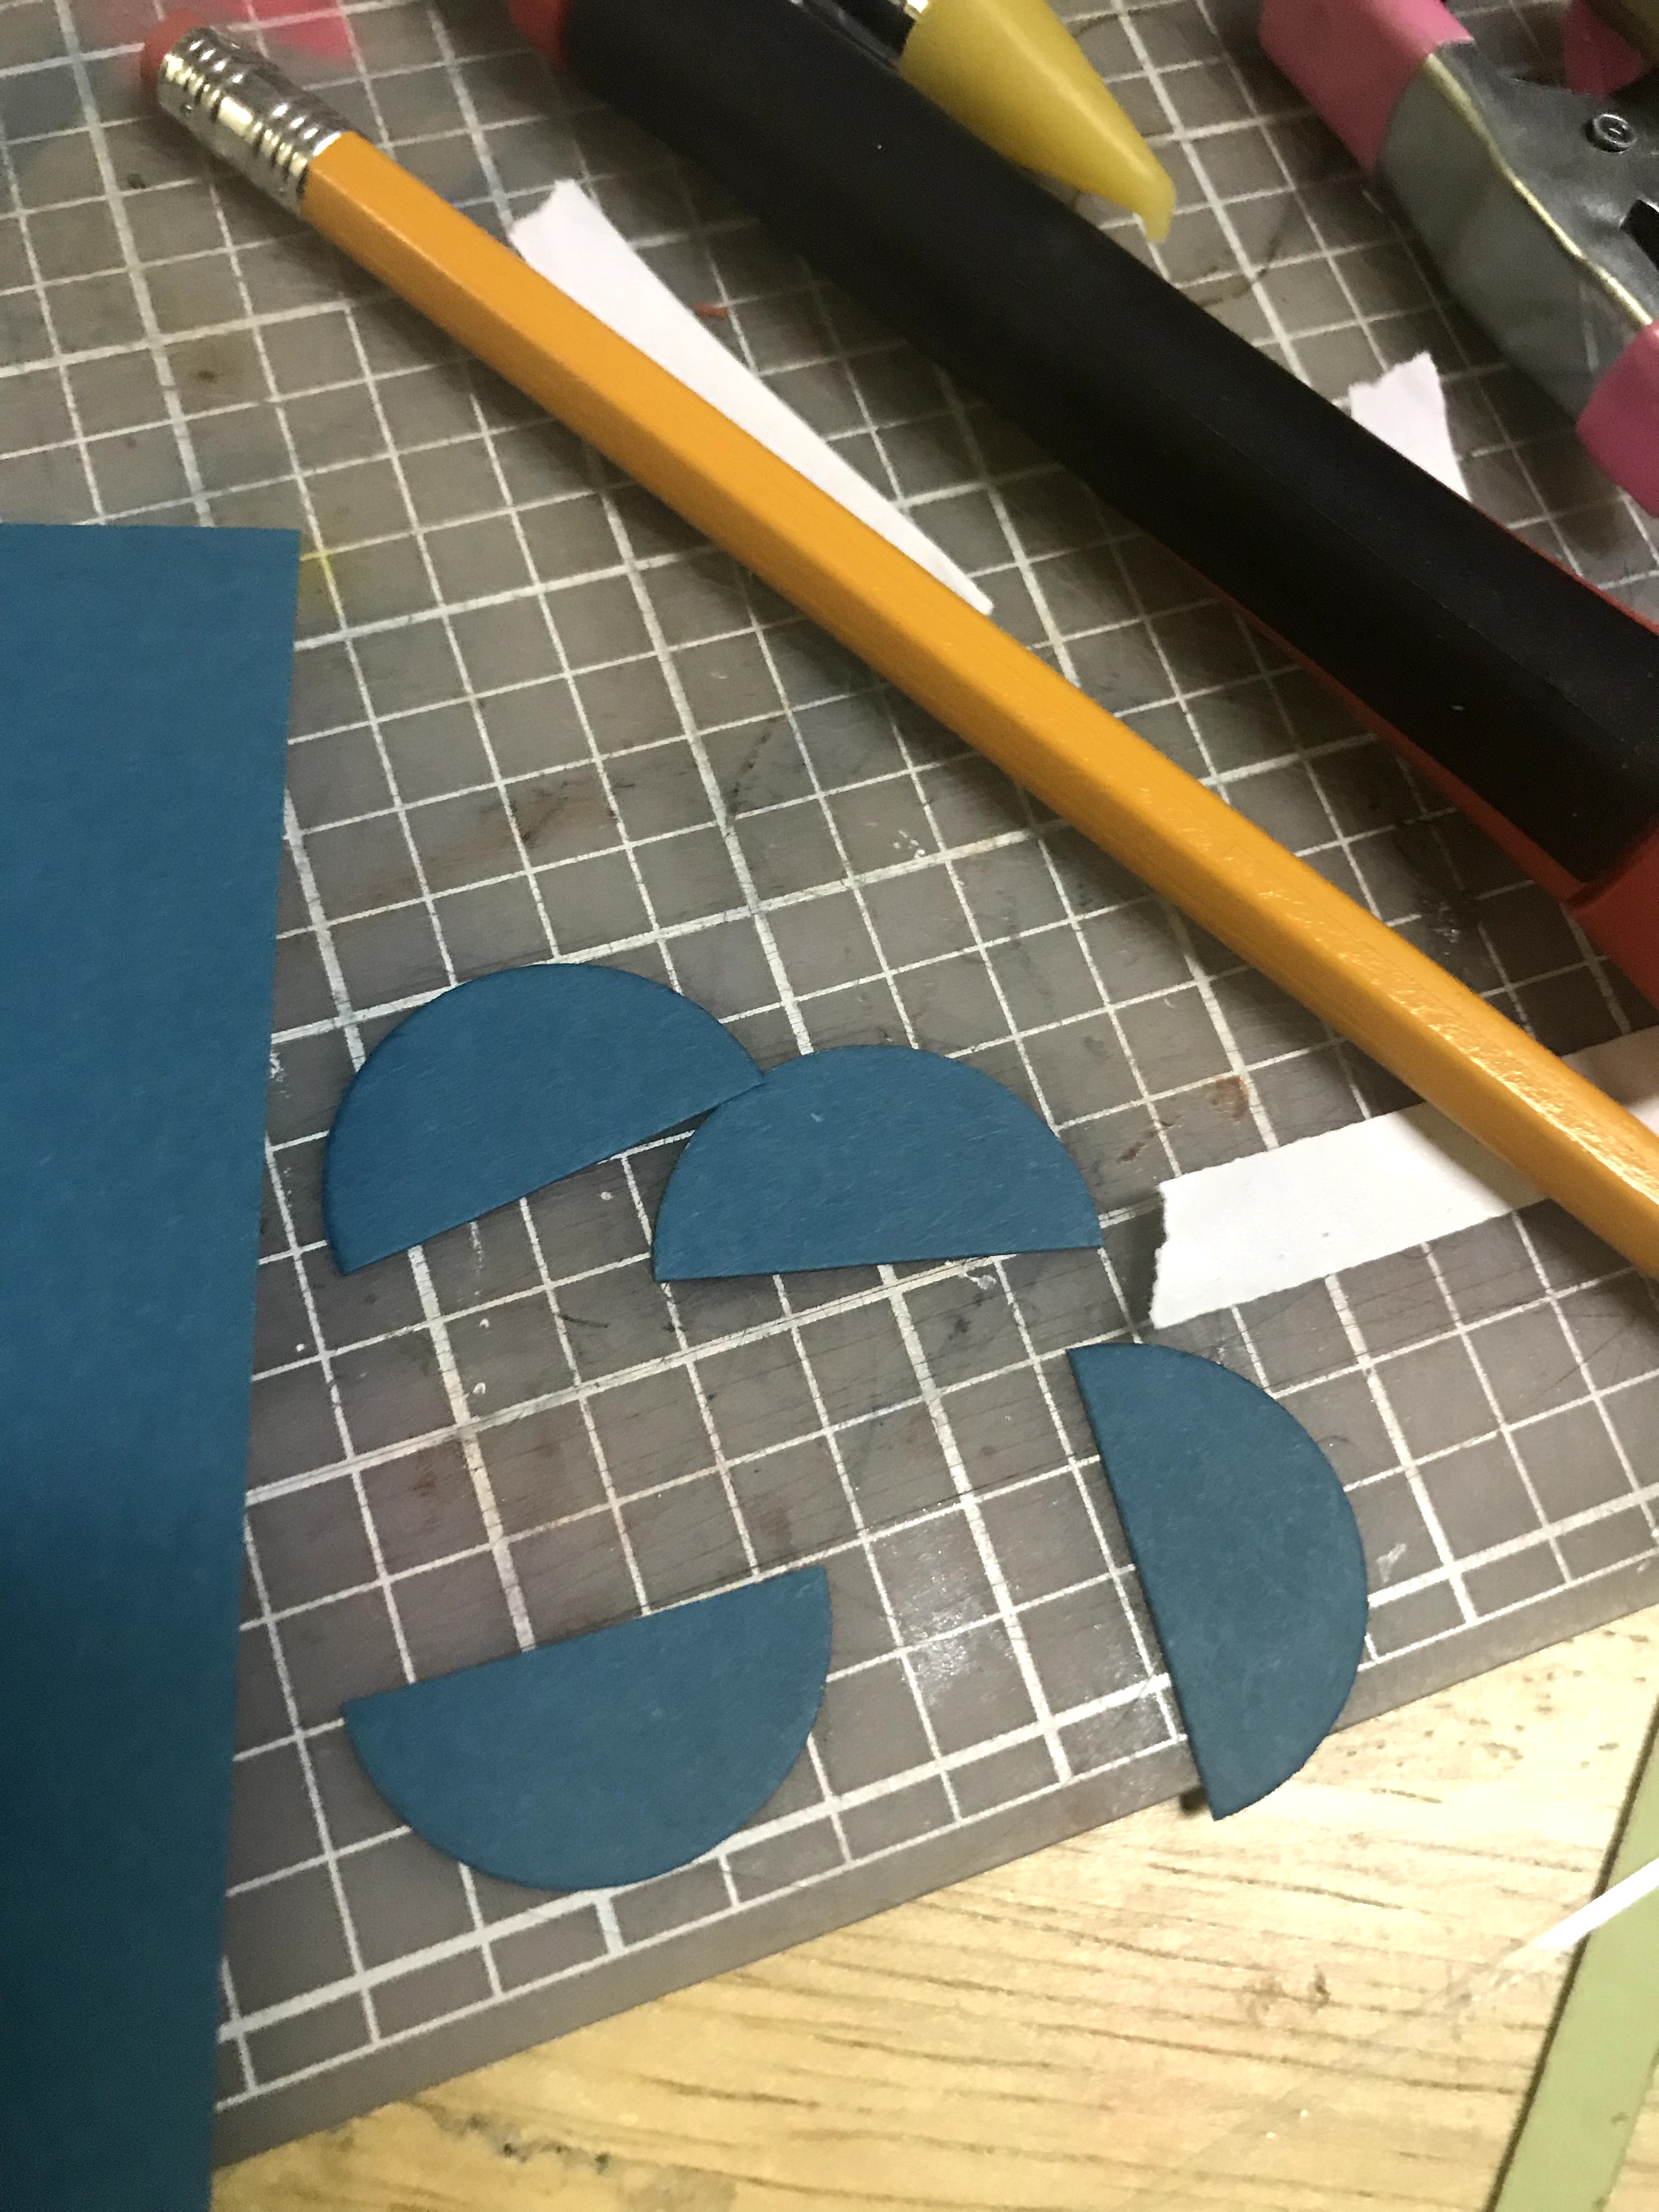
I cut out 4 half circles and adhered them one on top of eachother to make a stronger tab to pull on.

I added the half circles to the pull tab right behind the cutout from the front panel. and drew an arrow onto it with a white gel pen, so the recipient will know to pull down on the tab.

I didn’t leave myself room to stamp a greeting on the pull tab, and the flowers can only go so high before they get stuck so I thought I would put another arrow showing when to push the tab back in.

I cut “Happy Birthday” out 3 times, layered them one on top of each other and glue it to the card front.
I cut a Pool Party coloured cardstock to 4′ x 5 1/4″,and stamped an old Stampin Up stamp, I stamped it with Island Indigo ink. I added the daisies that I originally planned to have on the front. Waste not want not.


To see some other fun cards check these out
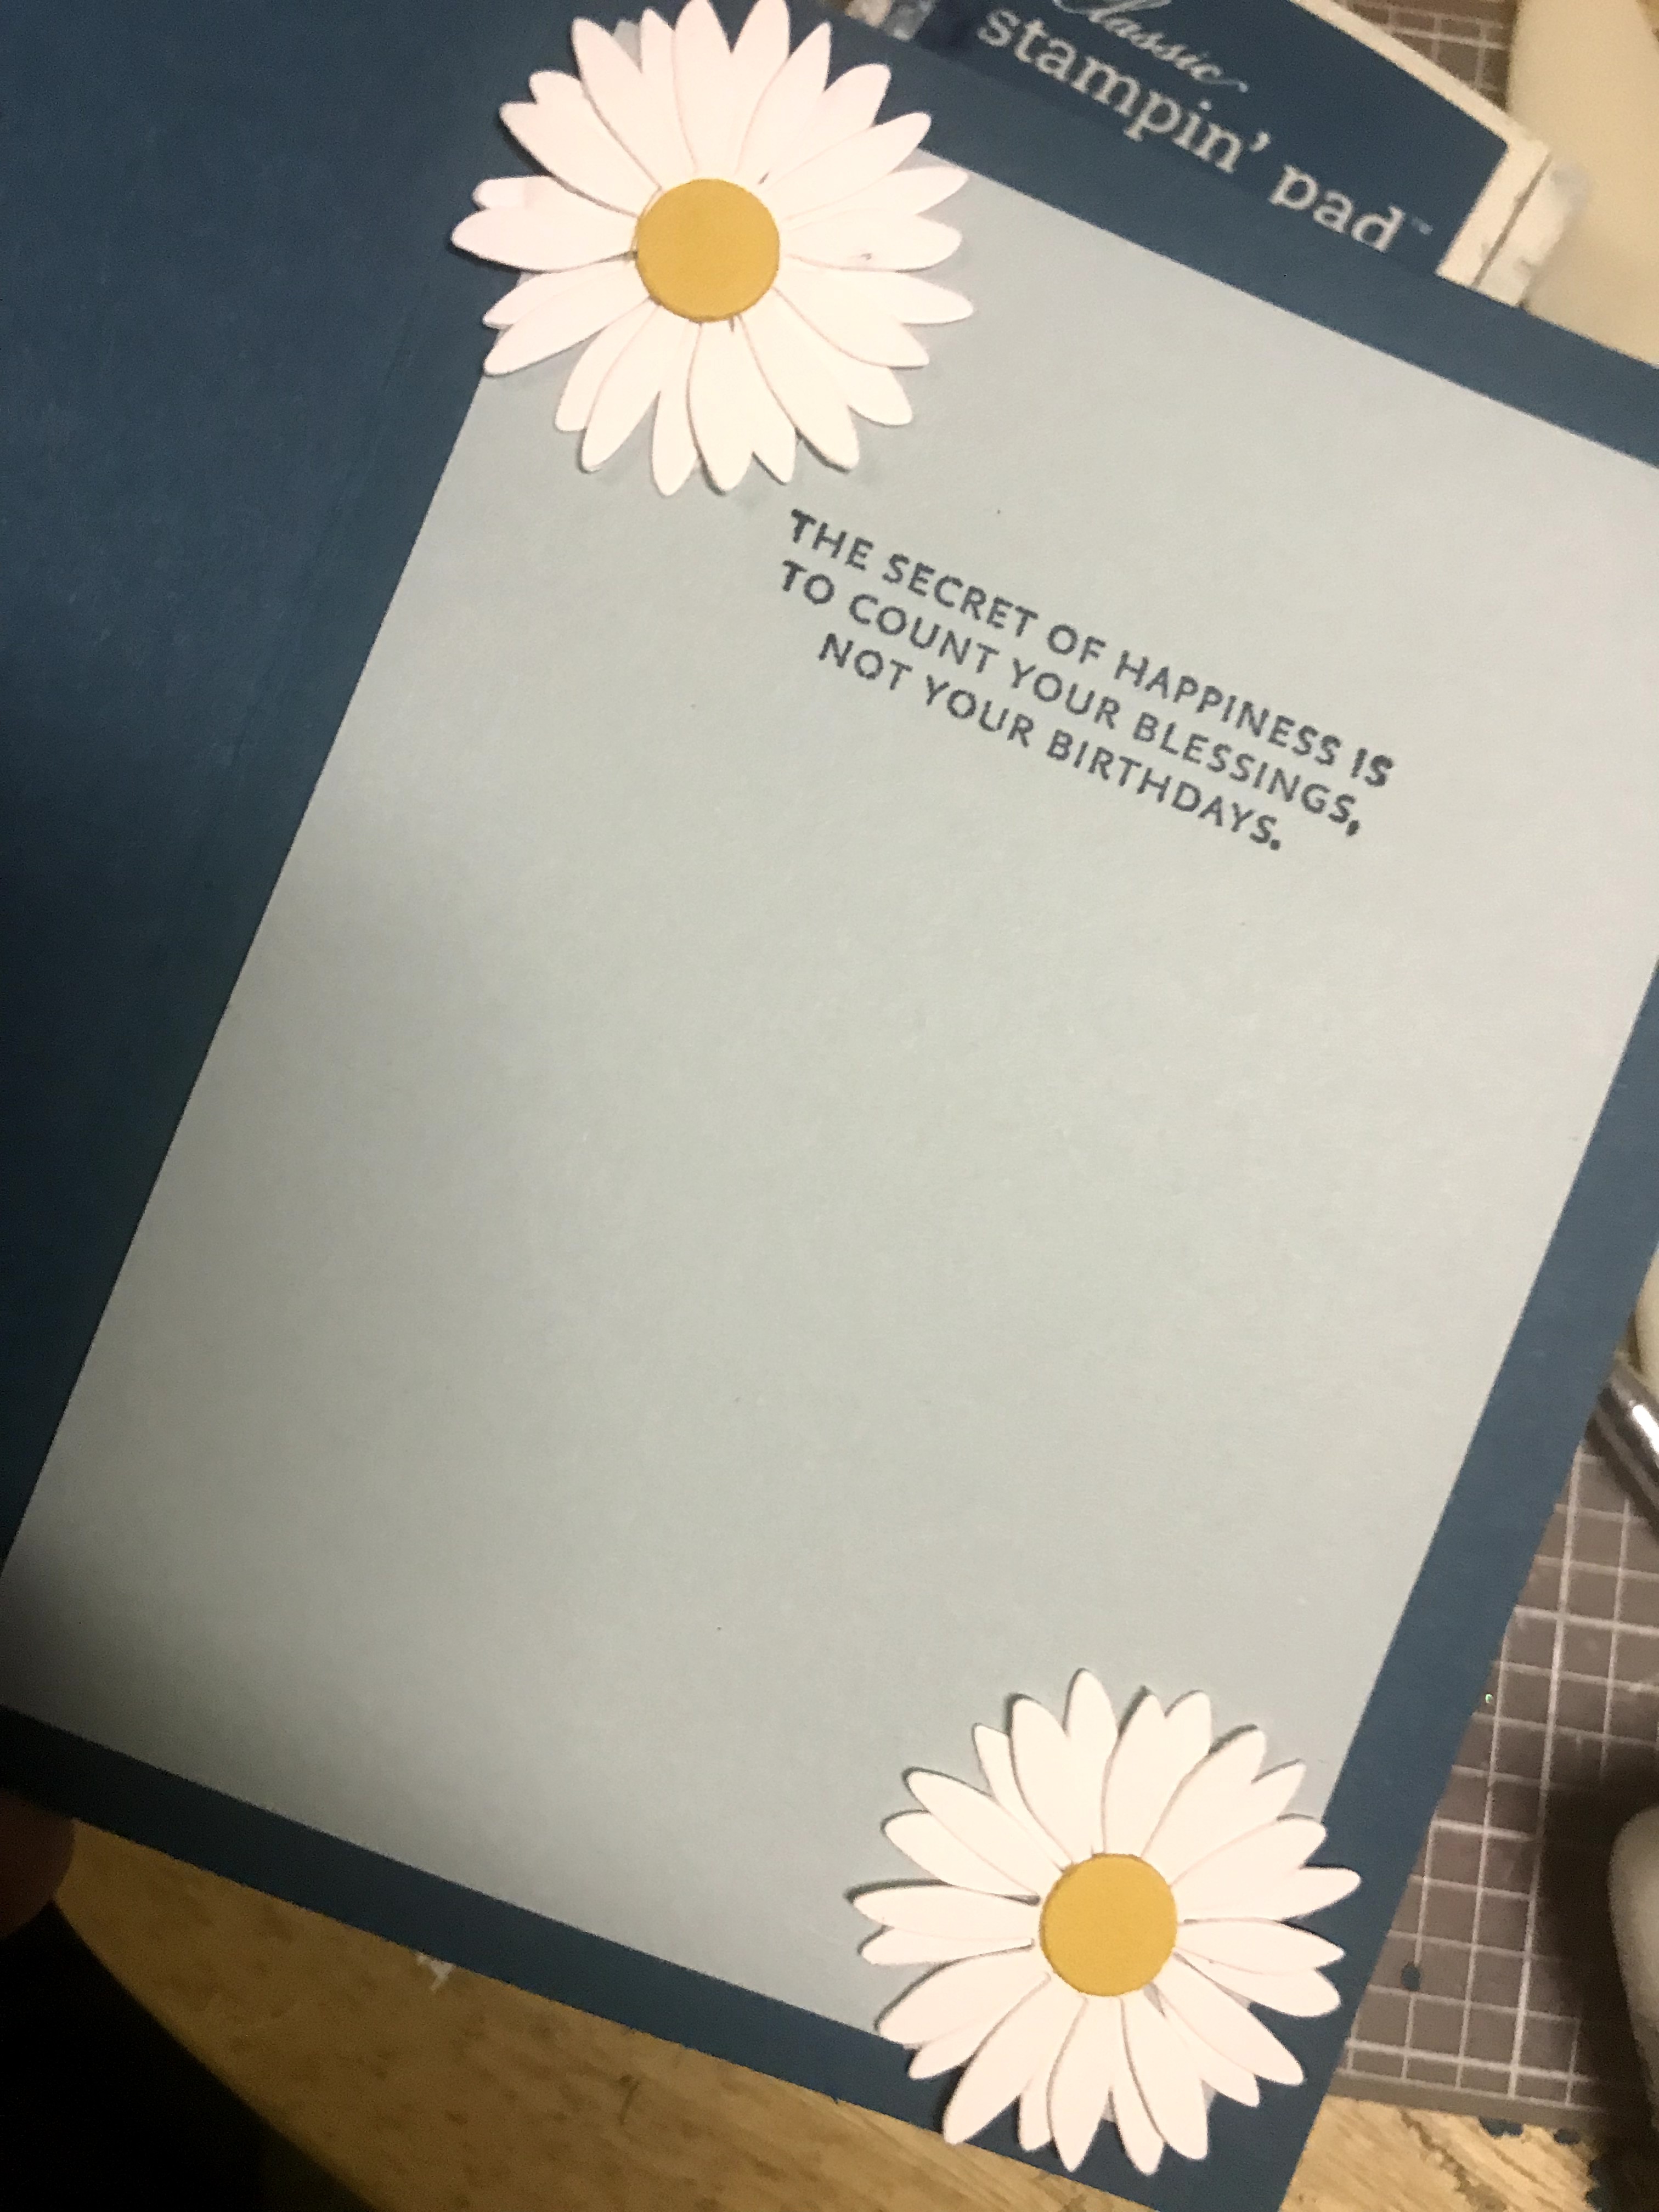
Thank you Flowers
Pop up Flowers Birthday Card
Thank you Easel Card

Fabulous card Nicky, awesome design xx
LikeLike