
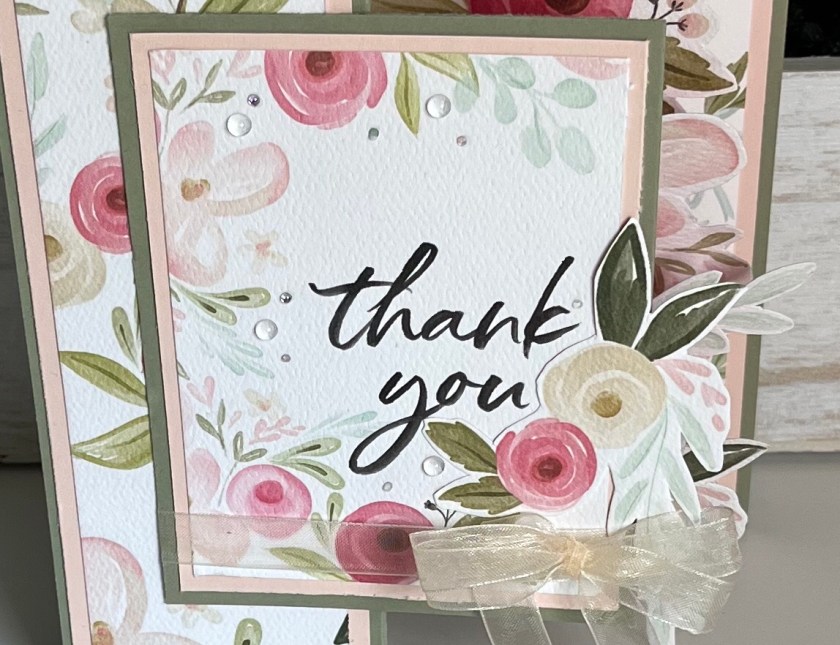
If someone were to ask me what my card making style is I would call it cute, or fun pop ups with a lot of little details. I like bright colours, and cute images. I like pretty cards but I don’t typically make them. I think this one is a really pretty one, and I love how it turned out.
This card also happens to be a Craft Roulette card, and this weeks challenges are below ⬇️

These parameters were pretty easy so of course I had to challenge my self to also make it a popup card. That was the tricky part, as it was a little more difficult to fit a pop up, in a Z fold card. Any colours was easy, as it didn’t matter what I chose, “old” was pretty easy, I chose ribbon that was my first Ebay purchase when Ebay first started, also old would be the fork bow technique that I used to make the bow. I really lucked out when I got to chose from my mesk as I still had this beautiful paper pack on my desk from when I made this card Hello Friend Card, apparently I need to clean my desk more often.

All the fun is in the reveal, to see this card in action please check out my FACEBOOK page, feel free to join if you would like to share your own crafty creations. You can also see a video of this card on my INSTAGRAM page.
1- I chose the Carta Bella Flora no.3 Collection Kit because it has all the beautiful matching elements. I chose retired Stampin Up cardstock River Rock and Mello Moss. Further down I also have a light pink, and white carstock from my stash. Not really sure where it is from.
2- I cut out the pieces for the Flower Pot Pop up one pic shows the flower pot pieces, the other pic shows the decorative pieces.

3- I used VersaMark ink and sponged all the edges. Then assemble the Flower Pot (Karen has a video tutorial on the product page at the link ⬆️ )

4A- I fussy cut some flowers out from one of the patterned papers from the Carta Bella paper kit.
B- I cut notches in some of the flower pieces so I could slide them into the laddice of the pop up. I filled the basket. I also glued them in.

5A- I cut the Zfold card from the Mello Moss cardstock. Dimensions bellow.
B- I cut the panels to the dimensions below.

Sooooo I made a few mistakes, but I didn’t want to waste what I had already done so I kept going until I fixed it. Also a note about not being able to put a fold into a fold (Karen mentions it in her video) I wanted to try something different than what Karen did, and that’s what led me down this path. In the end I like what I did.
* mistake one, I cut into the pattern paper too low so the flower pot did not stay inside the limit of the card.
** I thought I could just cut out the piece that the flower pot will attach to, but it is visible outside the limits of the flower pot. Also you can see where I had initially cut into the pattern paper.
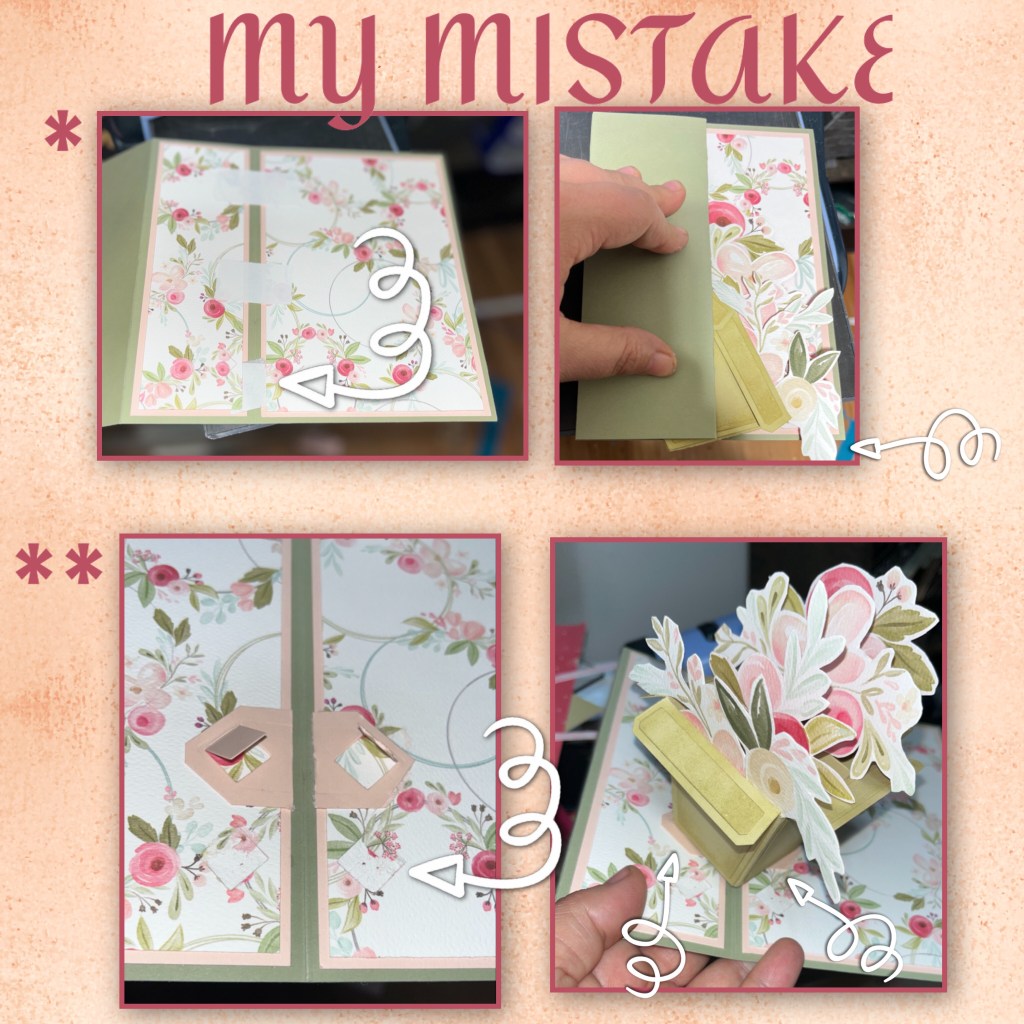
To fix both my mistakes I decided to cut a circle then cut out the middle to not have the fold in a fold.
6A- I diecut a circle from the Circles Crosshatch and folded it in half.
B- run the mechanism die and the circle through the Big Shot, make sure it is lined up with the fold line. Put the circle where you will want it to be (make sure it’s not too low) and mark on the circle with a pencil where the pink border ends. Keep the die in and cut up the circle as far as you can on the lines.
C- Remove the die, add glue as shown, NOT IN THE MIDDLE or under the squares that poo up.
D- add the circle into the card, then finish cutting up the lines through the middle and remove.
The reason I keep the circle attached until it is glued in, is so the space between the 2 halves doesn’t change, otherwise it won’t line up with the flower pot.

7- I cut another thin panel (dimensions below) and I added the flower pot. And yes the flower pot is currently visible beside the Z fold.

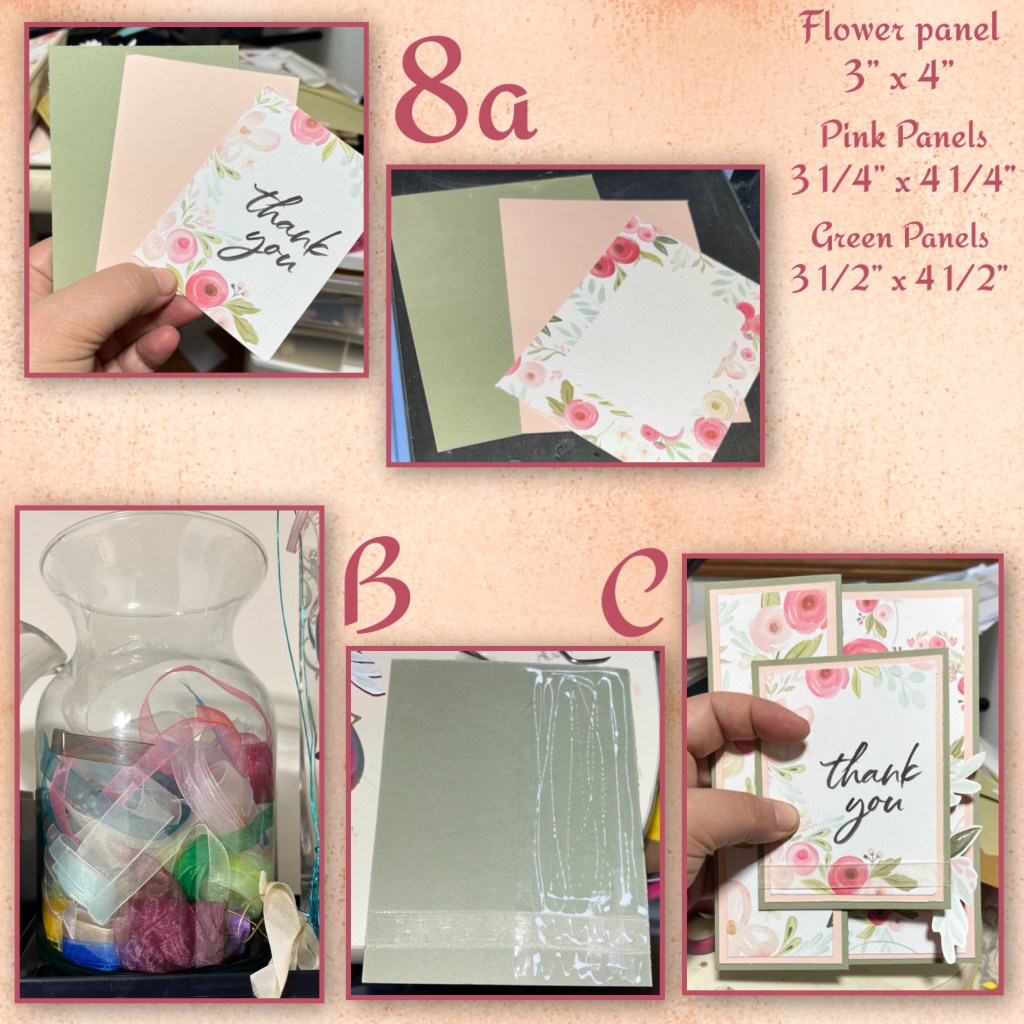
8A- I cut panels for the front and back. The top panels are from the paper pack.
B- years ago I orderd a bunch of ribbon from Ebay (this is how I store my ribbon that is not on a spool). I wrapped a piece around the front panel.
C- add adhesive to half of the panel and adhere it to the left side of the zfold
9A- I hand cut another group of flowers and added to the right side of the panel.
B- I followed Deb Valders VIDEO to make the double fork now and added it to the card

10A- I added foam adhesive to the back of the second panel
B- I cut a piece of white cardstock to 6 3/4” x 4 3/4” and added it to the back. I hand cut some more flowers and added them randomly around.

I added a few gems to the front panel.

Other Tools used

This is sweet and so awesome… love your card Nicky x
LikeLiked by 1 person