
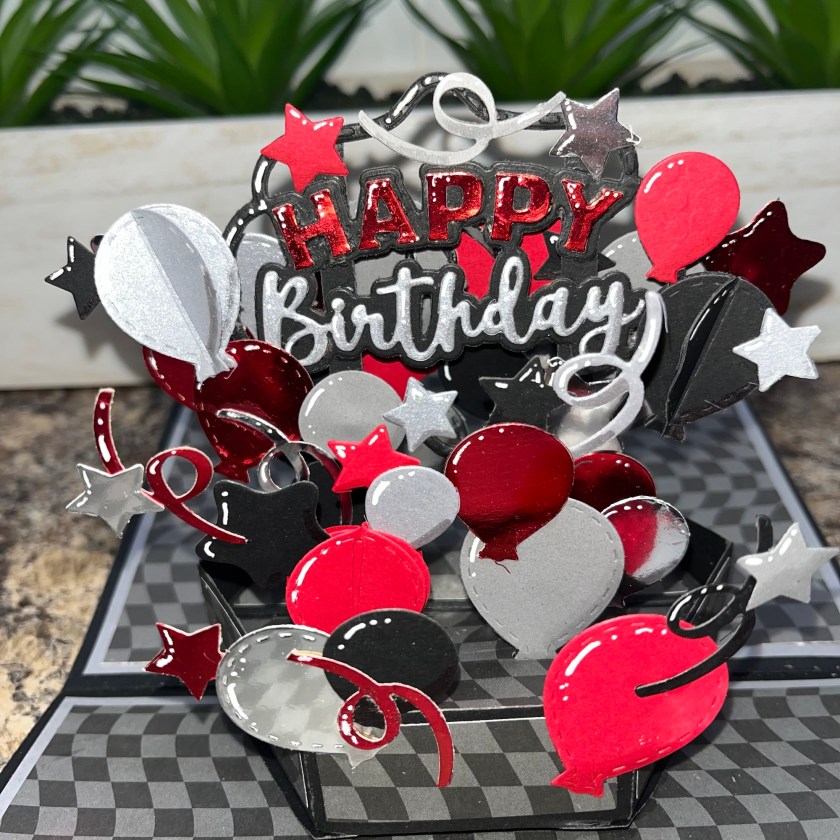
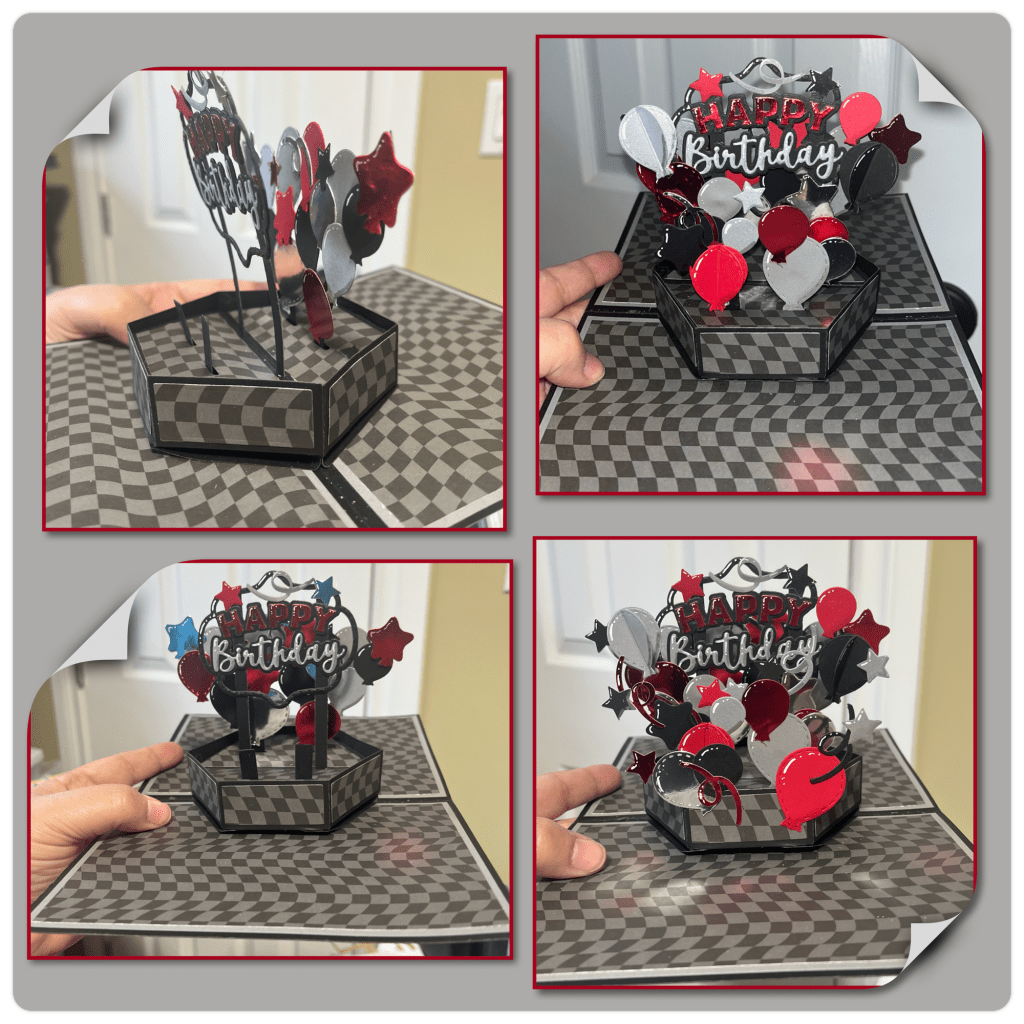
I always find making cards for teenage boys tough. I was flipping through my patterned paper and I came across this grey and black checkered paper and I thought that it would be a good start. I decided to go with black, grey, silver and red. It’s hard to tell but there is a red and a silver metallic elements as well.
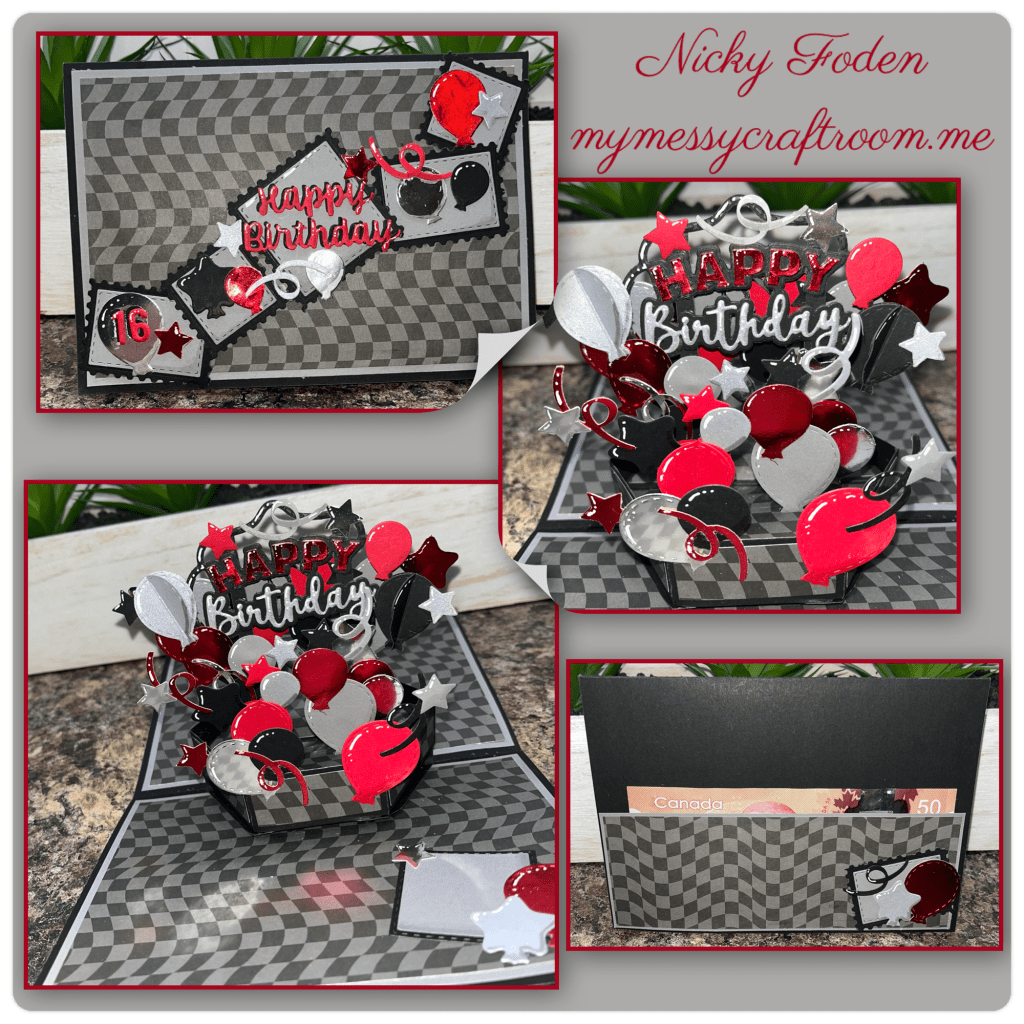
All the fun is in the reveal, to see this card in action please check out my FACEBOOK page, feel free to join if you would like to share your own crafty creations. You can also see a video of this card on my INSTAGRAM page.
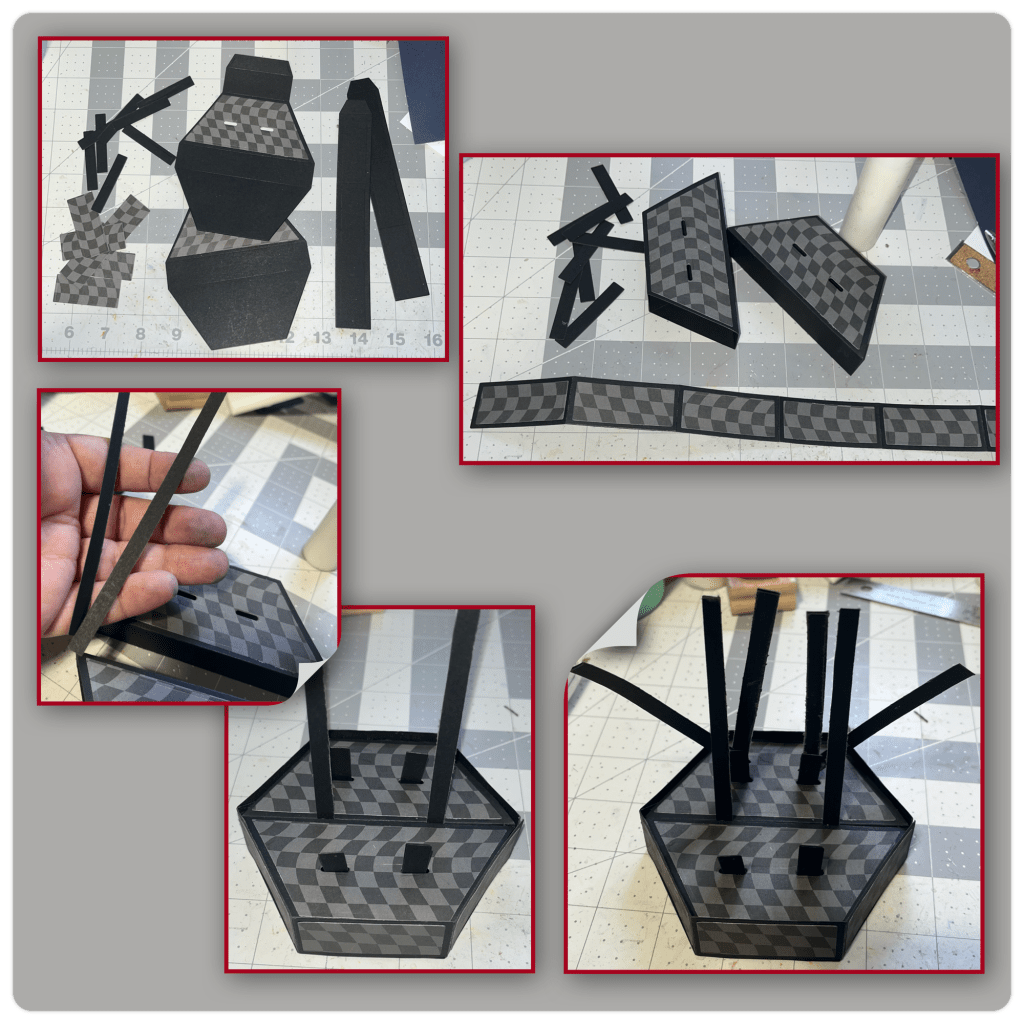
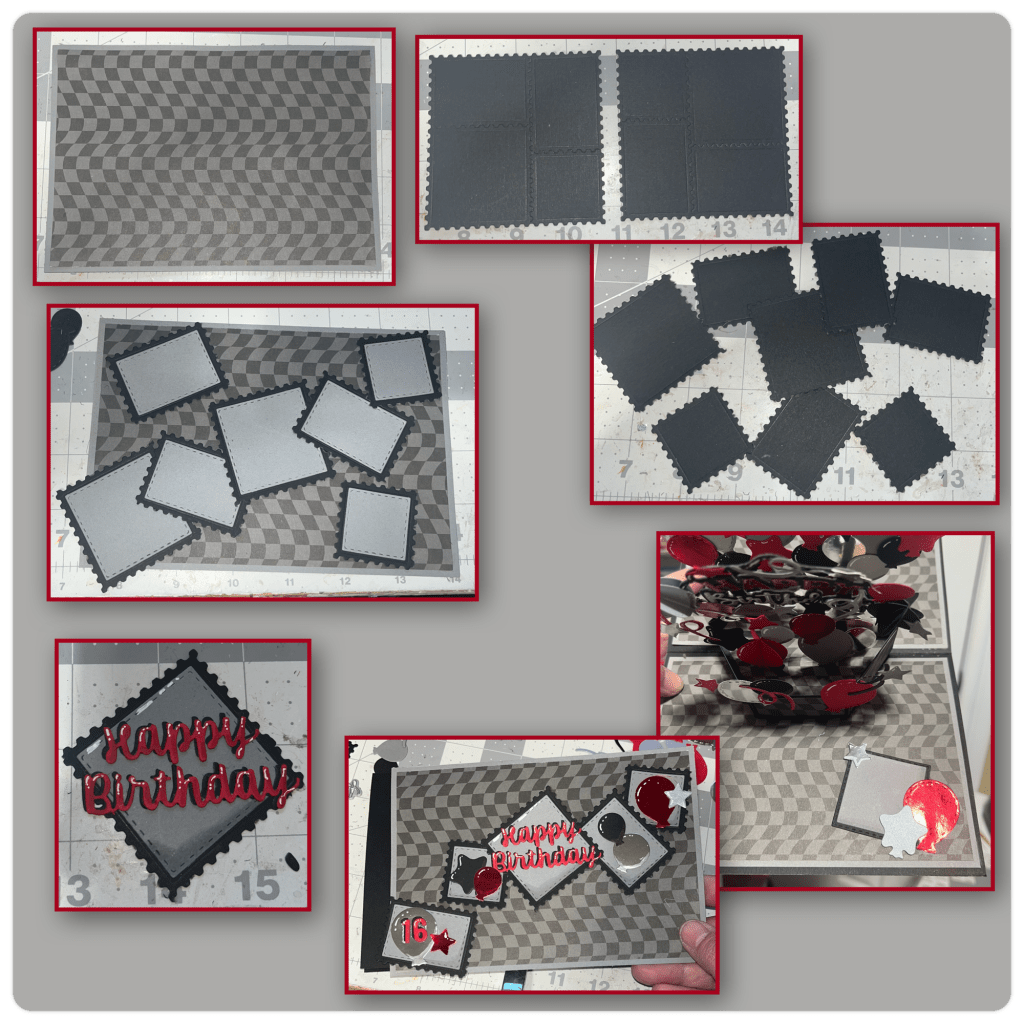
I knew that I wanted to have a lot of balloons, so I wanted to make sure the card was big enough so I went with a 5”x7”. CORRECTION- I cut 3 of each of the panels below instead of 2. Two for the inside and one or the front.

I cut the pieces for the Stage pop up and assembled (Karen has a video tutorial on the product page at the link ⬆️ ) I used the small supports (that come with the dieset) and added to the 4 slots that I cut. I cut a few extra long strips and sandwiched 2 between the 2 halves, and I added 4 to the back supports. I wanted them to be higher than the front supports.
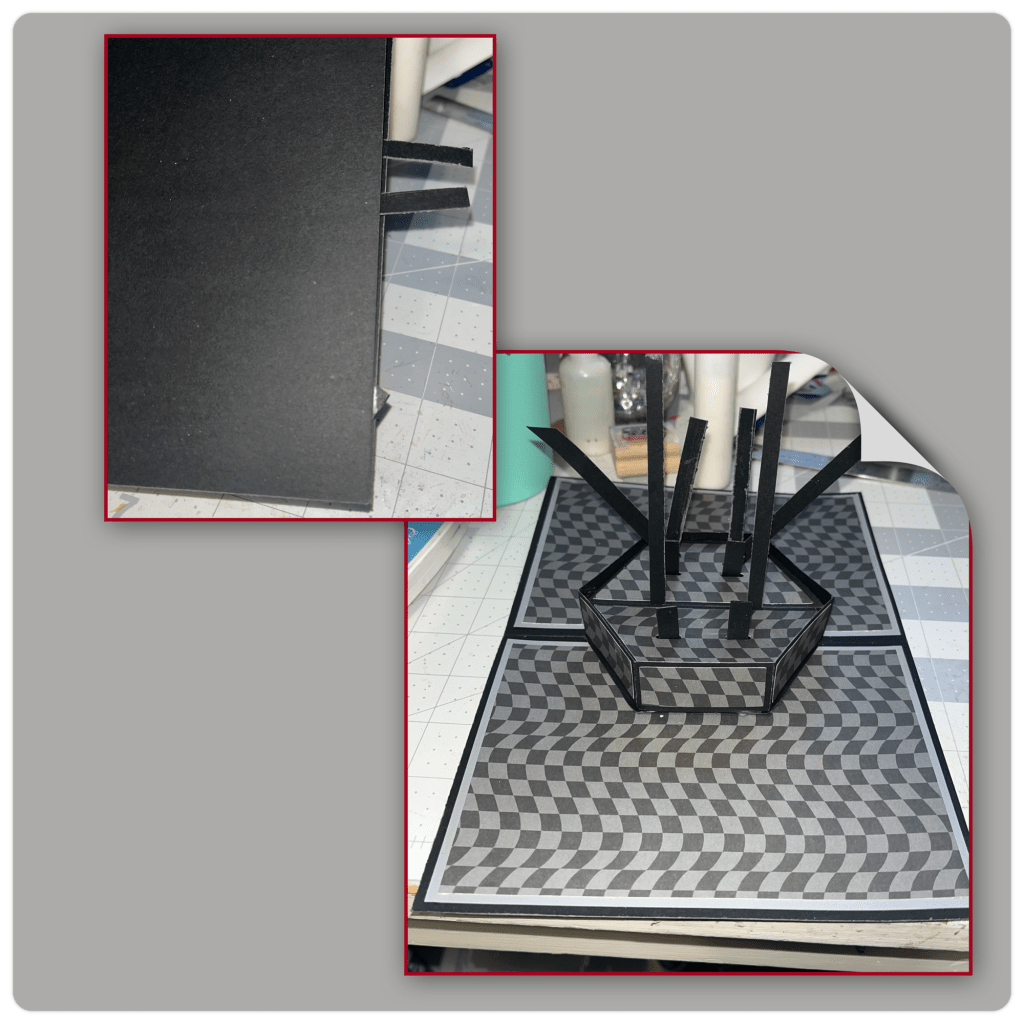
I added the platform to the card. When closing the card a few of the strips stuck out the sides so I gave them a trim.
I cut out and assembled the Happy Birthday Lorna Label Add on and added to to the middle supports. I cut out the balloons from the Balloon Collage Add on and the Party Balloons from black, grey, red, brushed silver, metallic red, and metallic silver. I added shading with alcohol markers, sharpies on the metallic, and white Gelly Roll highlights.

I started adding the balloons and stars to the platform starting from the back and working my way to the front.
Now I am working on the front. I cut out 2 of the Postage Pop Up panels, cut them apart, and added the grey layer. I layed them out and added the Happy Birthday and decorated with some of the extra elements.
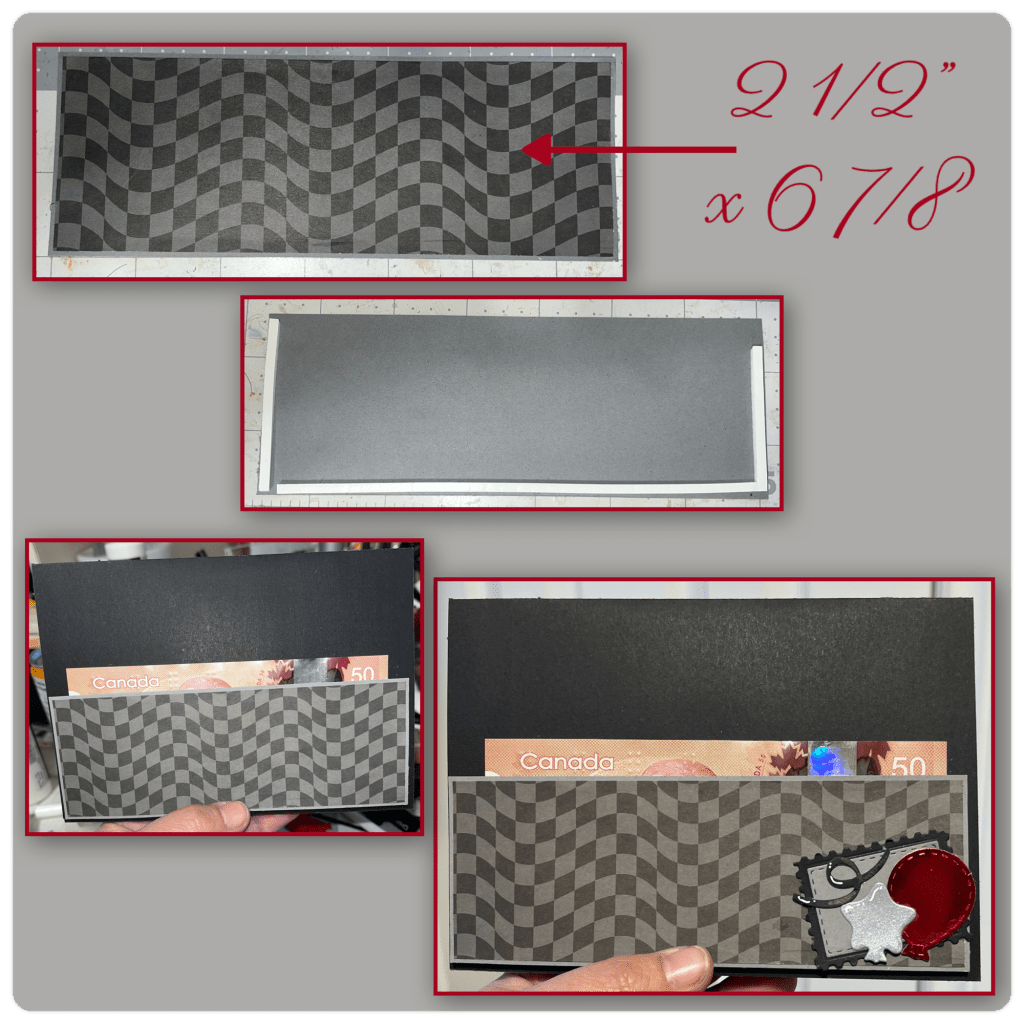
I made a pocket for the back using the dimensions below to add a bit of a cash gift. I used foam tape to adhere it to the card. I added a few elements to decorated the back.

Other Tools used
