
Every once in a while I make a card that I get really excited about and I can’t wait to share but have to wait because I don’t want the recipient to see it before they get it. This is one of those cards. My niece and nephew are both Potter Heads and even though the card is for one of them I knew they would both be excited when they saw it. My challenge to myself was also was to make a Harry Potter Card different than the CARD I made last year and I think I succeeded 😀 🧙🏻♂️
Click “Read More” to see more

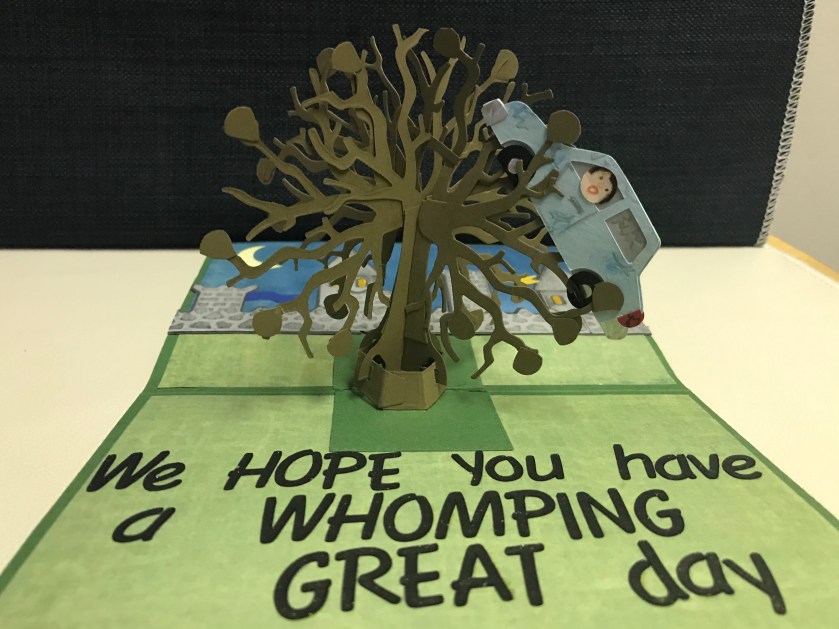
So Hogwarts is still part of the card but the star of this card is the Whomping Willow. I got the idea when I saw Karen’s Autumn Tree video and I thought it was so neat that she was able to take the Palm Tree pop-up die set and the Tree pop-up die set and combine them for a different look. I also made a few other changes to make it look more like the Whomping Willow.
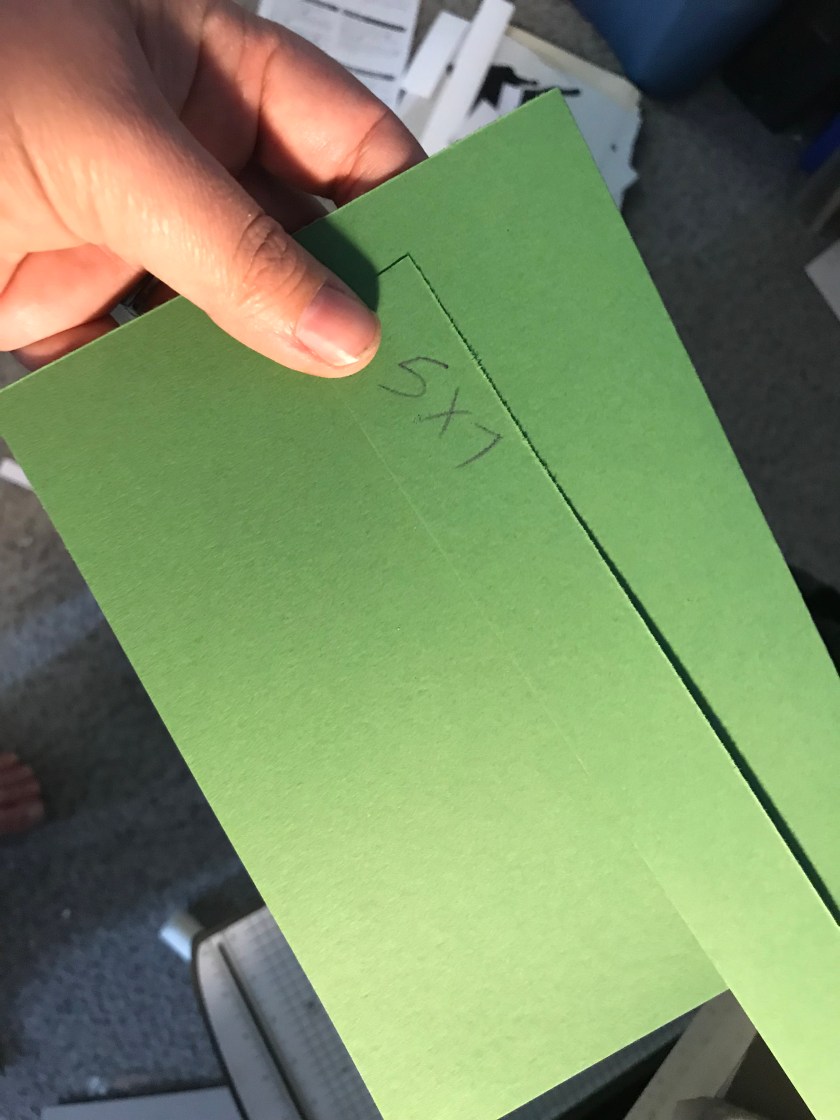
I started with Garden Green cardstock from Stampin Up cut to 5″x7″ Card base.
The lighter green paper is paper from my Costco stash and it is cut to 4 3/4″x 6 3/4″, I cut 3 of these and glued 2 of them to the inside and one to the front.

I cut the tree pieces from Chocolate Chip cardstock. I also cut 4 extra of just the treetops. I assembled the tree mostly as per Karen’s Video
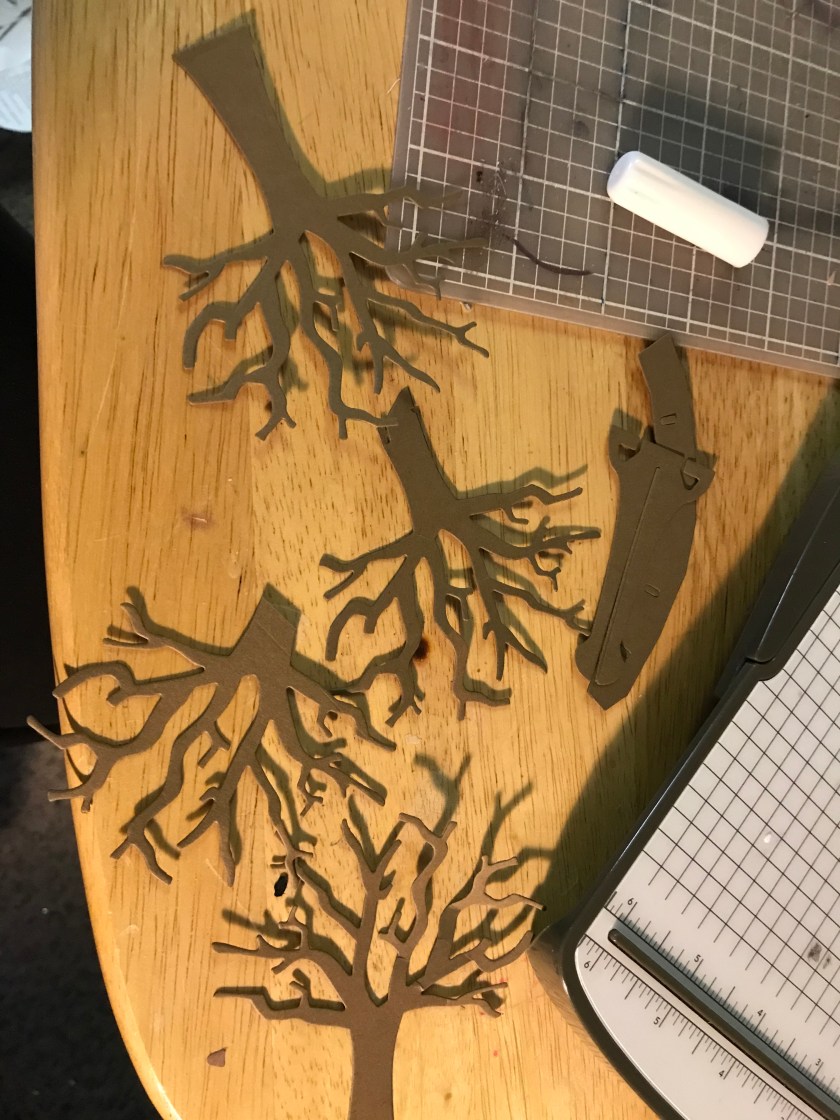
I did not add the extra trees to the side (Karen did this in her video) instead I took the extra treetops and added them to the lower portions of all 4 sides of the tree (Sorry forgot to take a pic)
Next, I cut out a bunch of little circles then trimmed them into the “whompers”

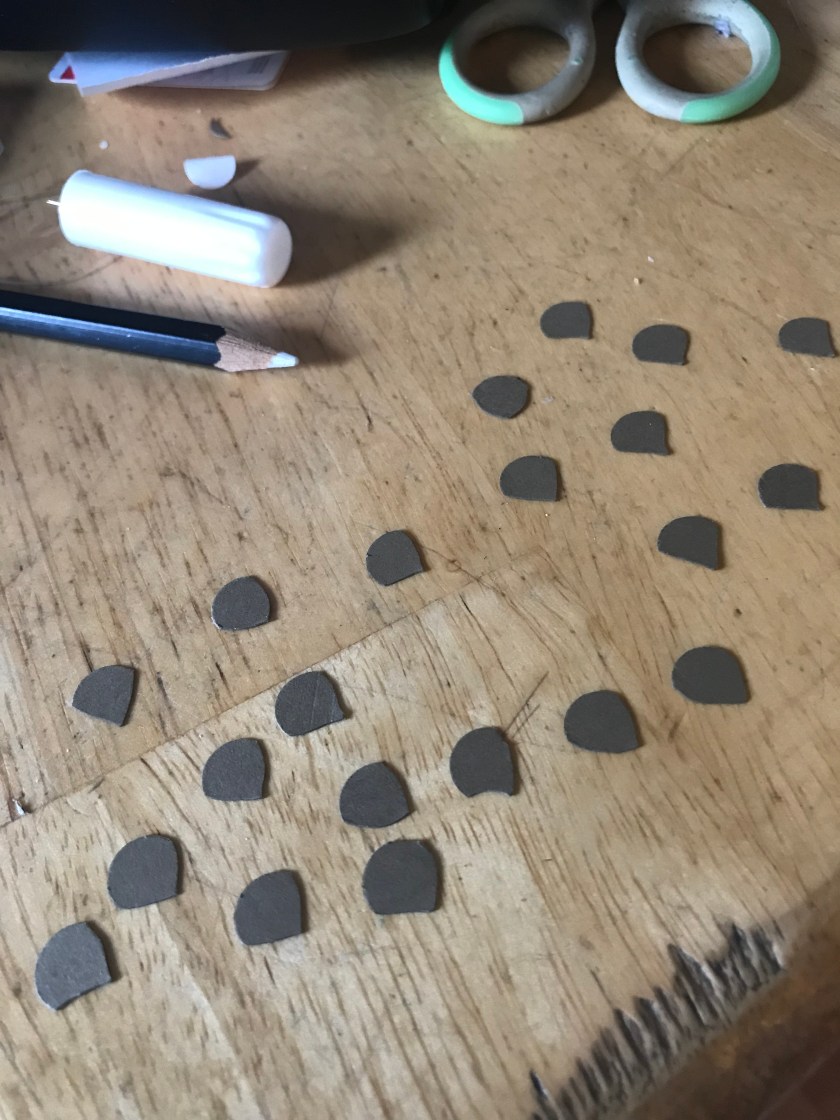
And added them to the tree

The car is an image from my Scan N Cut, that I cut out of Bashful Blue cardstock. I sized it to fit in the tree. I hand cut the bumpers and tail lights and I drew in the cracks and the dents with pencil crayons. I also added dents to the bumper and flattened the tires. I hand made the little Harry and the little Ron starting with a little circle punch and Blush Blossom cardstock and hand drew the details with pencil crayons.


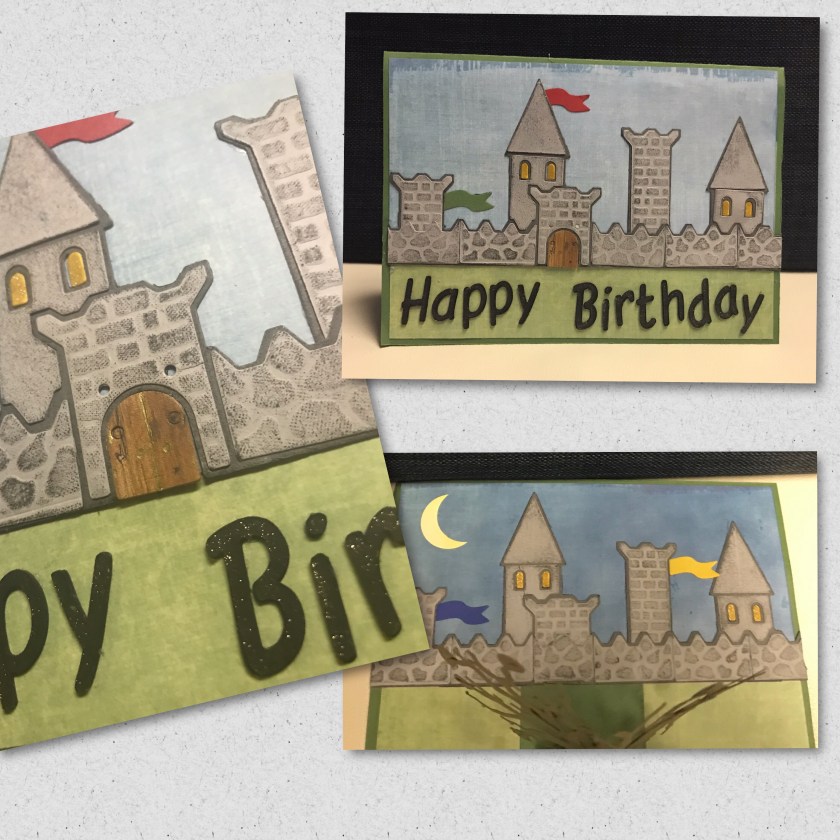
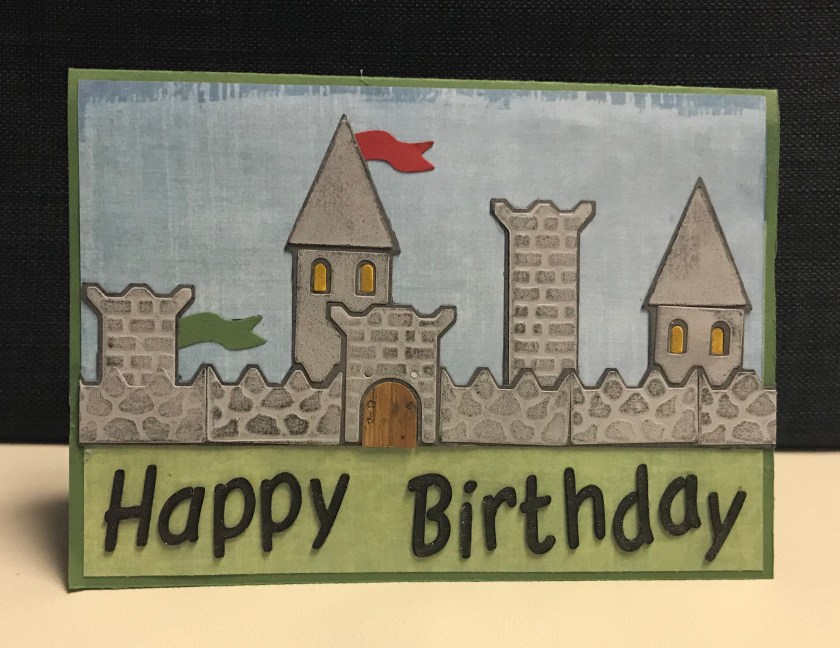
Now for Hogwarts. I wanted the castle to be part of the card and I wanted the tree to appear as though it was behind the castle so I cut out 2 sets of the castle pieces from Karen Burnistons Castle pop-up die set. The castle bases were cut from Basic Gray and the accent pieces were cut from Smoky Slate and then ran through the Big Shot with the embossing plate and rubber matt so the brick and stone patterns have a little pop to them.

I took all the pieces and placed them faced down on a Basic Gray stamp pad (old style) and tapped on the back lightly with a dauber so the bricks and stones would have some colour to them.

and then I assembled them.

Before attaching the castles to the card I decided that I want there to be a sky. So I dug out some blue paper from my Costco stash, I cut them to be 6 3/4″ wide and about 2ish” high, I measured the sky to tuck in behind the castle. I used a dauber and Night of Navy ink to make the sky for the inside darker, to seem like the night sky.

I adhered one castle to the front of the card and one castle to the inside of the card. Some of the little details that I added are- Yellow to the inside of the windows to appears as lights, I went over the yellow with gold Wink of Stella to make them shiny, I used a stone wall to cove the door on the inside castle so it looks different than the front, and I added different colour flags to represent the 4 Hogwarts houses, two in the front, and two in the back and I wanted the draw bridge to look more like a door so I cut it out of wood grain paper and drew on a gold doorknob and hinges. I also created a moon out of So Saffron cardstock and circle punches.
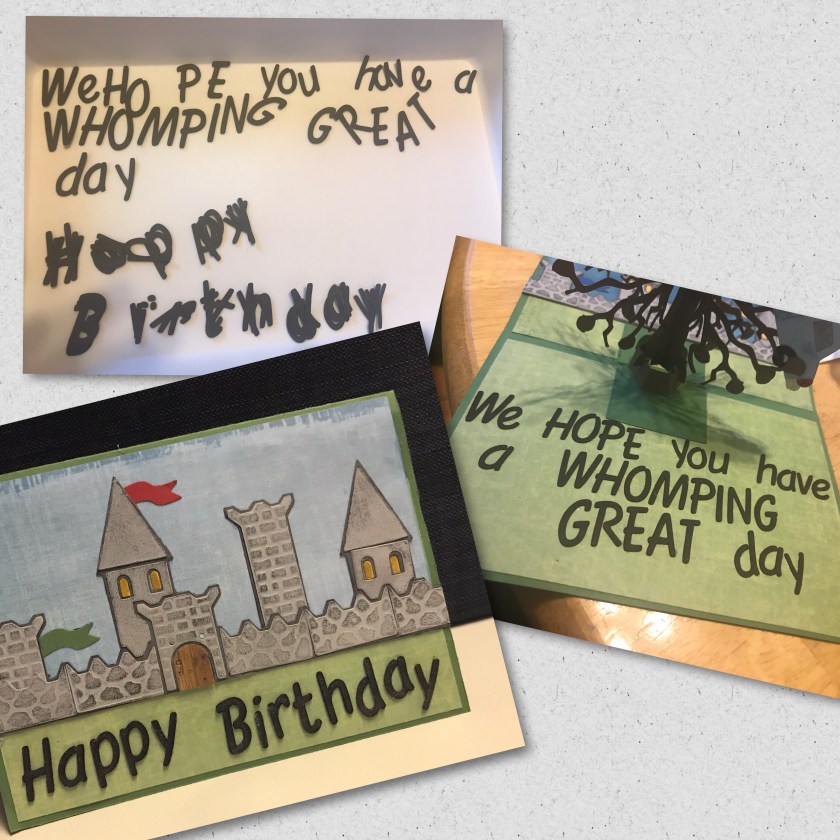
I cut the letters out for “Happy Birthday” 3 times and “We Hope You Have a Whomping Great Day” once using my Scan N Cut, I layered the “Happy Birthday” letters on top of each other and adhered them to the card. I went over all the letters with A Wink of Stella to make them a little bit sparkly.
A few more pics

Too see some other castle cards

Wow, this is excellent, a perfect card for every Harry Potter fan, brilliant xx
LikeLike