

I know Fathers Day has just passed but I have another cute one that can’t wait until next year. This design is really fun and can be used for any occasion depending on colour choice and what you decide to put in the squares. I choose PAPA but LOVE, or BABY, or any other cute little images would do.
Click “read more” to see more
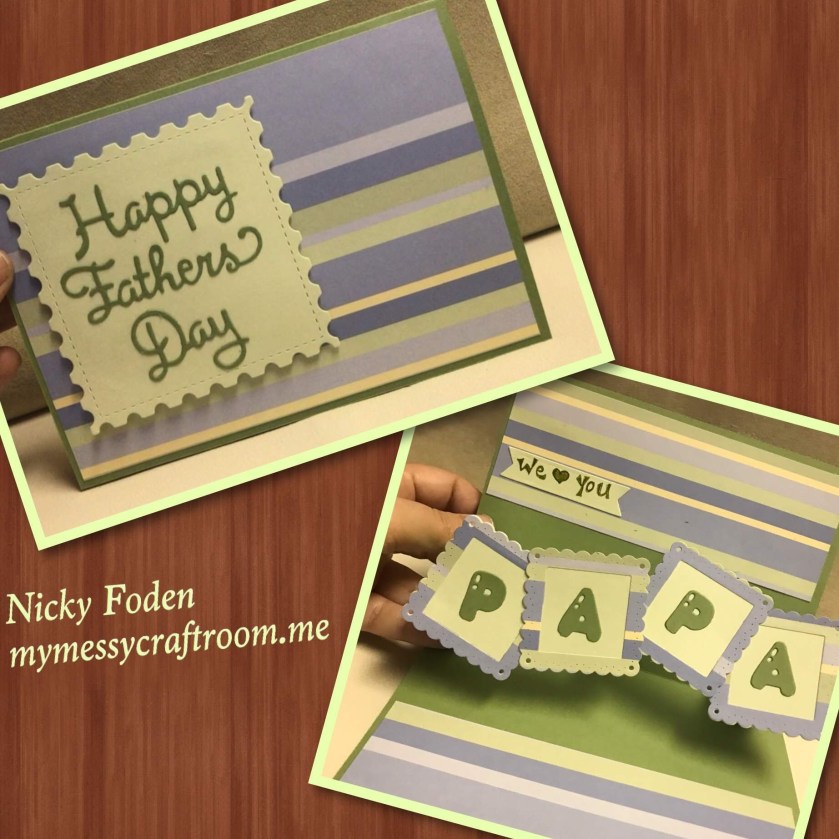
So when making this card I had to change gears once I was mostly done, as my original plan wasn’t going to work but I already had all the pieces cut and mostly assembled. My plan was to use Karen Burnistons Upsy Daisy die set and assemble it in its original design (similar to this ) except instead of 3 hanging squares, I was making a bigger card and was going to hang four. Even though the card was much bigger than Karen’s original video the four squares still didn’t hang right so I switched it up a bit.
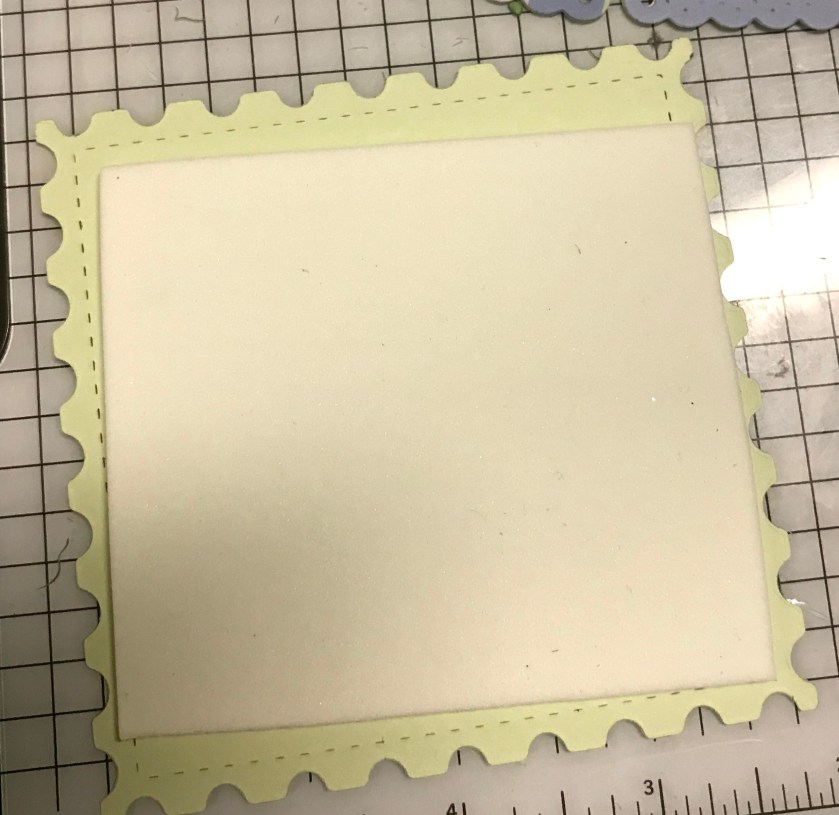
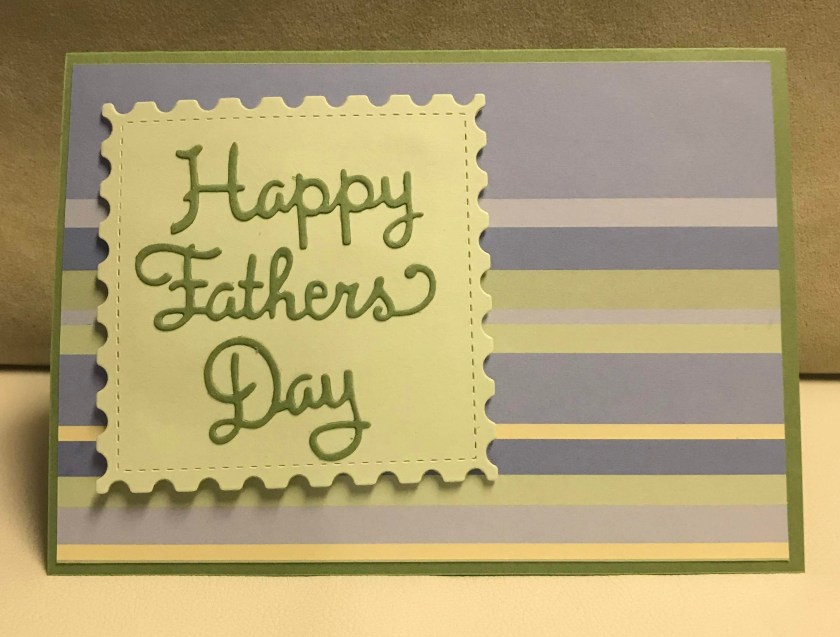
The card base is Stampin Up Wild Wasabi card stock cut to 5″ x 7″ card. The striped paper is from Pebblesinc and it is cut at 4 3/4″ x 6 3/4″. The Soft Seafoam green square was cut out with a stamp shaped die (purchase at a thrift store), The Happy Fathers day was cut out of Wild Wasabi cardstock and I adhered to the square.

I added fun foam to the back of the square to give it a bit of a lift.
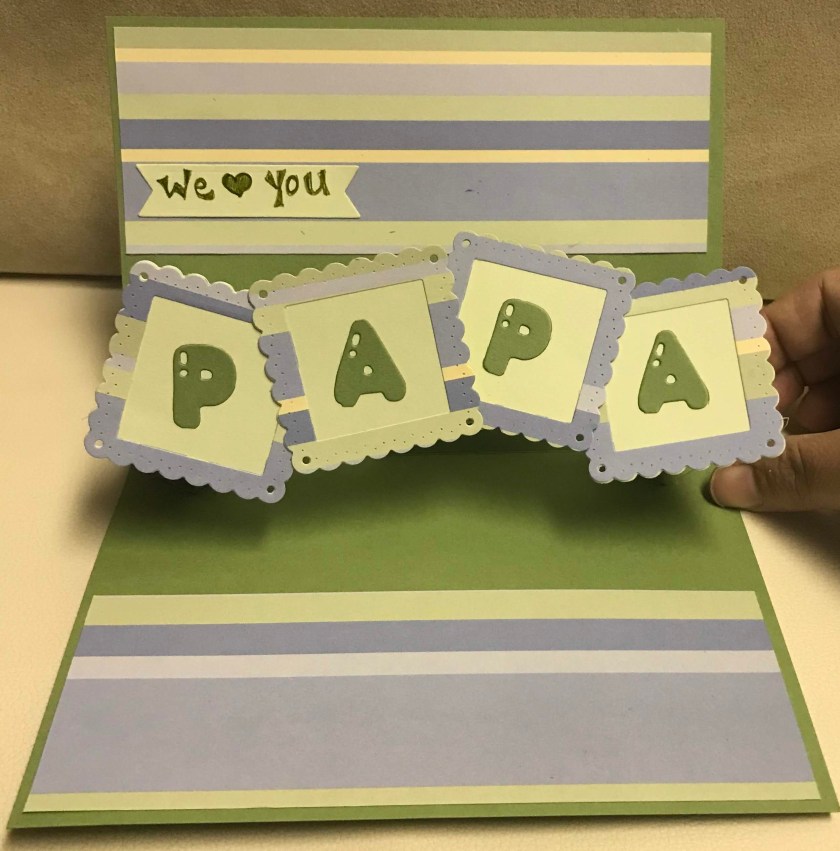
Now for the Poppin PAPA.
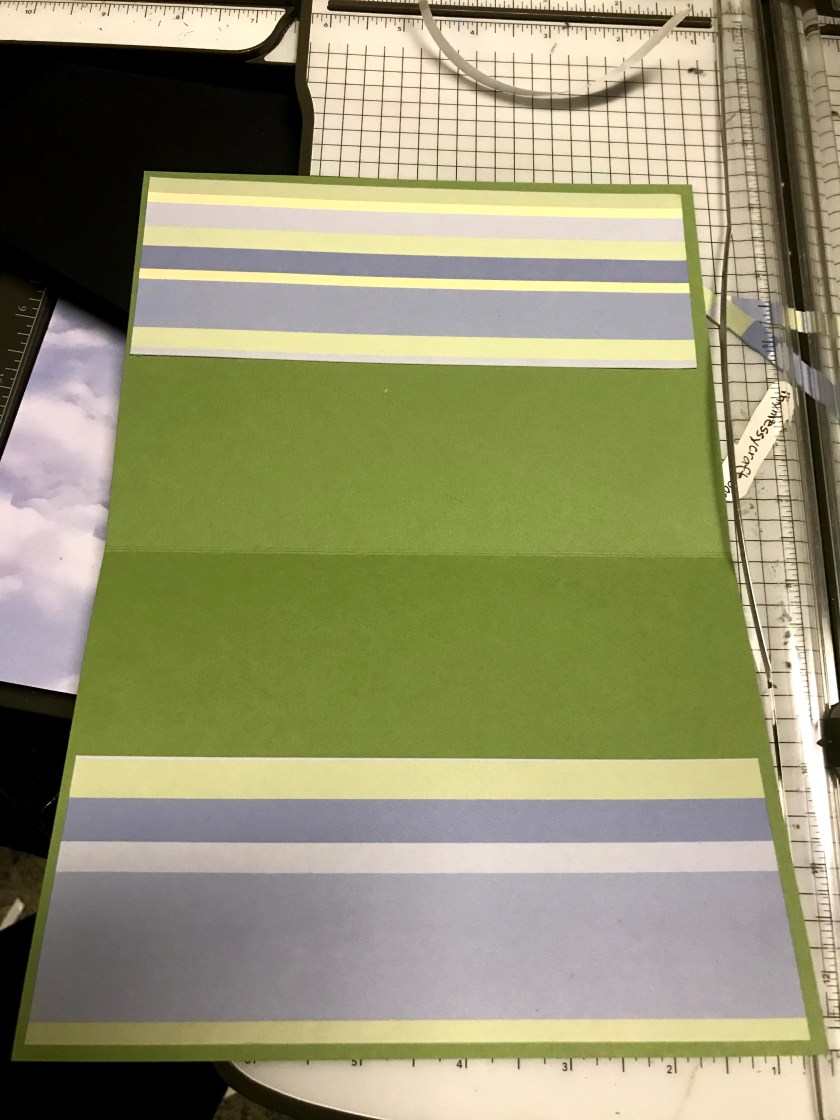
The inside Striped panels were cut at 2 1/2″ x 6 3/4″, I cut out 2 and adhered them to the top and the bottom of the inside.
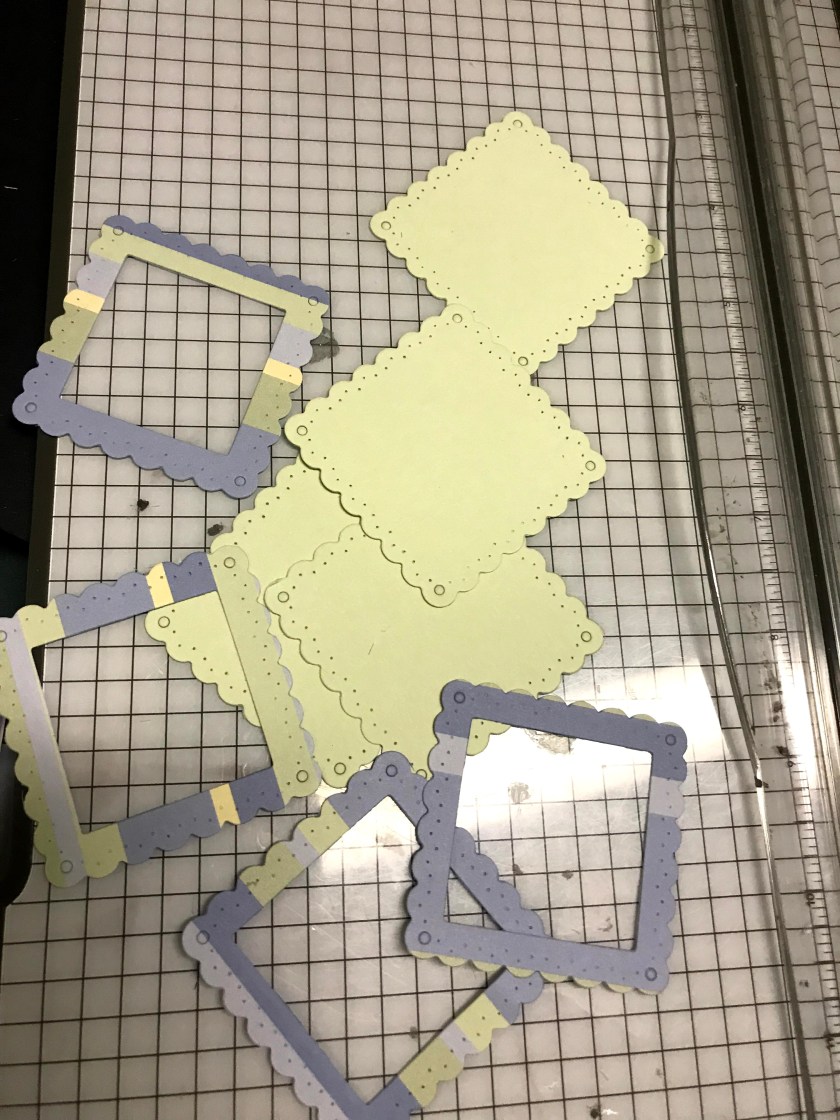
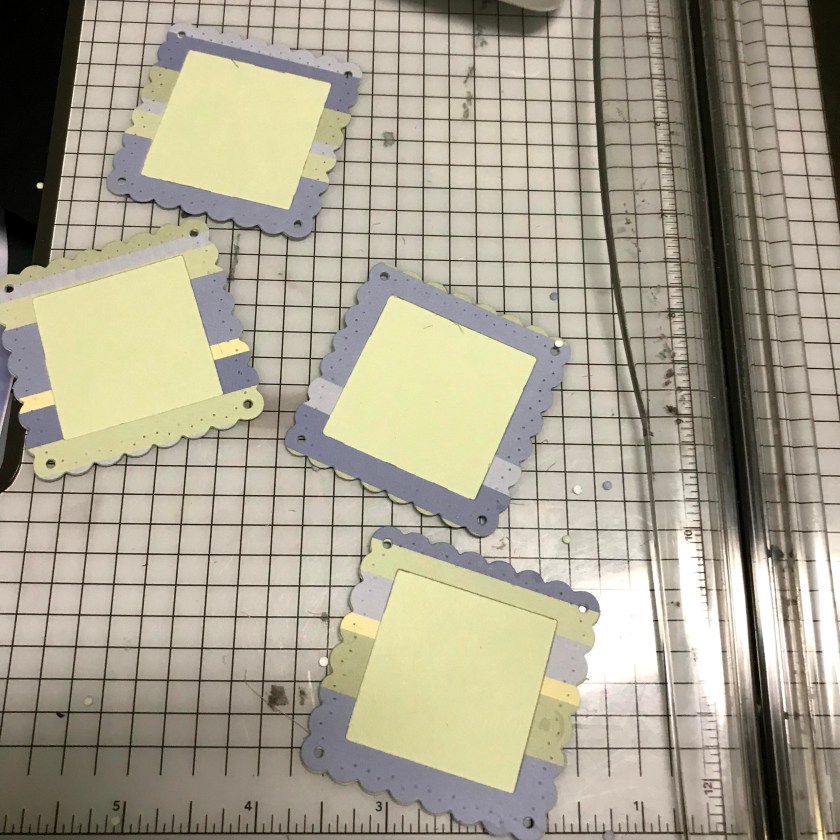
I cut 4 squares from this same die set, out of the Soft Seafoam cardstock, and the frames from the striped paper. I cut the letters out of Wild Wasabi. The letter die set is from my garage sale stash.

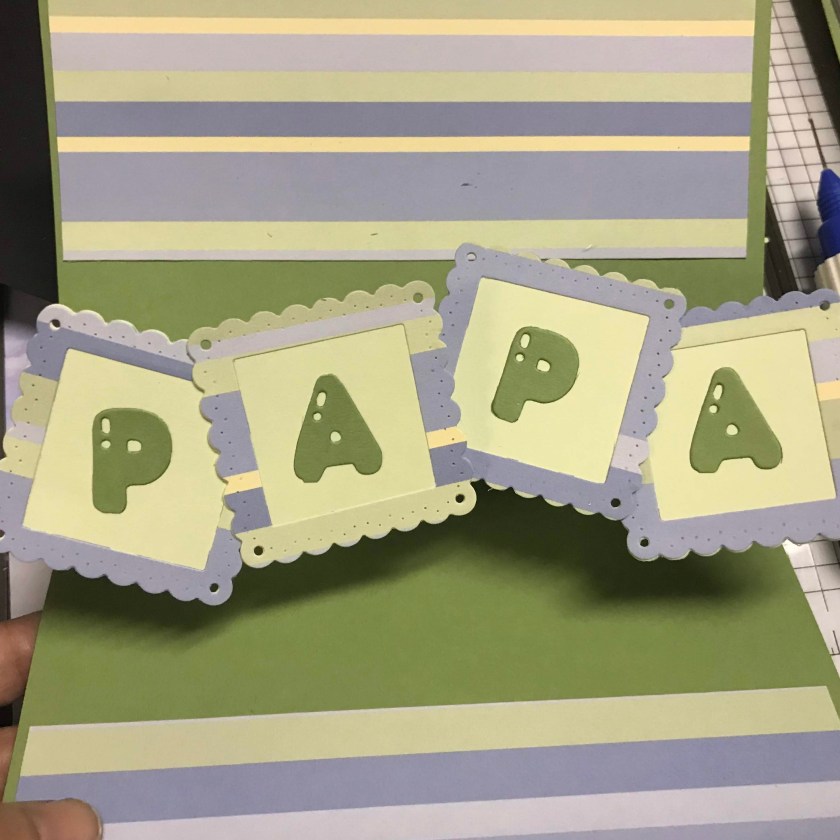
The pop-up mechanism was cut out of the Wild Wasabi cardstock and adhered to the card as per Karen’s video directions. Once the mechanism is attached instead of stringing the squares along on string, I glued the first square and the last square right to the pop-up mechanism on an angle,
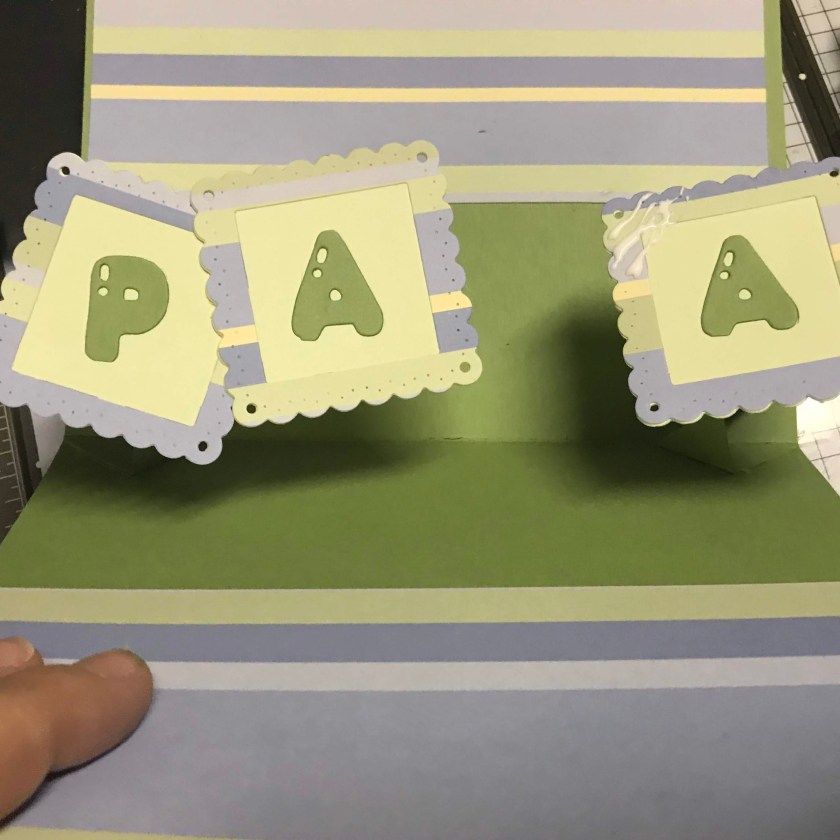
and I glued the second square to the first square, and the third square to the fourth square, It is similar to what Karen called “the Diamond Slide” version of the card near the end of her video tutorial except I used four squares and purposely adhered them a little bit askew. When the card folds, the right side slides behind the left side.
I cut the banner out with the same die set, and out of Soft Seafoam cardstock and hand wrote “we 💚 you”
to see other fun interactive cards check these out
Under the Sea Baby Accordion Card

This is an amazing card, beautully created and a brilliant step by step xx
LikeLike