
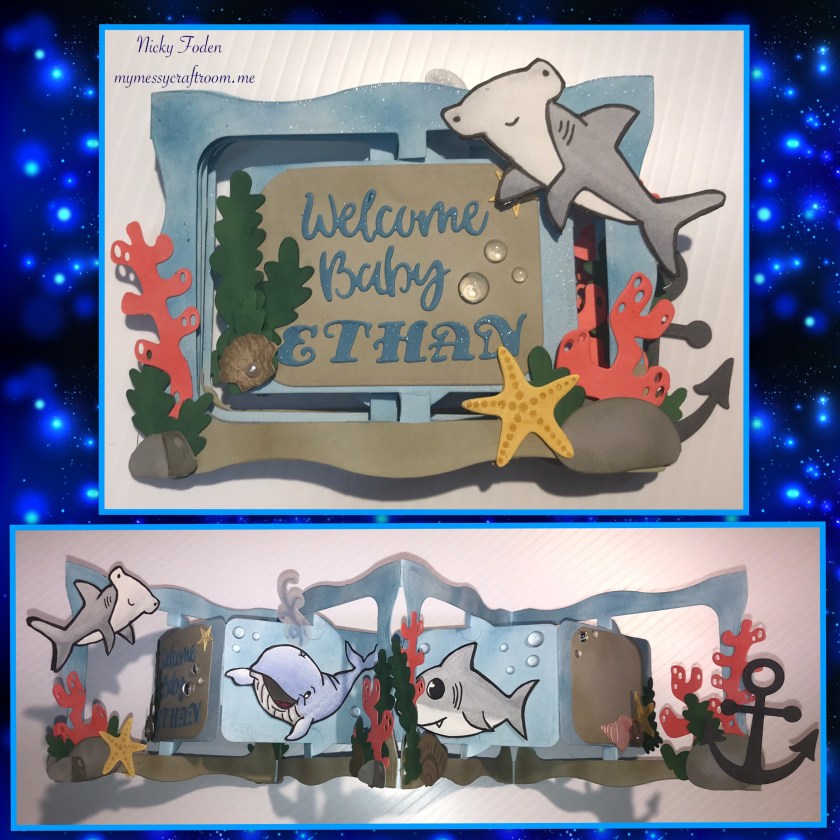
I have been asked to make several cards in the past, but this is a first, I was asked to make a baby card with a shark theme. Hmmmmm I’ve never really thought of a shark theme for a baby card. I was sent a couple of photos of babies room and sure enough it had a shark/ocean theme (there was also a picture of a whale 🐳) sooooooo this is what I came up with, and I have to say it turned out pretty cute.
To see other accordion cards https://mymessycraftroom.me/2018/08/18/happy-birthday-flowers/
https://mymessycraftroom.me/2018/08/06/the-journey-begins/
https://mymessycraftroom.me/2018/11/21/happy-penguin-card/
Click “Read More” to see more details, photos and instructions
So I needed sharks for this card, and I don’t have sharks in my stash, sooooo I had to figure out where I was going to get sharks from, when all else fails there is always google, I searched shark colouring sheets and I found exactly what I needed, and I’m sure there would have been a way to wifi them to my Scan N Cut but I really didn’t feel like figuring that out so I screenshot them and used my iPad as a light board and came up with these
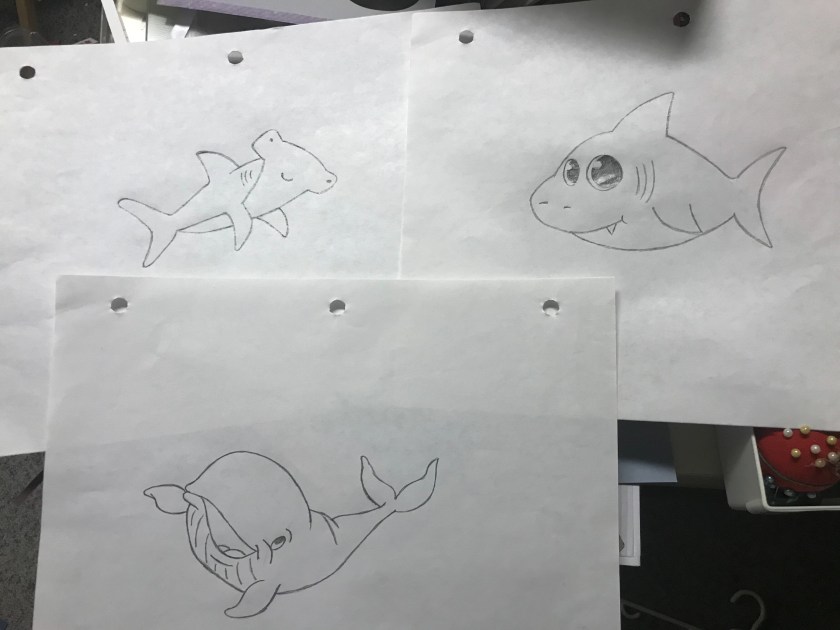
Then I scanned them into my Scan N Cut, sized them to fit, duplicated the hammerhead and made one of them the reverse image and then had the Scan N Cut draw them on card stock (if I had a functioning printer I could have just printed them from there 🙄) Next I coloured them all with my Chameleon Alcohol markers. I’m not a great colourist, I just keep playing until it looks alright.
Next, I worked on the card base, the die set to make this card is from Karen Burniston and is called the “Gift Card Accordion” die set. I cut out four panels from Bashful Blue cardstock and two panels from Sahara Sand Cardstock. The Blue was for the card base and the Sahara Sand was trimmed to line up on the bottom of the card for the ocean floor. I sponged ink on all the pieces with daubers and ink (see photo below) to give some dimension and some interest.


Next, I assembled the card base following Karen’s video directions https://youtu.be/bzB7Auai1QU
I debated about whether I would decorate the pages and then assemble or assemble then decorate 🤔 I choose to assemble then decorate because I knew in my mind that I wanted some of the details to hang over the edges so I needed to be sure that all the panels and middle sections would all open and close smoothly.
This card is all about the details and I hope I get them all. I am posting pictures of each of the sections and will explain as best I can 😀
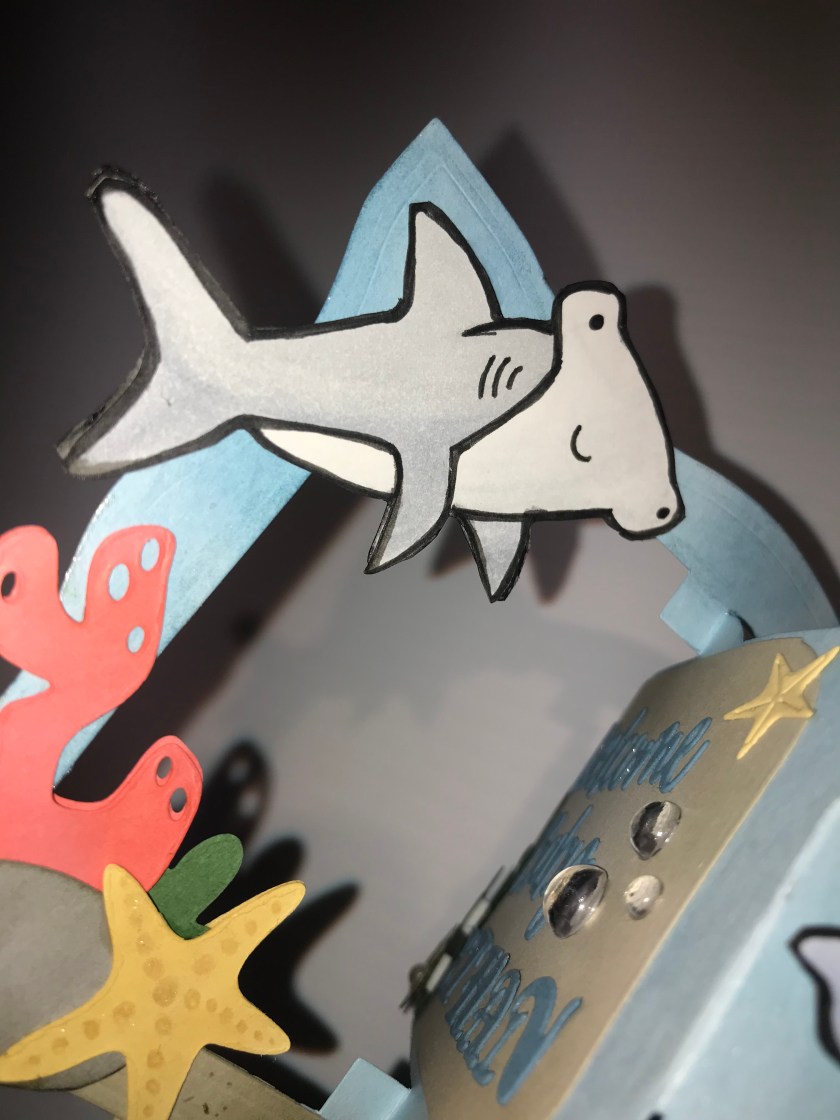
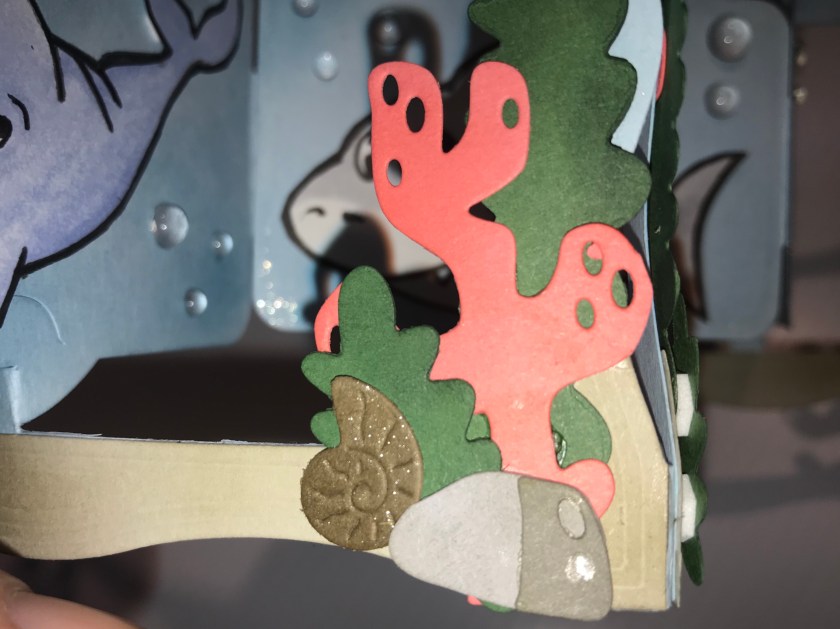
First Panel Outside

Cardstock colours are all from Stampin up and they are Marina Mist (words), Cameo Coral (coral), Garden Green (seaweeds), Going Grey (rocks), So Saffron (starfish), Crumb Cake (oyster is from Karen Burniston), and the first Hammerhead shark. All the details were either sponged with the same colour ink or marker. I added an itty bitty pearl on to the oyster and faux “water droplets” for details.
First Panel Inside
So the middle section flips open to the inside when the card is opened so I only had to decorate the middle section once, but had to decorate the frame twice as we need to see the inside and the outside of the frame. I basically did the reverse image of what was on the outside of the card to the inside, I thought that it would look nicer than see the backs of all the little pieces. I also used the reverse image of the hammerhead shark.
Second Panel (it’s hard to get a good photo when the card is assembled so here are 2, one showing the whale and one showing the ocean details)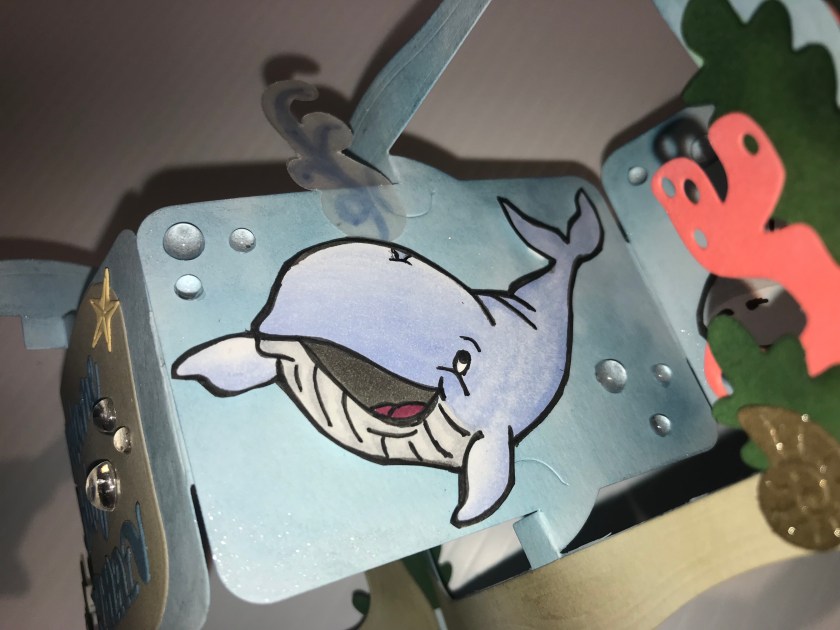
Cardstock colours are Cameo Coral (Coral), Going Gray (rock), Garden Green (seaweed) and Soft Suede (seashell, this shell is from Karen Burniston), again I sponged all the elements with its matching ink. I added a few faux water droplets, and of course the Whale.
Third Panel
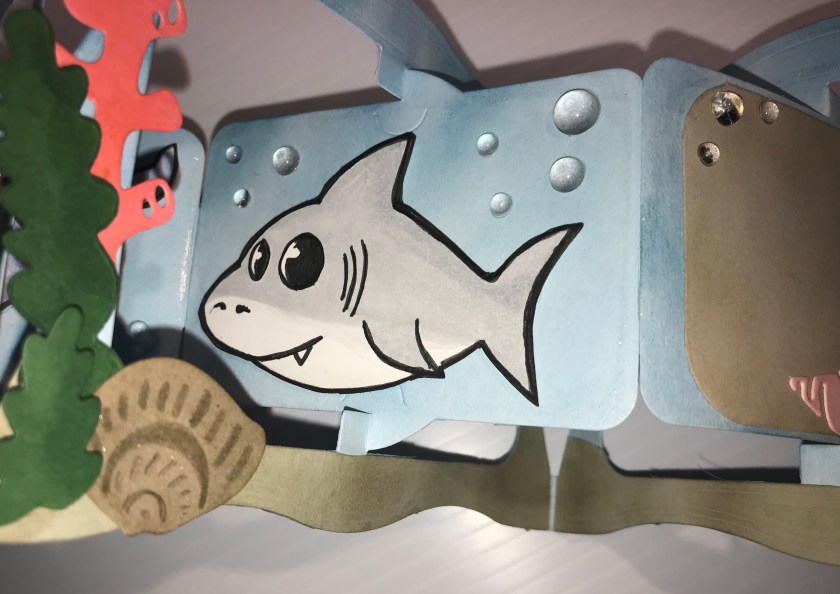
The elements on this panel are pretty much the same, the coral and seaweed are the same as above but I added a Crumb Cake seashell and more faux water droplets. And what would a shark-themed card be without a Great White
Panel Four
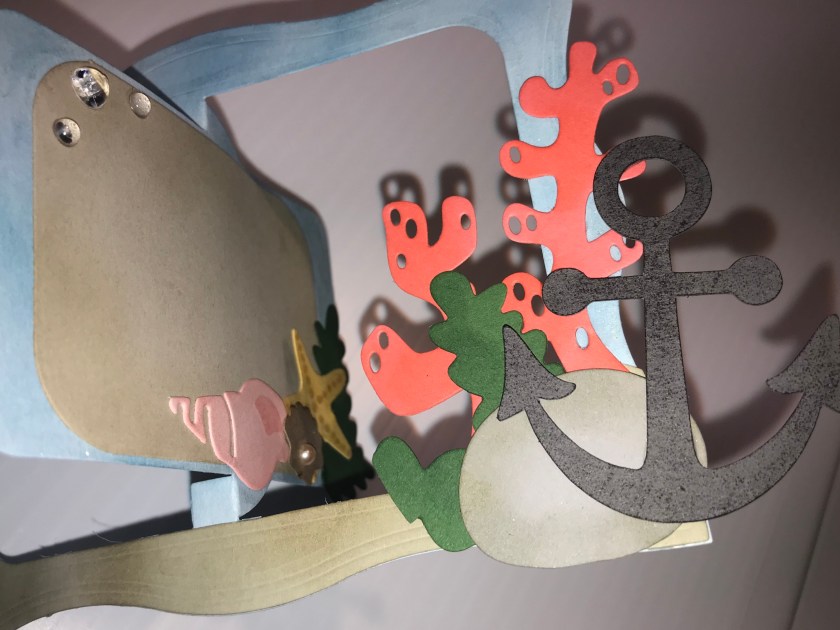
On this last panel, the seaweed and coral are the same, then I used Going Gray (Rock) Basic Gray (anchor, is from Scan N Cut), Pink Pirouette (seashell), So Saffron (starfish), and Crumb Cake (oyster & tag in the centre). To get the texture on the anchor I dabbed it straight onto the ink pad. I also added an itty bitty pearl to the centre of the oyster and added, you guessed it, a few more faux water droplets.
I added Wink of Stella glimmer throughout the card.
The rocks, seaweed, coral and some of the shells are from a die set that I purchased second hand so I am not sure where it came from.
Here are a few more photos to show different angles, like I said it is hard to get good photos of this card with all the angles.


6 thoughts on “Under the Sea Baby Accordion Card”