
IT’S SNEAK PEAK TIME, and I’m so EXCITED. I made a few cards and I had a hard time choosing which one to post first. I decided on this one because it uses 3 new products so it’s 3 sneak peaks 😁. This adorable Skeleton from the Skeleton and Bats set, the Slim Pattern Plate- Spiders, and the Slim Pattern Plate – Bats. All the dies used for this card are from Karen Buriston, I will list them as I go, and all the links will be at the bottom of this post. I cut enough pieces so I made 2 cards. The front of the card is a shaker, with a skeleton, I didn’t want him to get stuck upside down so I added him to a thread so he could glide up and down with out the possibility of him flipping upside down. Links are at the bottom of the page

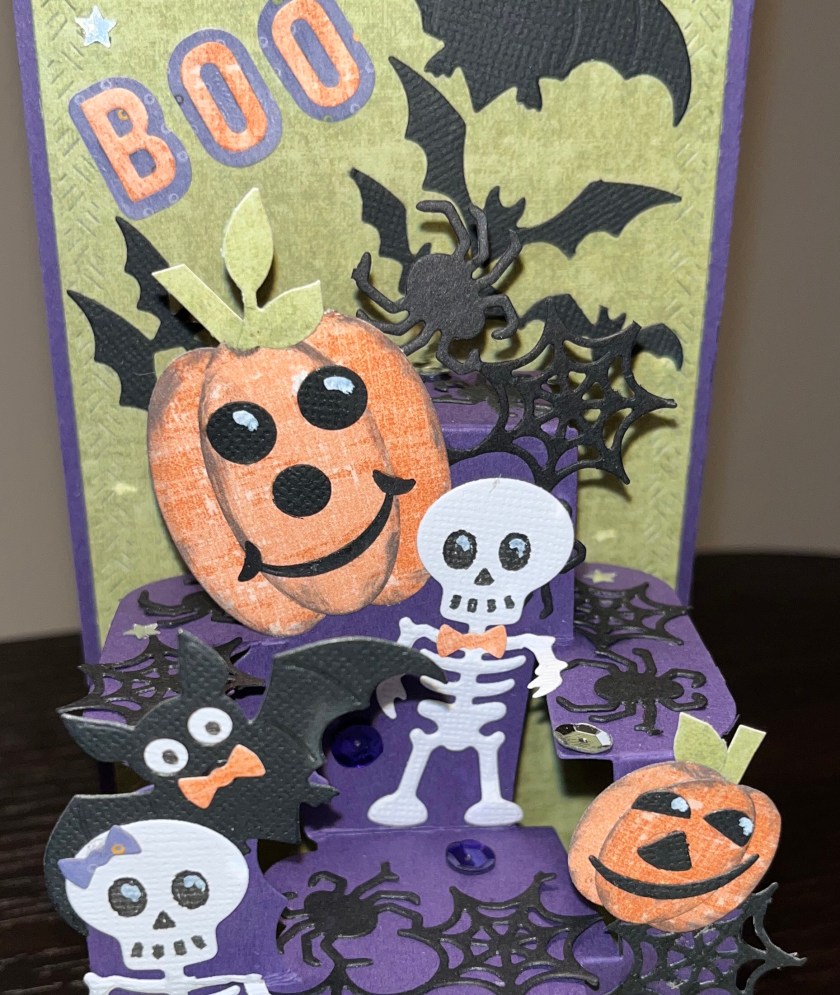
The inside has this fun pop-up with all these adorable Halloween characters

All the fun is in the reveal, to see this card in action please check out my FACEBOOK page, feel free to join if you would like to share your own crafty creations. You can also see a video of this card on my INSTAGRAM page.
The paper used is from my stash, some of it is from Stampin Up, some from Costco, and some just some how ended up in my stash lol.
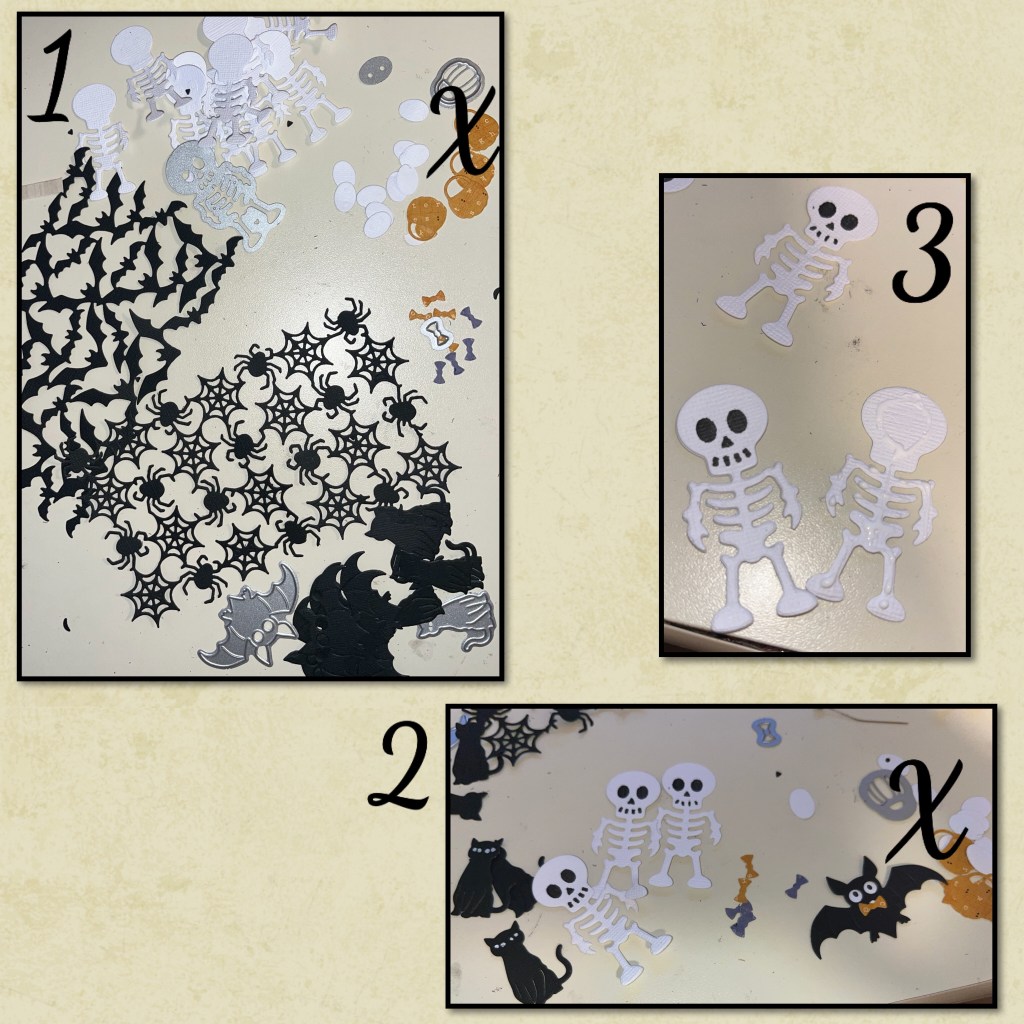
1- I cut out the skeletons, bats, and cats from the NEW Skeleton and Bat set, as well as the Slim Pattern Plate Bats and Slim Pattern plate bats,
2- I drew on the faces and eyes using the stencil feature and added the bow ties to the bats.
3- I doubled up the skeletons to make them a little stiffer.
4- I found some long skinny beads in my stash and adhered 2 to the back of the skeleton.
5- I added some half-back bubbles to the back of the skeleton to help him glide.
6- then I added it to a very fine thread.

7- I cut a Purple piece of cardstock to 12” x 3 1/2” scored @ 6”
8- using the largest Crosshatch rectangle from the Short Rectangles Crosshatch set I cut a green rectangle for the card front.
9- add it to the card front.

10- I trimmed a few of the bats from patterned background.
11- I added on layer of foam tape around the edges of the green rectangle.

12- I wrapped one end of the thread around a very thin piece of cardstock and added it to the the foam tape. I started with the bottom piece.
13- I did the same with the top, I didn’t want the thread too tight or too loose. The skeleton has a little bit of wiggle room.
14- it should look like this.
15- I added another layer of foam tape over the first. Make sure the skeleton can slide up and down the thread before you add the shaker bits.

16- Using the 2 largest rectangles from the Short Rectangles crosshatch tape together I cut out 2 frames.. One from black cardstock and one from a purple patterned paper.
17- using the largest rectangle I cut out a piece of acetate.
18-adhered the acetate to the cardstock rectangle.
19- adhere the purple frame over the acetate, covering the glue that is visible

20- add the shaker bits to the card front and the acetate frame over that.
21- I cut a section from the Spider and Web patterned background. And added it to the bottom right corner.
22- I stamped “Happy Halloween” from a retired Stampin Up stamp set onto a banner from the Paper Frames die set2
And added it too the card front.

24- Using the same rectangular die as the front I cut 2 panels for the inside
25- add them to the inside
26- cut the main die from the Gift Pivot Panels diesel from purple card stock

27- fold on the score lines
28- add adhesive as shown on the tabs, and carefully fold the tabs back so they stick to the card base.
29- carefully close the card making sure all the folds are folding the right way.
30- this is the side view

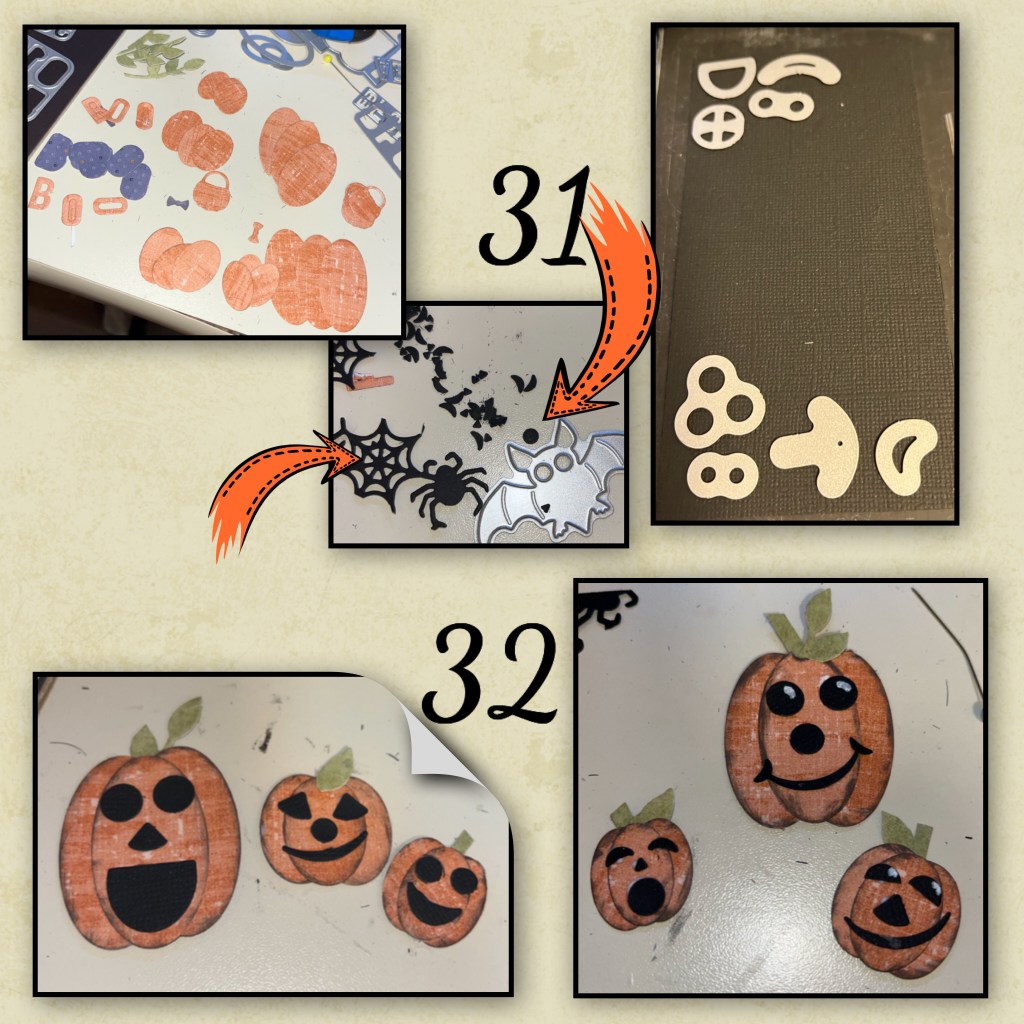
31- I die-cut pieces from the Surprise Ball, the Bitty Ball, Mini Ball add on Monkey and Lion, the leaves are from the Flip Frame pop-up, and I cut the BOO from the Mini Alphabet set. The confetti from the spider web and bat were also used for some of the smaller Jack-o-lantern faces.
32- have fun making faces
33- add all the characters and pieces to the platform, I also added some sequins.

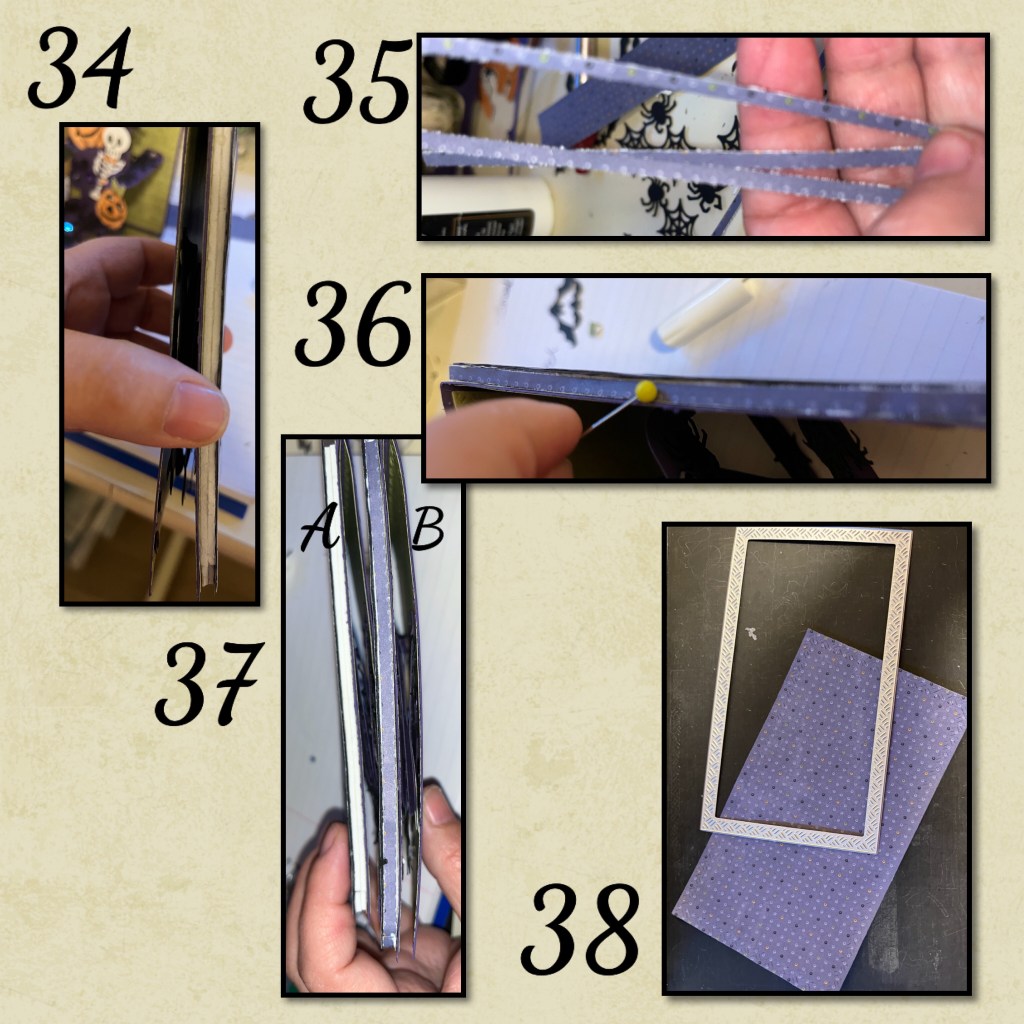
34- I didn’t love that the foam tape was visible around the sides of the card.
35- I cut thin strips of a purple patterned paper
36- I used liquid glue to add the strips around the card. The little ball on the pin helped to smooth it out.
37- A-shows the card without the purple strip, B- shows the card with the purple strip
38- using the same rectangle again I cut a panel for the back of the card.


To see some other Pivot Panel cards, please check these out
Double Heart Pivot Panel Valentine
Karen Burniston Diesets used in this card
