
Years ago, like 2006ish I made my first waterfall card. I was part of a Stampin Up group and it was taught to us in a class, I remember thinking it was so fun making this interactive card BUT, all the pieces were cut and scored with a trimmer, and the measurements had to be just right (the measurements for that card had very small flaps) or it wouldn’t flip. So as fun as I thought it was I never made another one, with a trimmer anyway. I’ve made a few using Karen Burnistons Frame Pull Pop up, but that also needs some alterations. This is my first time using Karen Burnistons Waterfall Card die set and this set definitely makes it way easier. I made this card in one evening.
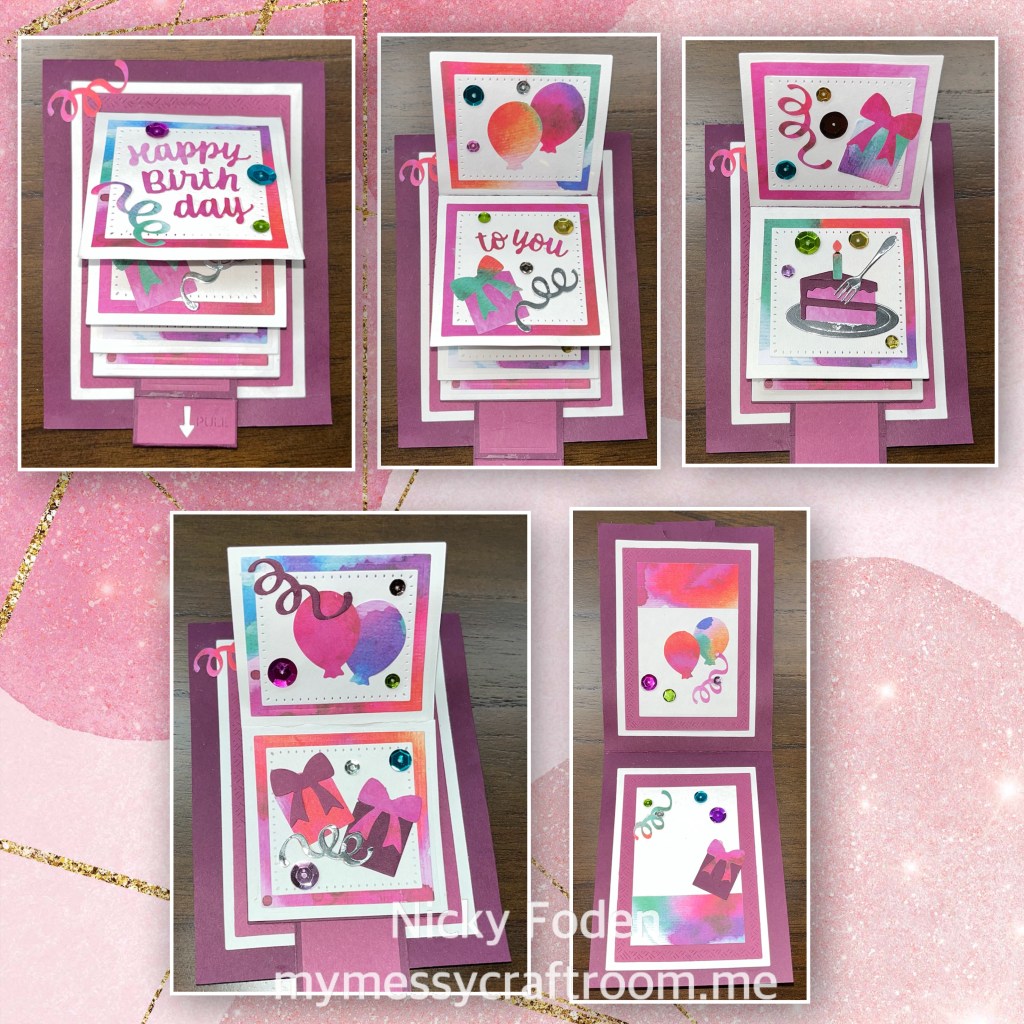
All the fun is in the reveal, to see this card in action please check out my FACEBOOK page, feel free to join if you would like to share your own crafty creations. You can also see a video of this card on my INSTAGRAM page.
1- Using the Rectangle Crosshatch dieset, I took the second largest rectangular and I cut a white rectangle, using the third largest die I cut a purple rectangle
2- make a top fold card – dimensions in photo ⬇️
3- add the 2 layers to the card base.

4- die cut a notch, I made a mistake by rolling the whole card through my Big Shot so now I have a crease. Next time I will only roll it as far as the small die.
5- die cut the other pieces for the mechanism. It’s hard to see but the rectangle on the left has the needed score lines. The dark purple pieces are for the mechanism, the lighter pieces for decoration.
6- fold on the score lines and add the arm and the lighter shade of purple to it.
7- line up the large scored piece to the card front,
8- I used eyelets to attach the 2 pieces together. Staples or brads would work as well. I added the decorative pieces to the end of the pull arm.

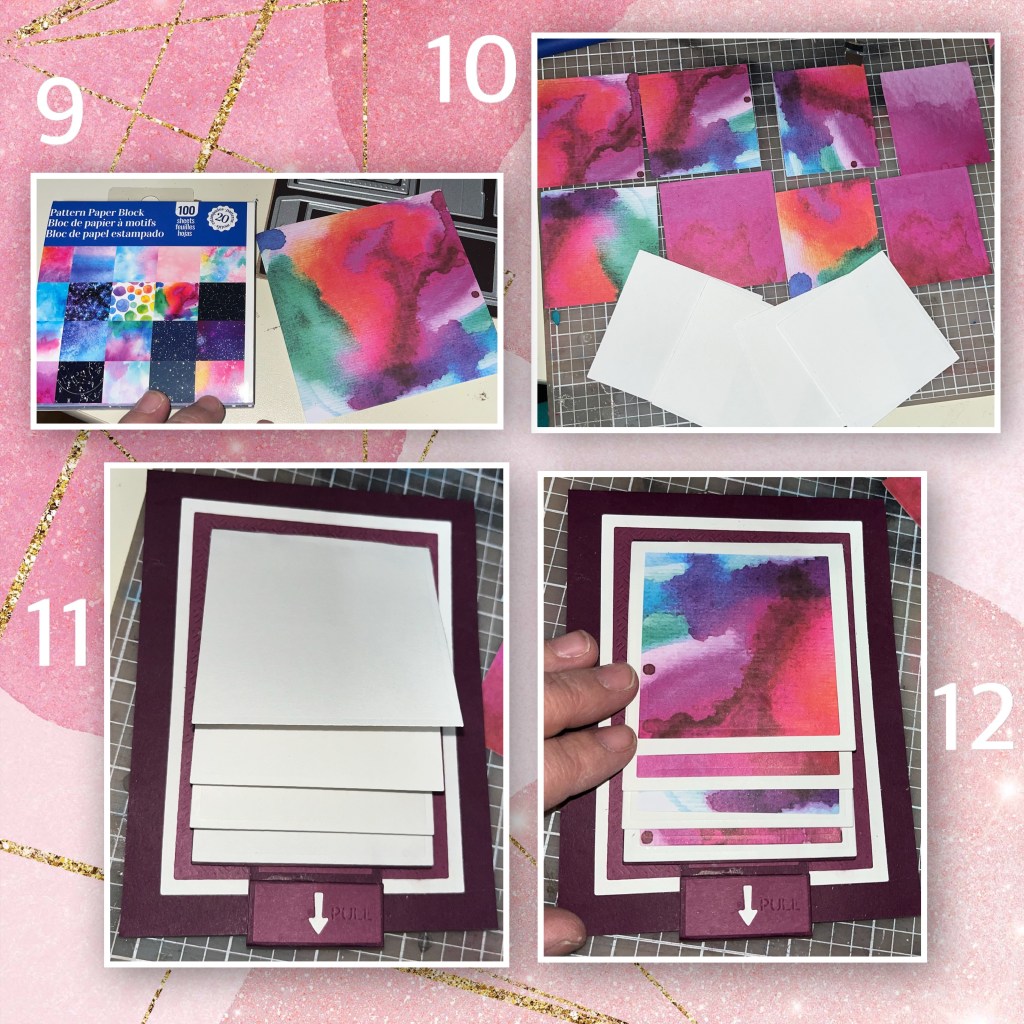
9- I found a mini paper pad with water colour pages at Walmart
10- using dies in the set I cut 4 white pages and the water colour layers for both sides of the pages.
11- add the pages to the dark purple piece with score lines. The first one goes on the bottom and the rest line up with the score lines.
12- add the water colour layer
13- cut white layers using the dies from this same set
14- add the white layers

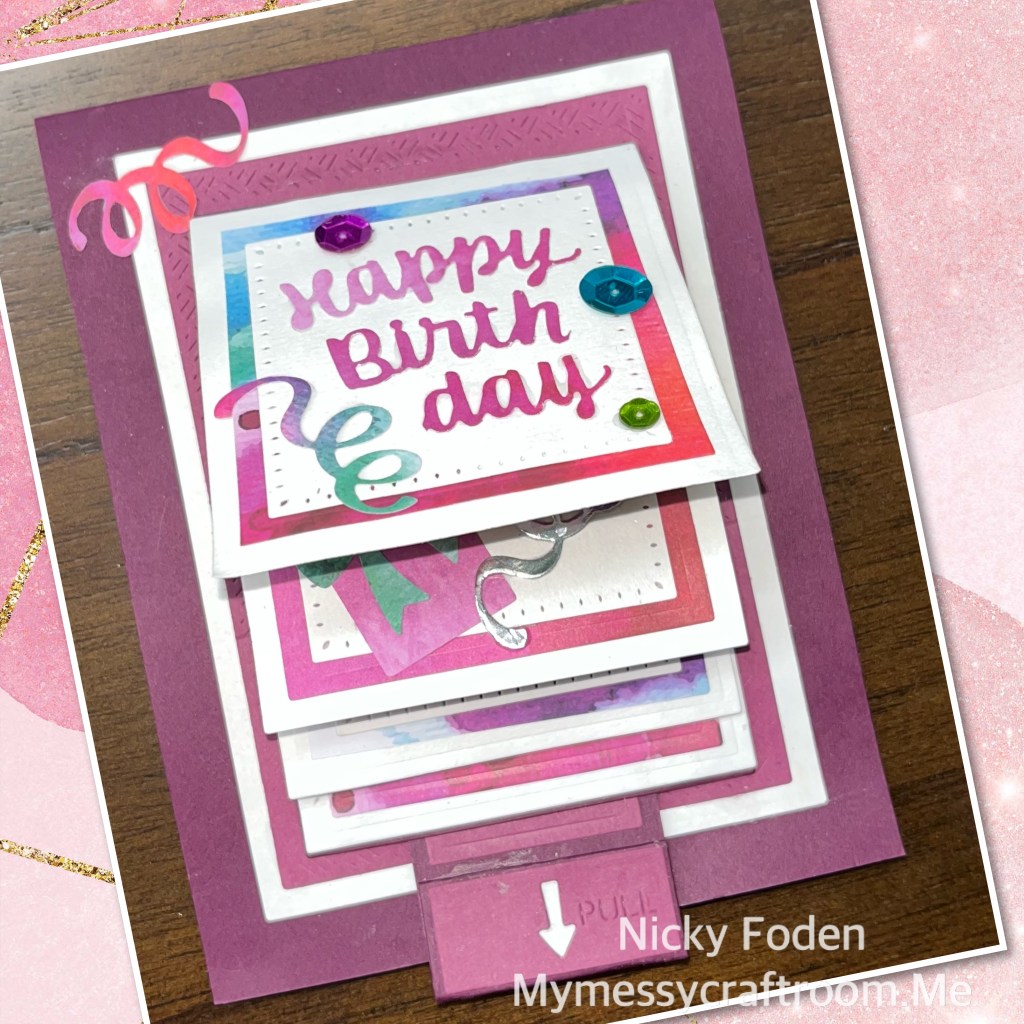
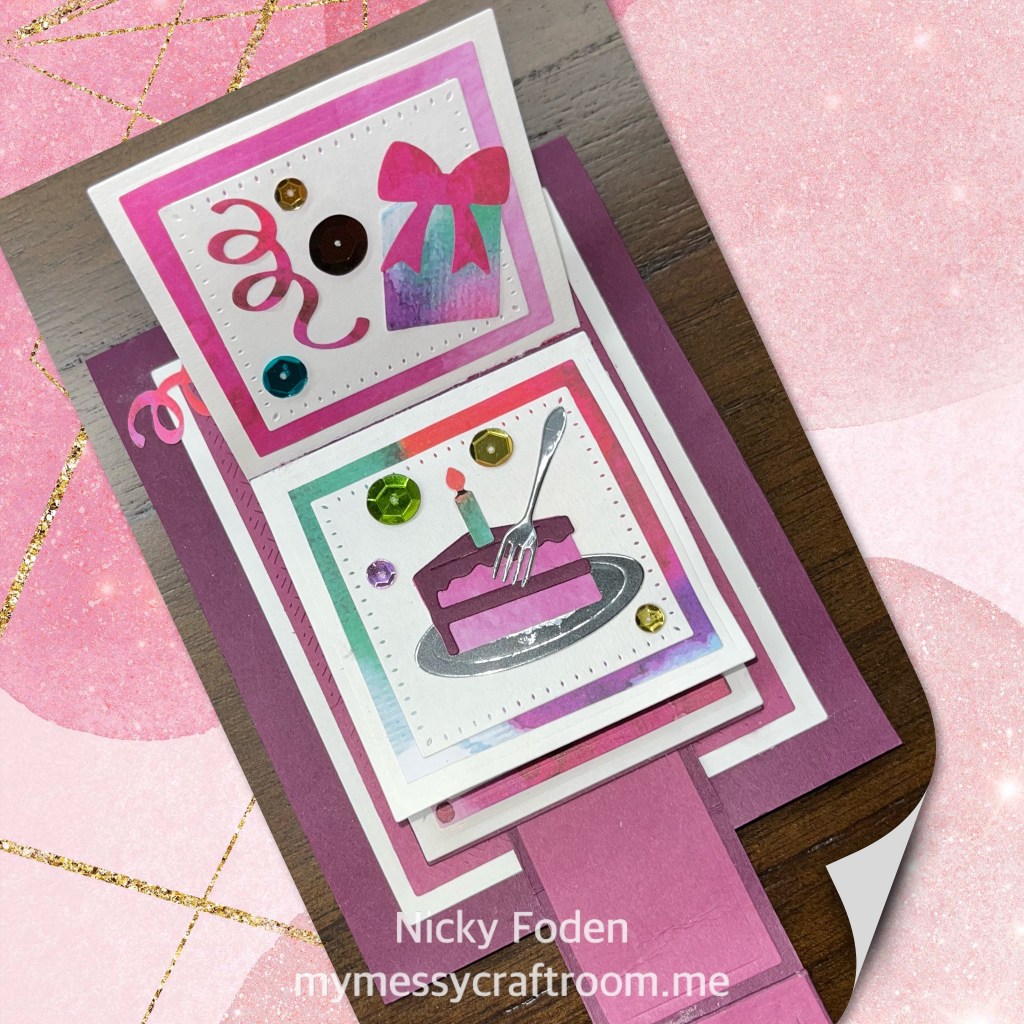
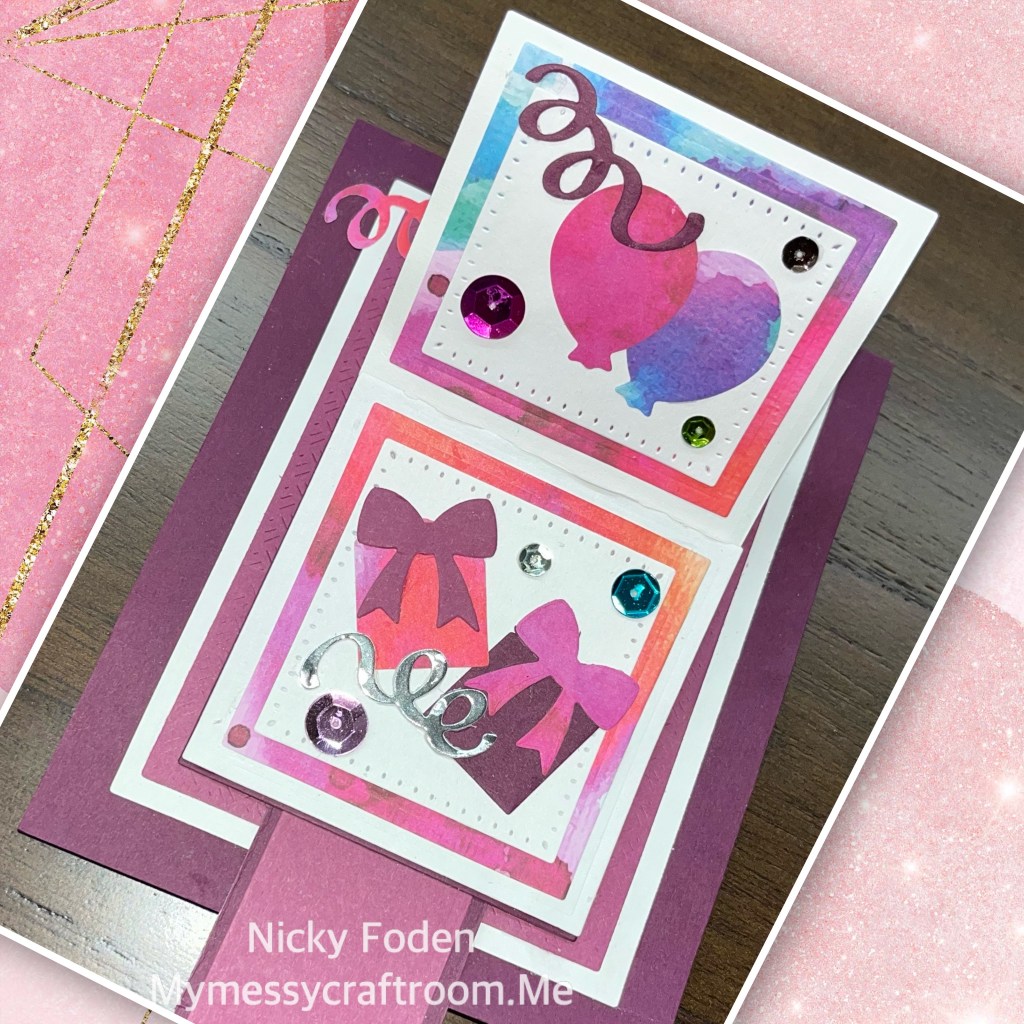
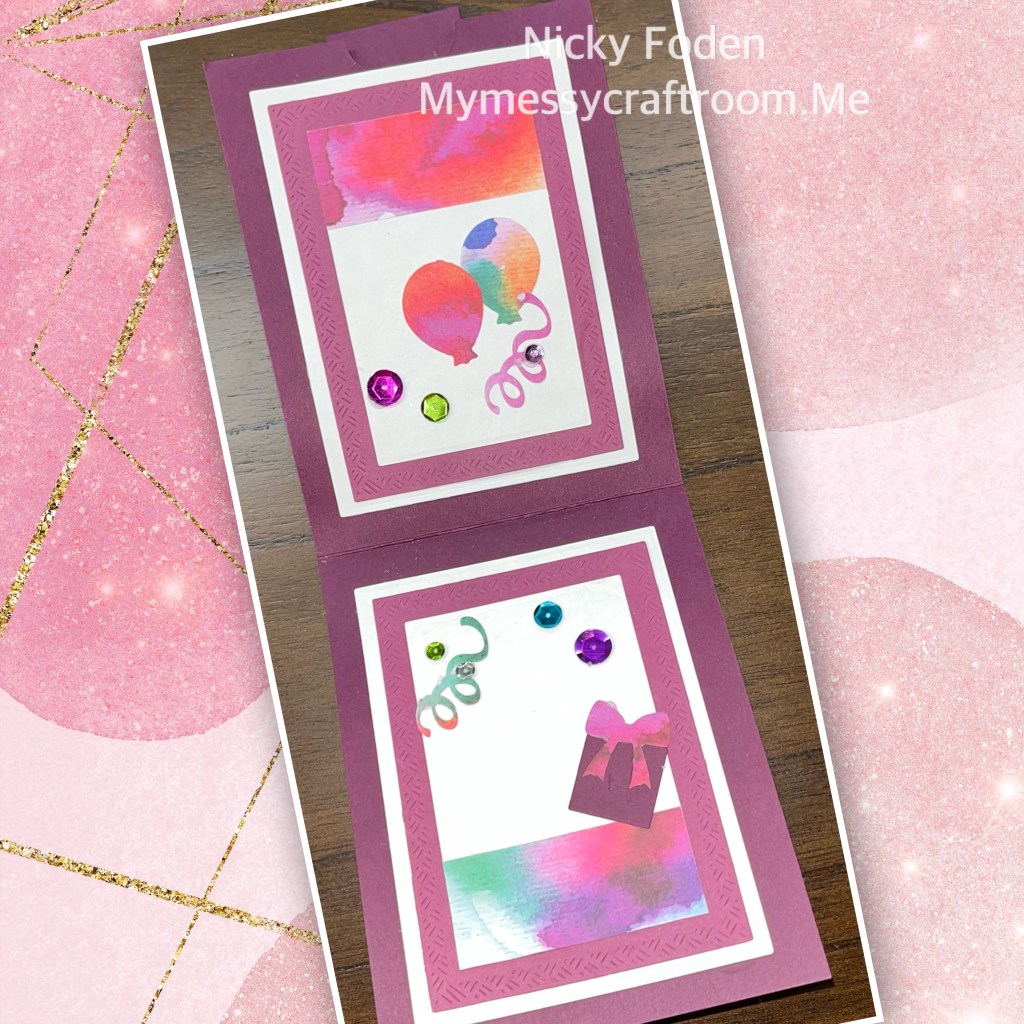
15- I diecut multiple pieces using the Big Birthday Charms using all scraps from the papers and cardstock that I used. I also used silver for the fork, plate, and a few streamers.
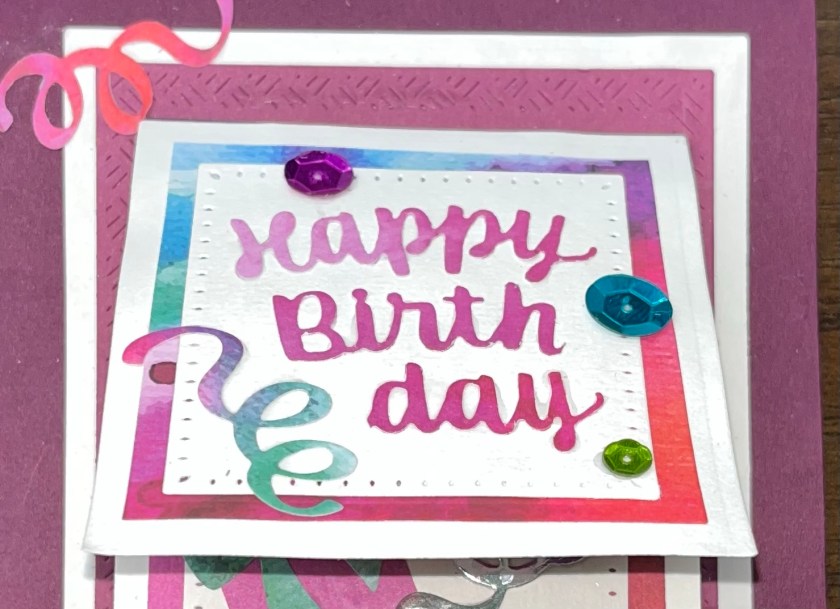
16- add the birthday diecuts

17- using the next smaller rectangle die, cut out 2 white rectangles and the water colour. I trimmed the water colour piece to make borders.
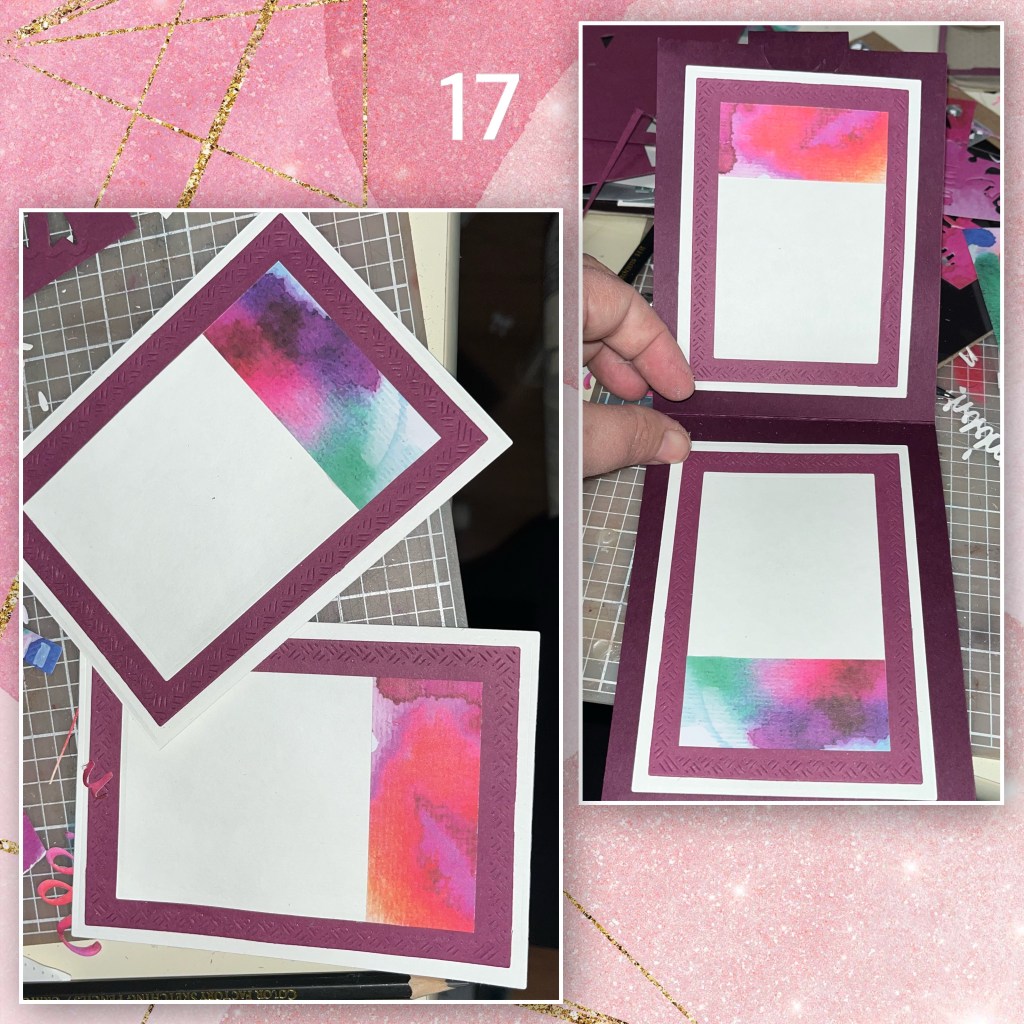
I added some fun sequins throughout the card.

I only used 3 diesets for this card
Tools
