
Every once in a while I get excited about how a card turned out, and I have to say I am pretty happy with this one. I made this card especially for my niece and I’m finally able to share it. At first I was stumped as to what to make her as I generally go a little over the top when making cards for her and her brother (His last card) But I was inspired by a Shaker Card that I made a few months ago and I wanted to change it up a bit make it bigger and better. And this is what I came up with.

All the fun is in the reveal, to see this card in action please check out my FACEBOOK page, feel free to join if you would like to share your own crafty creations. You can also see a video of this card on my INSTAGRAM page.
Ok, I used a LOT of coloured cardstock when making this card, most of it I grabbed from my scrap bin. All of it is from Stampin up. This is a good card to use up little scraps. The card base and mechanisms were cut from Basic Black.


I used a lot of goodies to fill all the shaker sections, some are shown below.
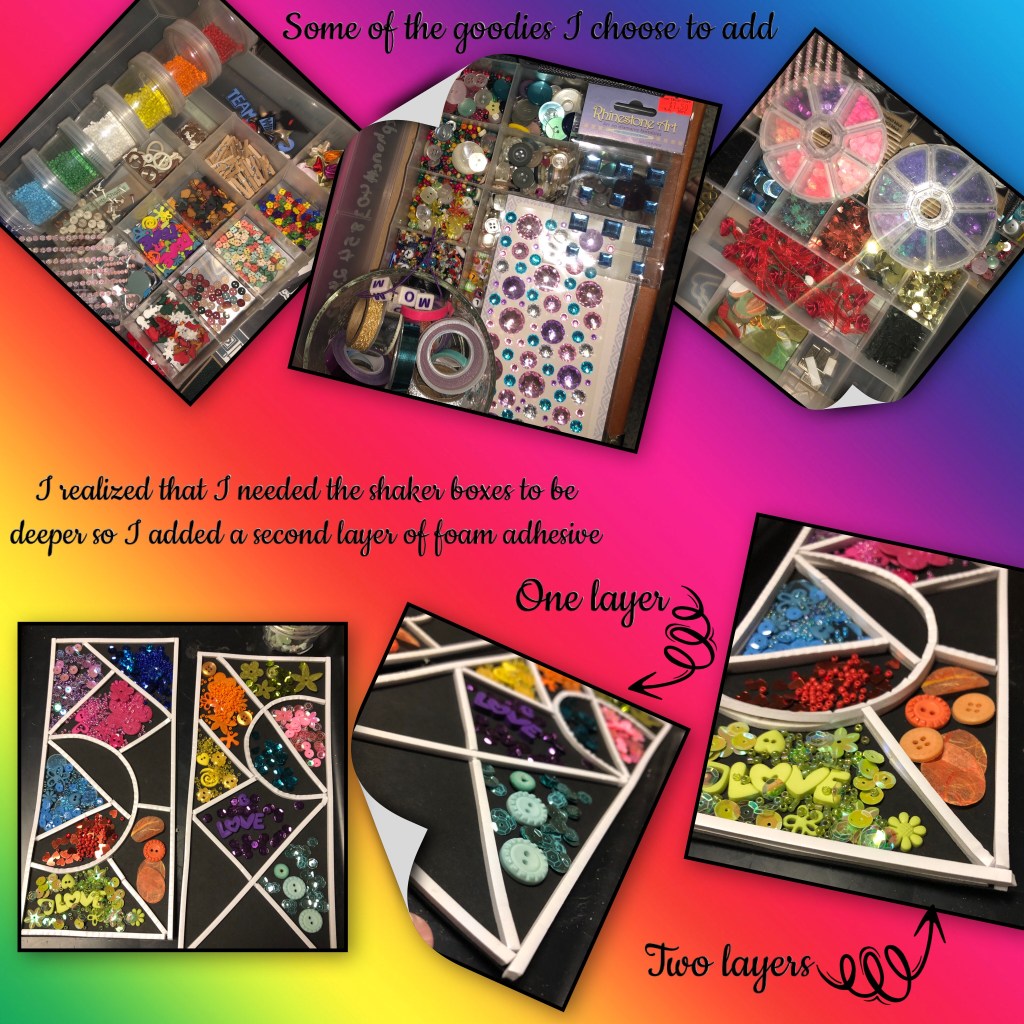
I left one section empty as I new I would be covering it with a large tag and there was no point in filling and not seeing it.


Now for the inside mechanisms. I used the Photo Collage die set from Karen Burniston. I made 2 mechanisms. I took photos of my progress for reference, but to create these mechanisms I highly recommend watching Karen’s VIDEO she gives the best tutorials.

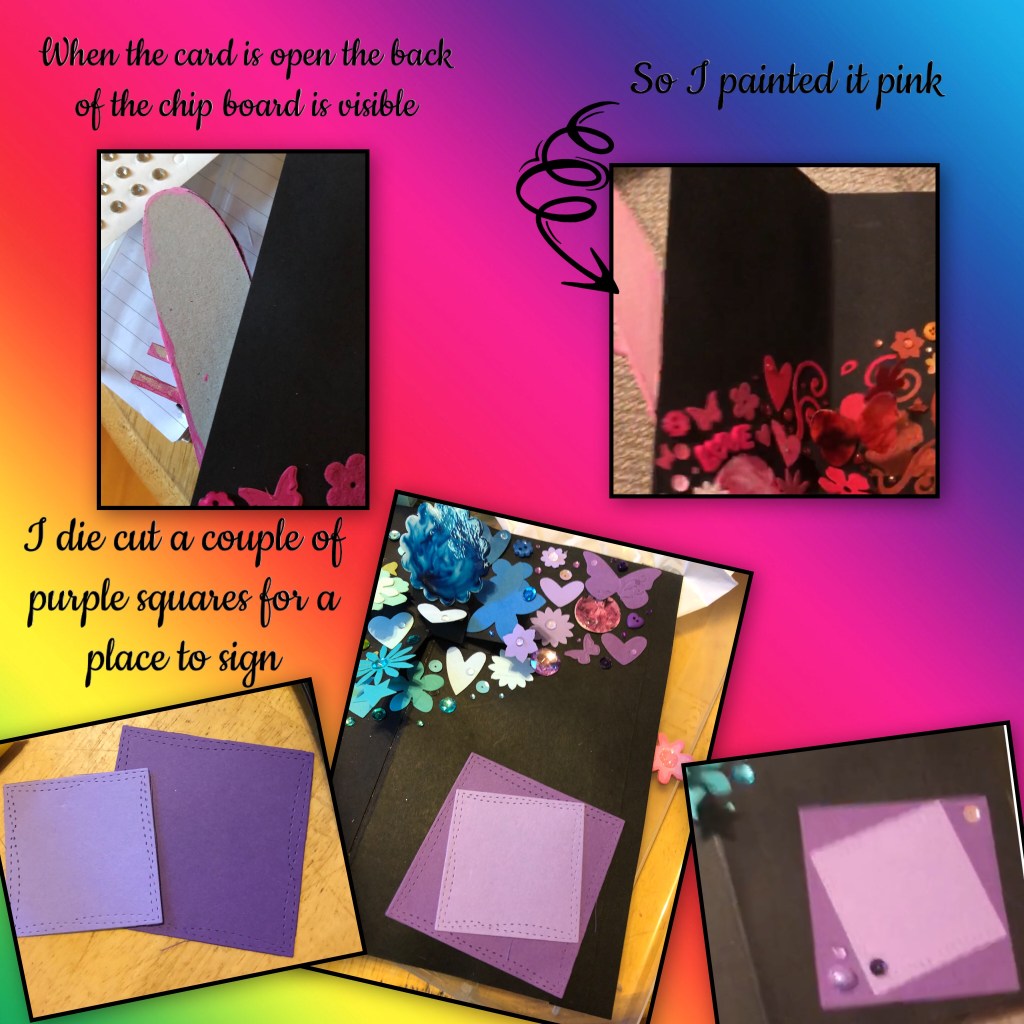
Some of the die cut pieces below were spare diecuts from previous projects. I used a variety of punches and dies to get all the shapes. I save everything 😂


Some Helpful Hints


Now for the large Tag


To see some other Photo Collage cards please check these out

This is incredible! A true master class in paper craft – well done!
LikeLiked by 1 person
Wow….amazing card hun, absolutely beautiful xx
LikeLiked by 1 person
Thanks!!! 😀
LikeLike