
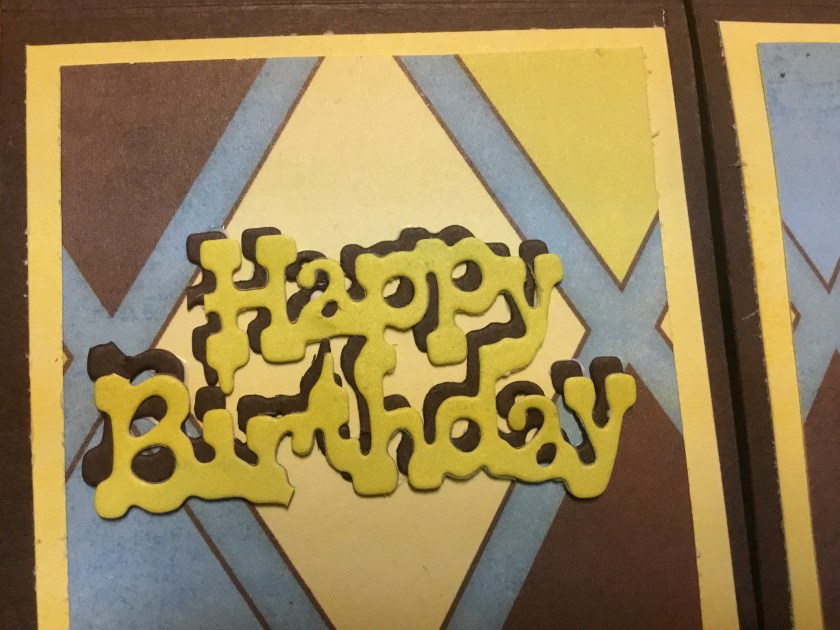
I have a fun one today, my daughter asked me to make a birthday card for her boyfriend and she has always loved Never ending cards so this is what I came up with. His birthday was a month ago and I am just now getting to post it. Hopefully next week I get the chance to make something new.

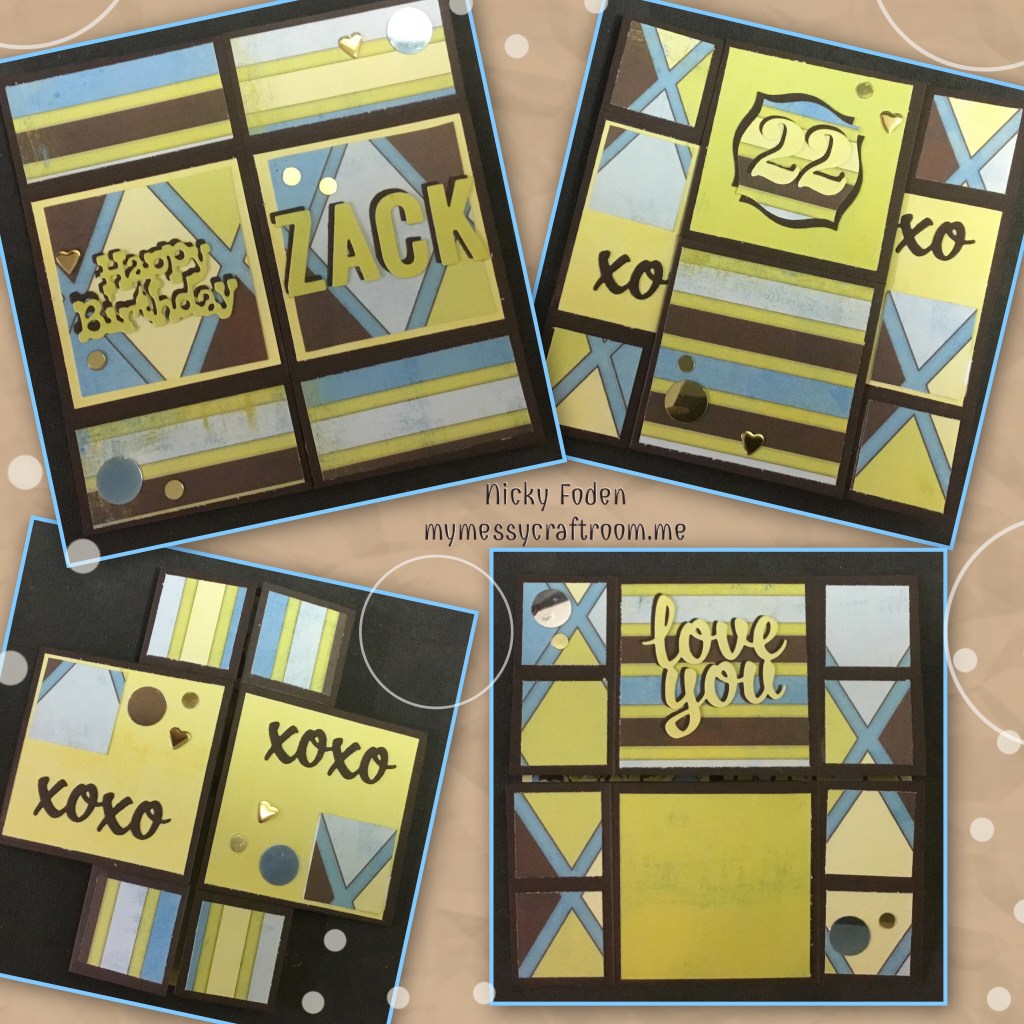
All the fun is in the never ending folding of this card, to see this card in action please check out my FACEBOOK page, feel free to join if you would like to share your own crafty creations. You can also see a video of this card on my INSTAGRAM page.
I have been really strapped for time these last few months so when making this card I wanted the patterned paper to not only be the background but also part of the decoration, and I enjoyed playing with the 2 patterns.


A little clarification, the addition score lines I mention below should be done and then lay the pieces out 2 horizontal, 2 vertical , when laying them down they should be right close together like I show below.

A little trick I like to do, I use a little bit of double sided tape, then add a little bit of my favourite glue which is Lineco Neutral PH adhesive. The double side tape holds tight in the moment and it holds it still until the liquid glue dries. I do this as where I live I only have easy access to a cheap brand of double side tape and I am not sure if it will hold for long, it it is long enough for the liquid adhesive to take hold.

I cut the rectangles and squares 1/4” smaller than the section they are going in, then centred


The last empty square was left for a place to write a message
To see some other never ending cards please check these out

Great tutorial
LikeLiked by 1 person
This is fabulous…as always…a great design, great step by step xx
LikeLiked by 1 person