

so I’m going to start off with an apologie, I’m cheating a little on this one and will be posting links to previous posts for some of the directions, also I made this card before I was blogging so there are not any extra photos but it’s pretty simple so it should be ok. I chose this card tonight as it is a card that I am able to cheat a little on as I am STILL dealing with numb fingers on my left hand and tonight my hand is a little achier than it has been and typing kind of sucks:(
Click “Read more” to see more
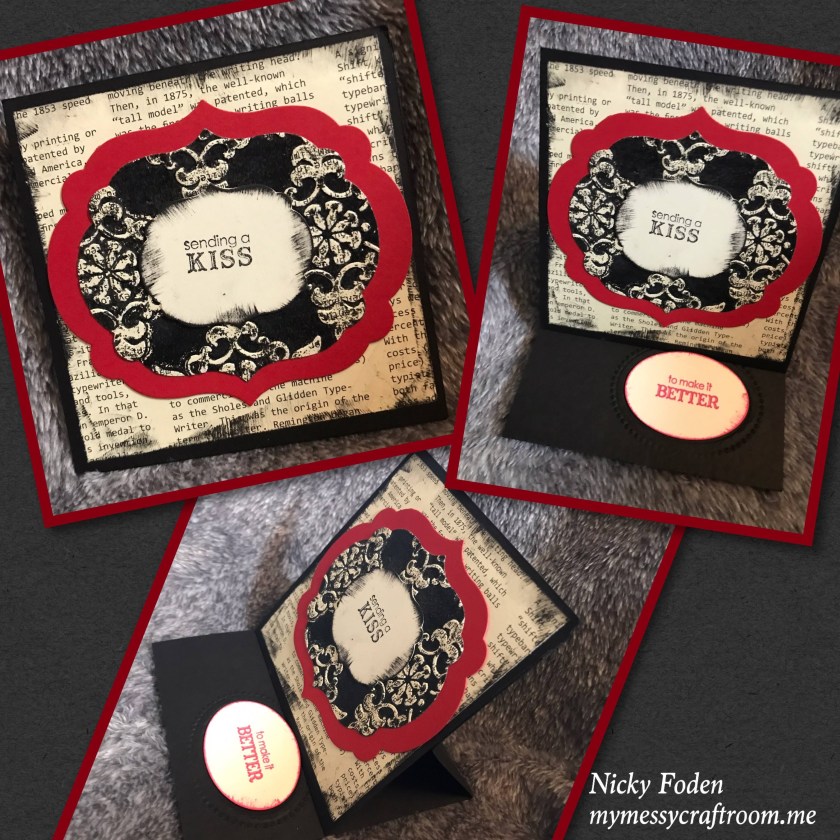
ALL the supplies for this card are from Stampin Up and most of them are retired, but there are substitutes that can be made for some of the items. The colours I chose are Basic Black, Very Vanilla, and Real Red.
To see the easel card directions check out either of or both of these links
https://mymessycraftroom.me/2019/02/01/thinking-of-you-daisy-card/
https://mymessycraftroom.me/2019/02/01/thinking-of-you-daisy-card/#more-383
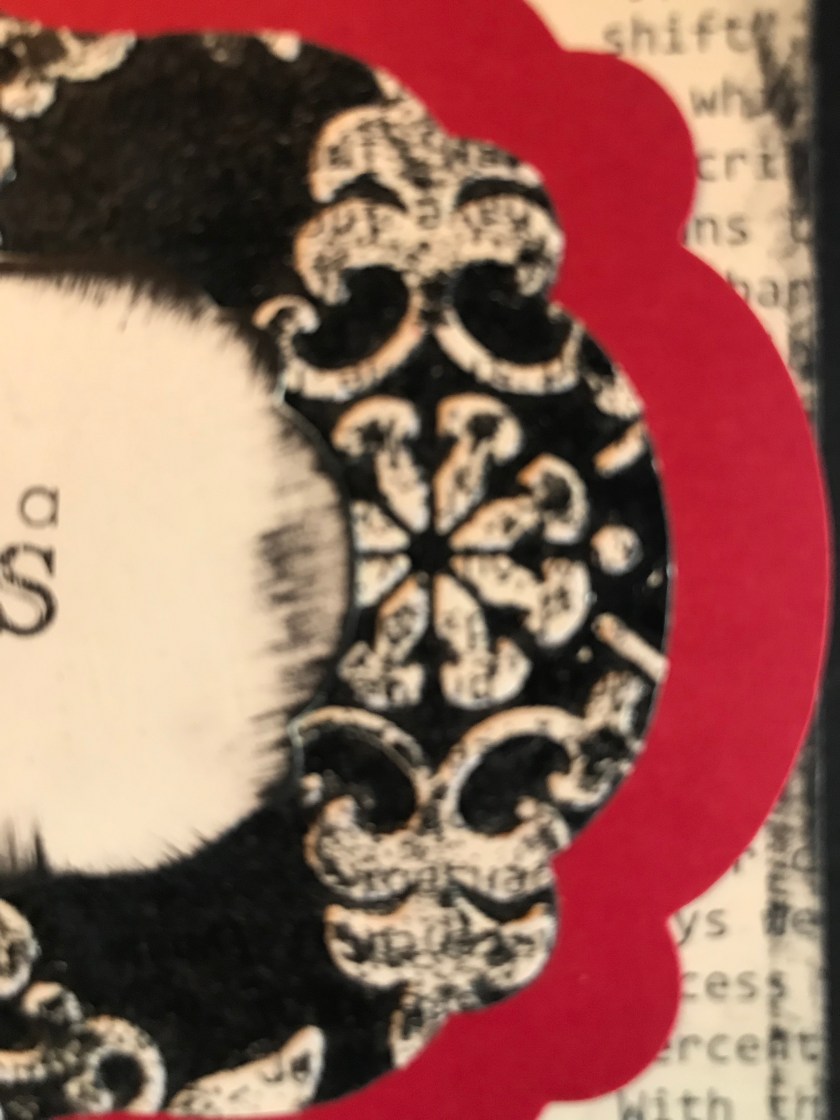
The patterned paper is a designer paper the SU used to sell, other companies sell similar or you could use pages out of old books or encyclopedias. I sponged the edges with black ink.
I used a nesting die set skipping a size between the greeting and the patterned piece. The largest die I cut from Red, the next size down is the pattern, skipped the next one, the smallest is stamped on Very Vanilla with Black ink and the edges are sponged.
The patterned piece I actually made using a technique that used to be called double embossing (if I remember correctly) First I cut a piece of the same printed paper that I used on the card base, then I inked up an embossing folder with Black Craft ink, I put my designer paper in and ran it through my Big Shot, VERY quickly I covered the black with clear embossing powder and heat embossed. The ink only stuck to portions of the paper leaving the embossed image ink free so it still shows the original printed image.
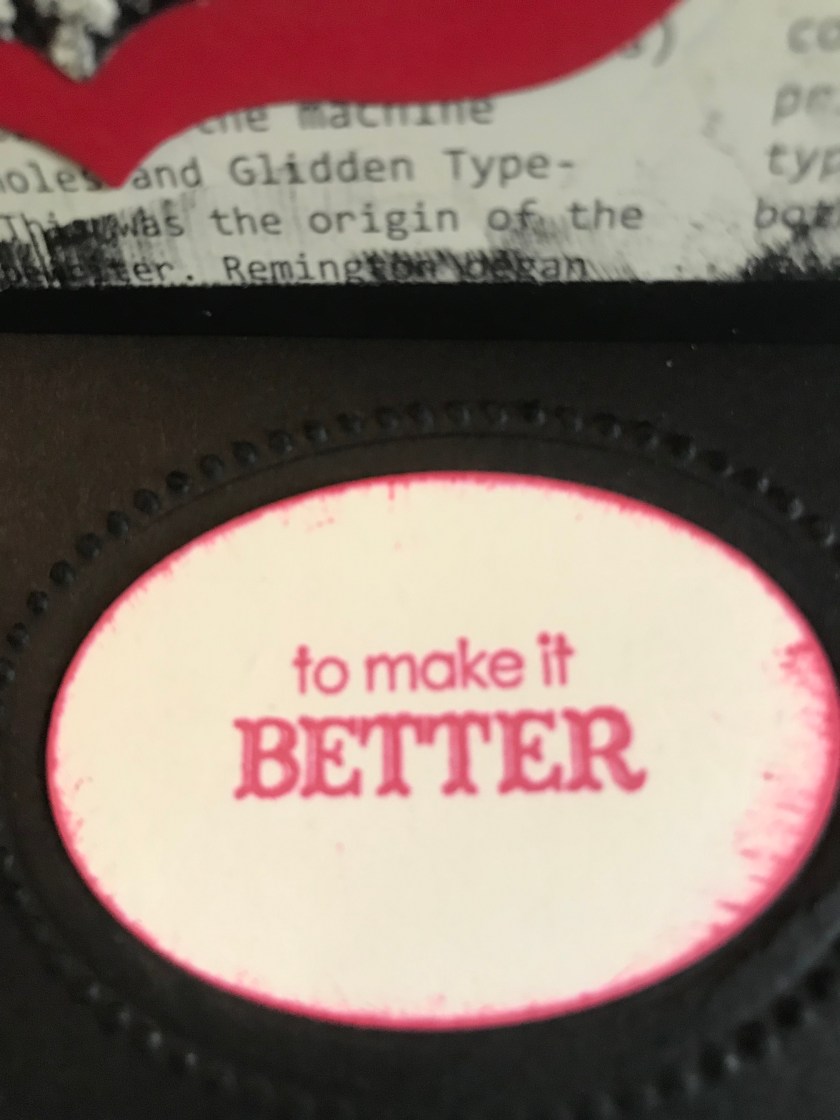
The inside message was stamped onto a Very Vanilla Oval with Real Red Ink and I sponged the oval and on the inside of the card, I embossed an Oval with an itty bitty embossing folder before gluing the stamped oval in. I used Stampin Dimensionals to adhere the oval so it holds the easel up

Stunning card Nicky, beautifully created xx
LikeLike