
I have a fun birthday card today, my son’s friend asked if I could make a birthday card for his sister, his request was, could it have a horse, possibly a barn, and some kind of pop up/fun feature, and I said “Hay ya” 😂

To see another spinner square pop up https://mymessycraftroom.me/2019/02/13/my-naughty-valentine/
https://mymessycraftroom.me/2019/01/25/a-gamers-birthday-card/
Click “Read More” to see more
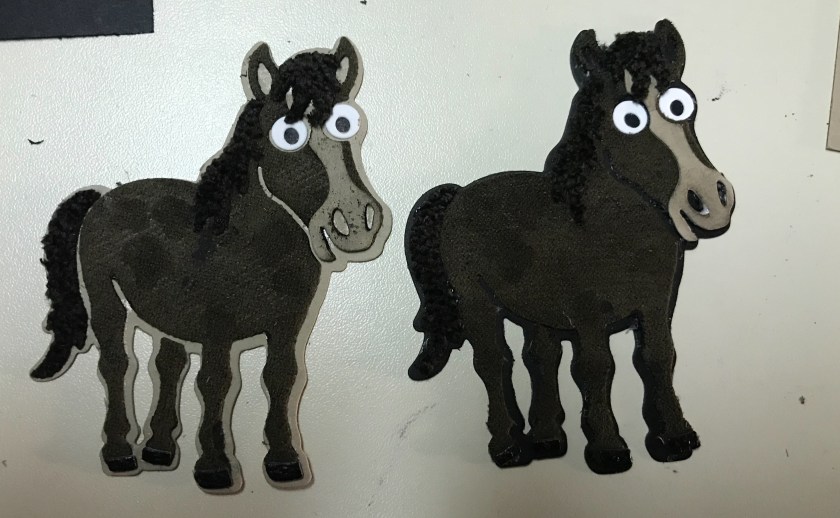
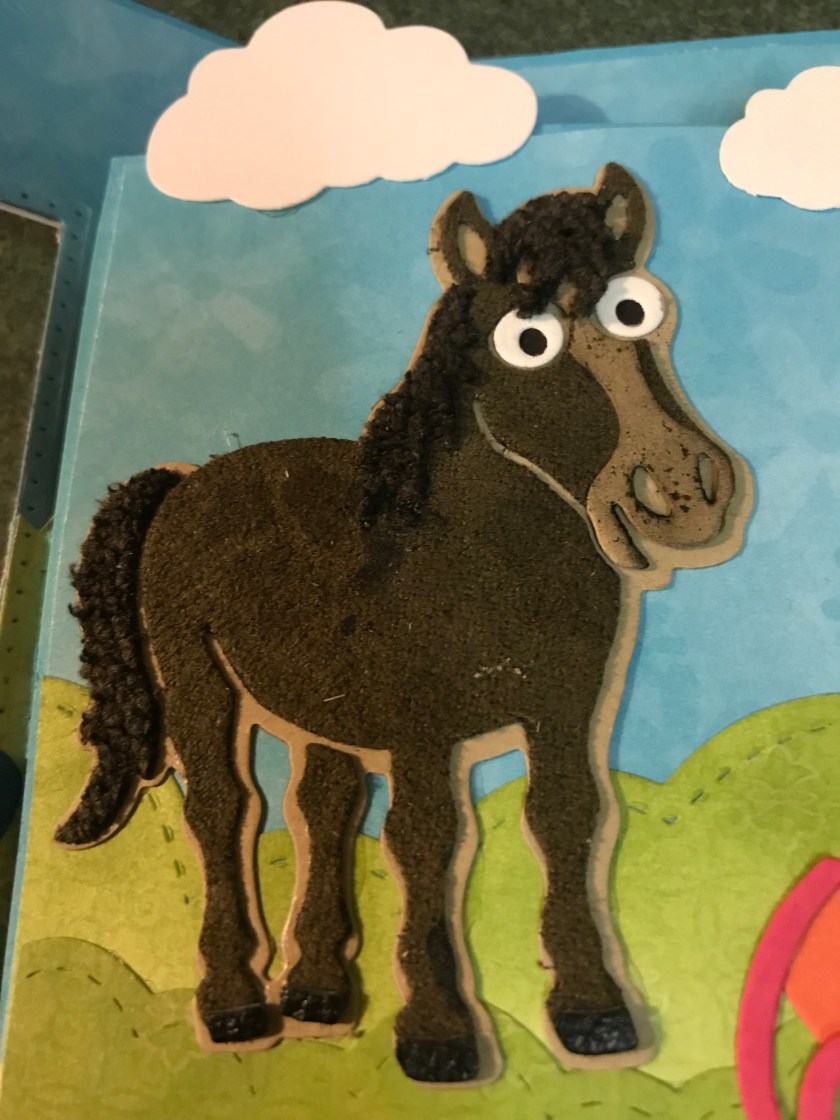
The star of today’s card is Cocoa the horse. I used Karen Burnistons die set to create him. It’s hard to tell in the photo but I used microsuede for his body, chenille for his tail and mane and leather for his hoofs (all are fabric swatches that I was lucky enough to get my hands on). I originally made him on a black background but thought he was too dark so I made him again on a lighter background. I used the lighter one on this card.
This card features Karen Burnistons Spinner Square POP Up die set http://karenburniston.com/spinner-square-pop-up/ (Karen has 2 videos, I recommend watching them both as it is a tricky mechanism but well worth it)
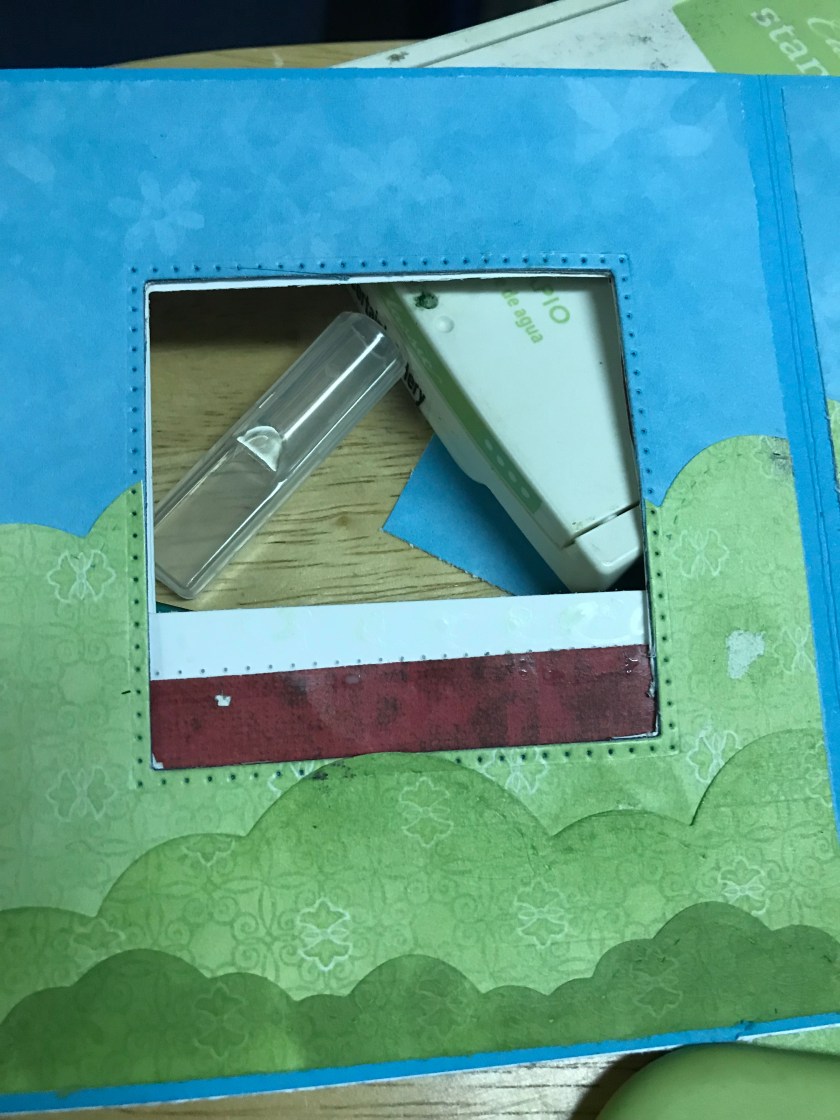
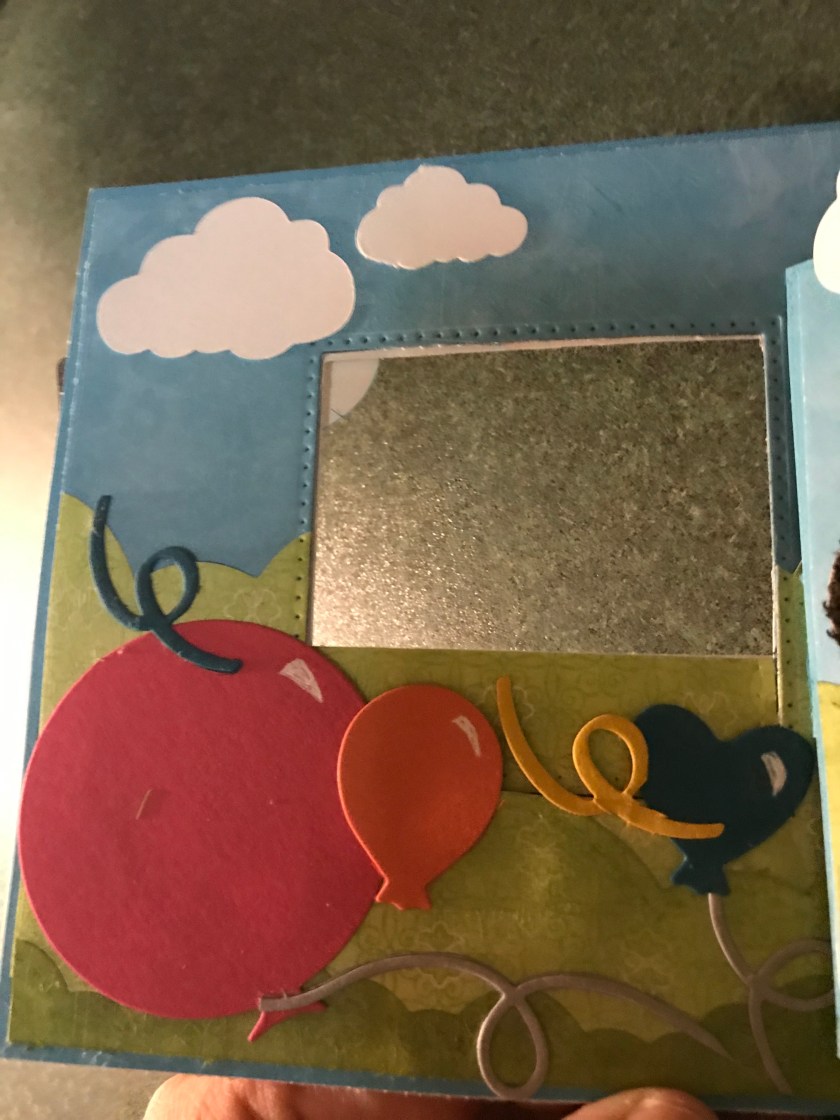
The card base size of this card is 51/2″ x 5 1/2″ That I cut out of Tempting Turquoise cardstock. I cut 2 pieces of a turquoise flower print patterned paper for the sky (retired SU paper) it is cut at 51/4″ x 3ish” and then I cut a light green flowered paper (Costco stash) to 5 1/4 and I trimmed it with cloud edges to give a rolling hills kind of look. I didn’t take the blue all the way down as I knew I would have to cut the window and I knew that it would be too much to cut through cardstock and 2 layers of paper, so the green just barely overlaps the blue. I taped the square die to cut out the window and the tape happened to rip the paper ☹️
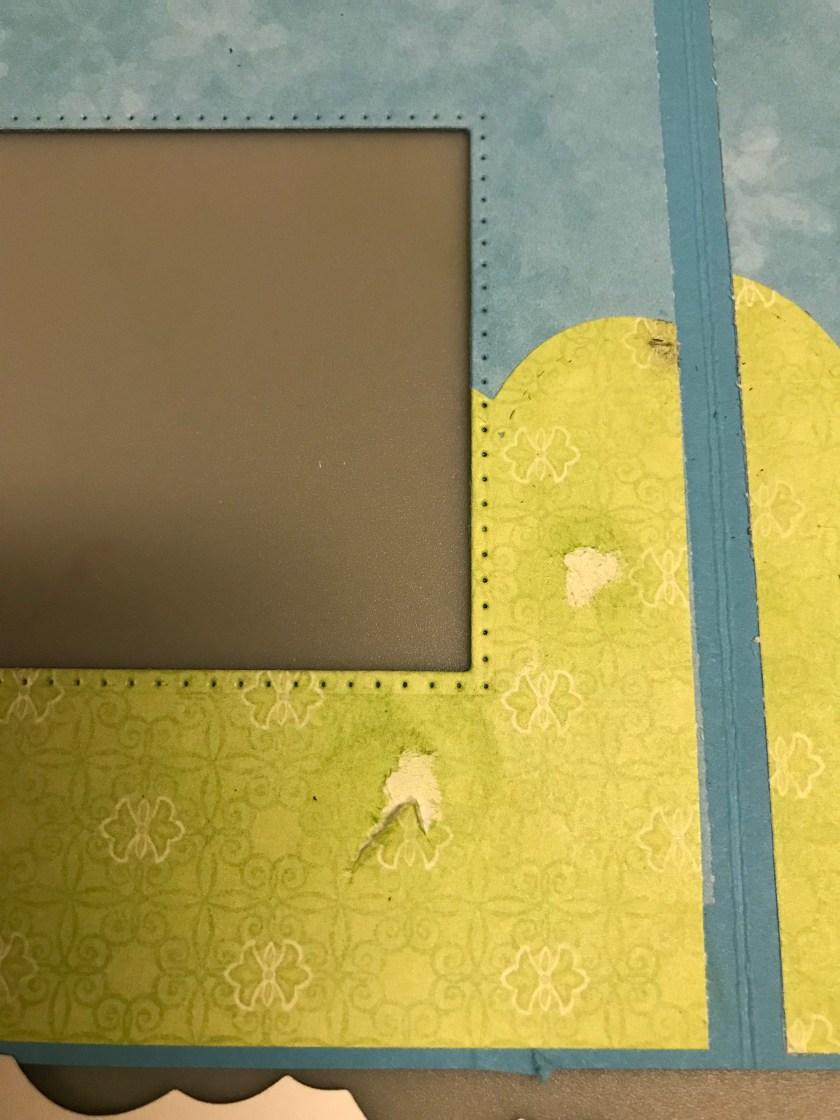
So is did 2 more layers of the hills and I sponged them with Certainly Celery ink with each layer a little darker as they get closer to the front, this cover the bottom rip.

When I was deciding on how to do the front, I wanted it to look like a barn, but prettyish as it is an 18th birthday card for a girl so I chose a deep red patterned paper with a rustic swirly design on it (Costco stash). I cut a Whisper White piece of cardstock that I cut to 51/2″ x 5 1/2″ to cover the entire card front then I added the red paper which is cut to 51/4″ x 51/4″. I tried to use the same die that I originally used to cut the window, to cut through the red paper but it was all too thick so I had to carefully use a craft knife (it’s a little rough)

The barn door was a little tricky as the window is too big, I only wanted the horses head to show through and not his whole body so first I made a big window frame to cover the original hole, then I cut another window frame, and another for spare parts and I just Frankensteined them together, I also cut an extra piece of the red to fill in the gap.

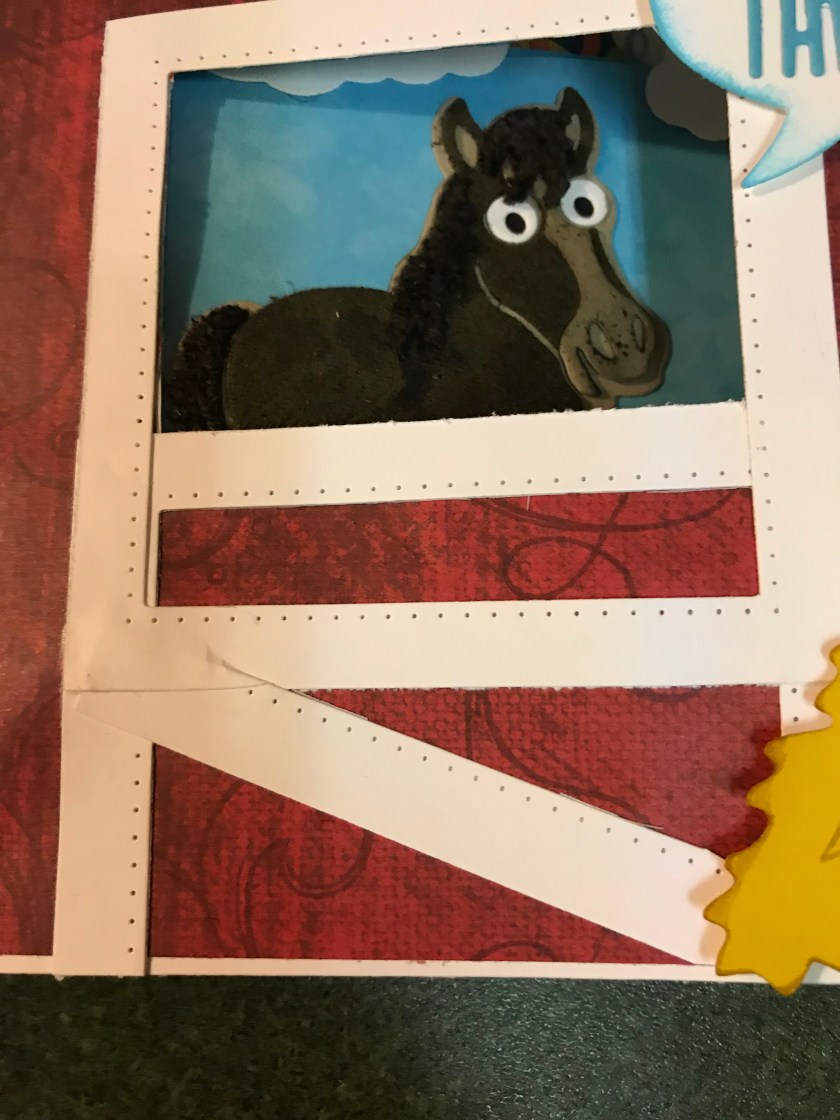
(Oops I forgot to take a pic of just the door)
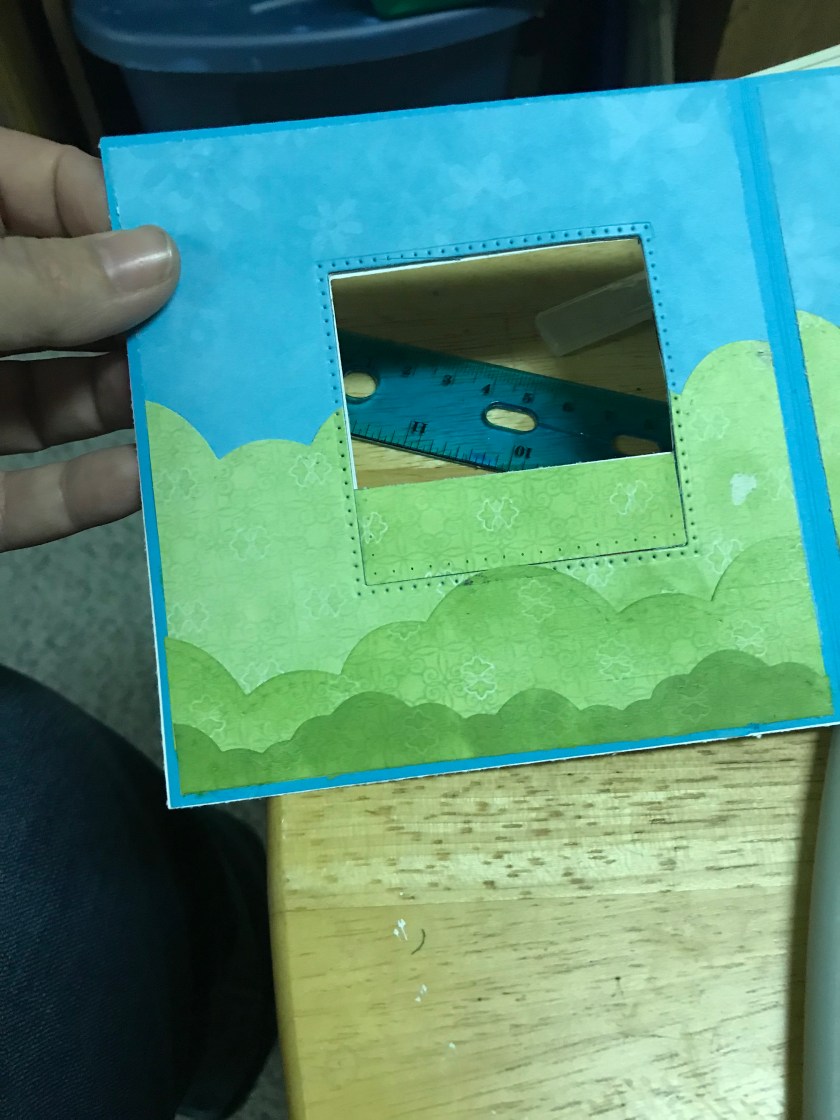
The inside of the card also had to get a little extra TLC as you could see the red paper from the inside.
So I trimmed a little piece of the green paper to cover the gap.
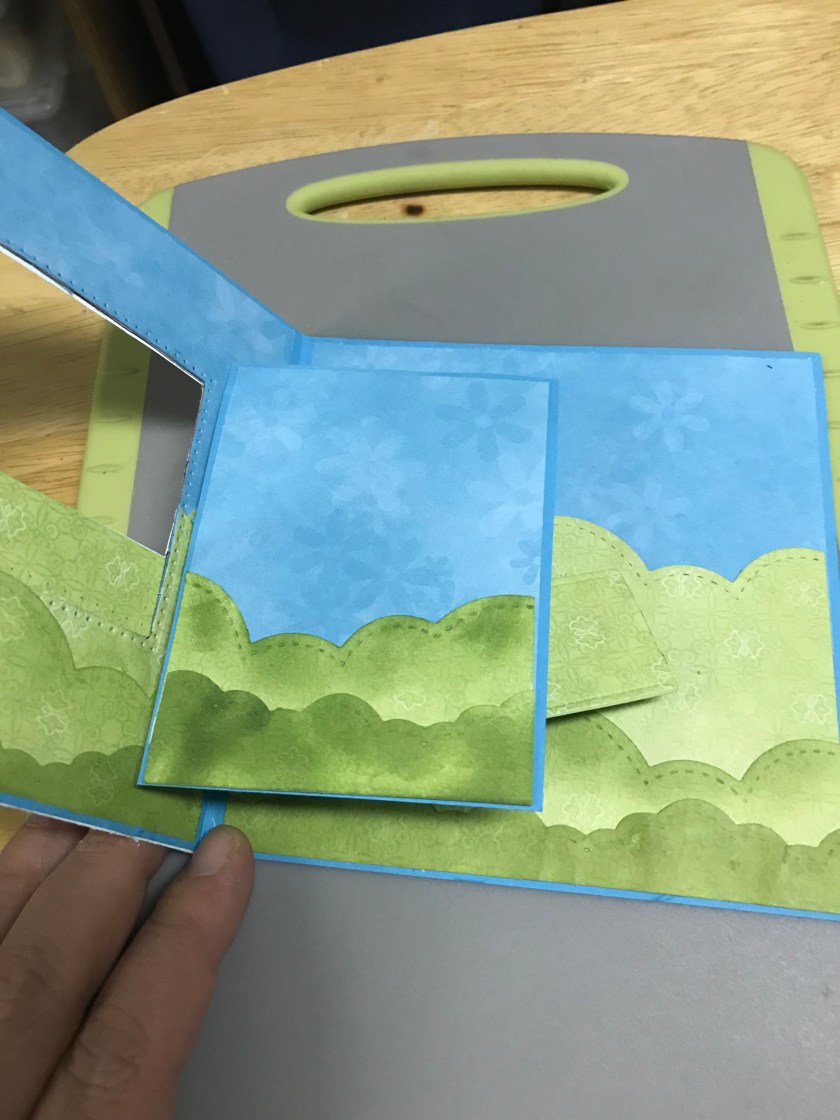
Here are some pics of the different stages of creating the mechanism, please watch the video that I linked above for directions.
Adding the mechanism
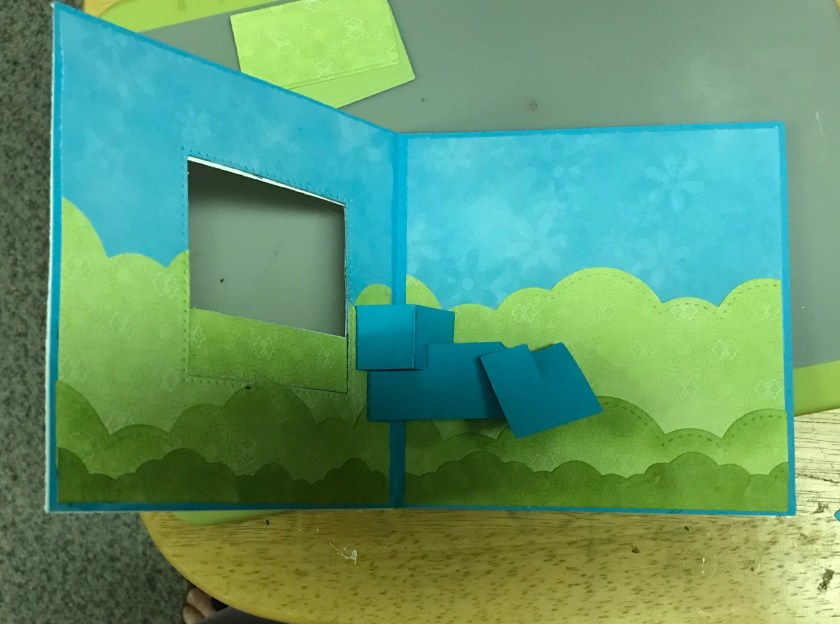
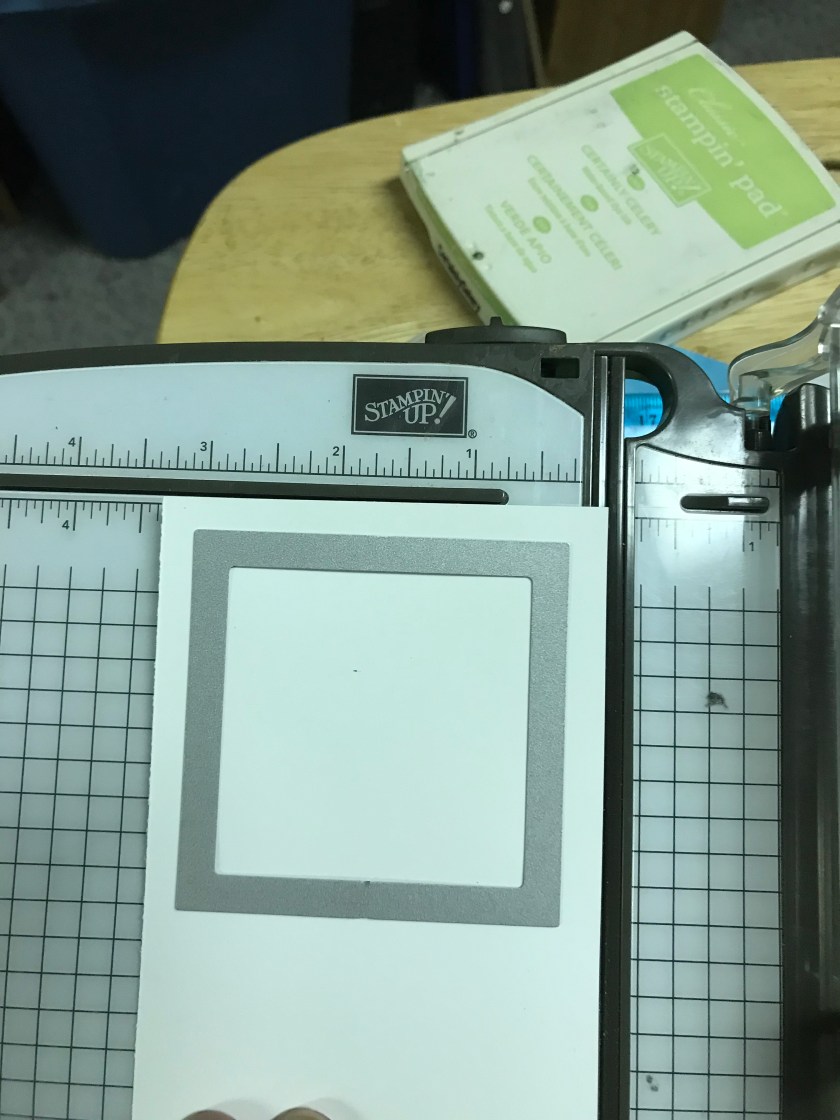
Adding the rectangle and the arm. The arm is a piece of Certainly Celery cardstock with the green patterned paper adhered to it. I decided on the rectangle because when I was checking for sizing with the horse either his head was going to be too high or his feet would be below the square (if I had used a square instead of the rectangle)

Decorated the rectangle to match the background
Next, I added cocoa the horse to the rectangle.
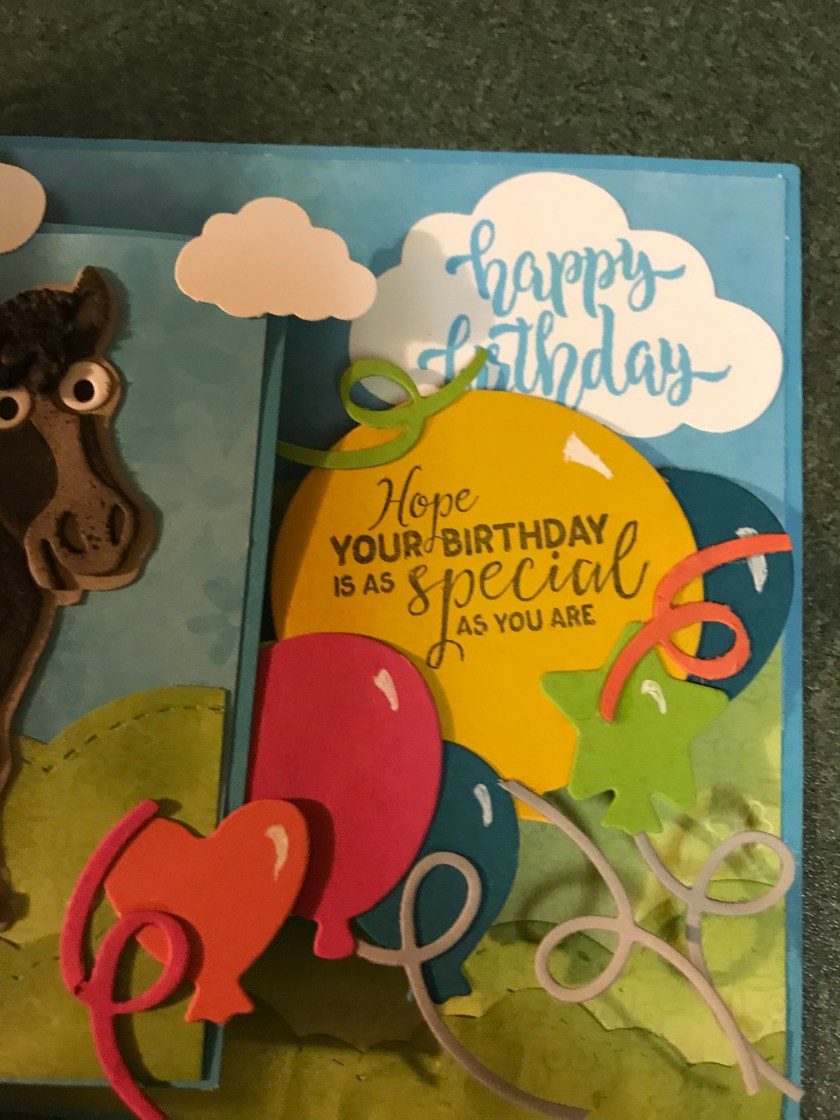
I stamped Happy Birthday onto a cloud, I added extra clouds for more details, and I cut out quite a few balloons and streamers. Most of them are from Karen’s Explosion pop up set http://karenburniston.com/explosion-pop-up/ the largest balloons are from my stash that I purchased second hand. I stamped one large one with the greeting and left one large one for the signature. I added most of the balloons to the spinner square arm, and I added a few to hide the seams around where I had to fix the window from the inside and to hide the other little rip.
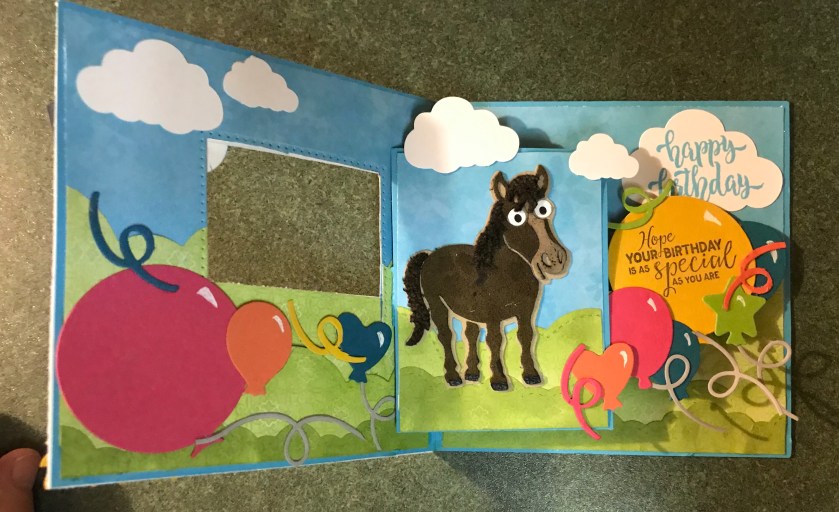
When the card closes the balloons tuck up behind the rectangle when the card opens the rectangle comes forward and the balloons come out from behind.
For the front, I added the “Hay There” greeting, and the bale of hay and the pitchfork. All these dies are originally from Karen Burniston but I ran the pitchfork and hay through my scan n cut to make them bigger as they seemed really small in front of such a large barn. I sponged the pitchfork with darker grey ink and I added details to the Hay with a coordinating Crushed Curry marker.

Here are some extra photos and some close-ups 😊
Check out how Fuzzy Cocoa is.

You did a great job love it
LikeLike