
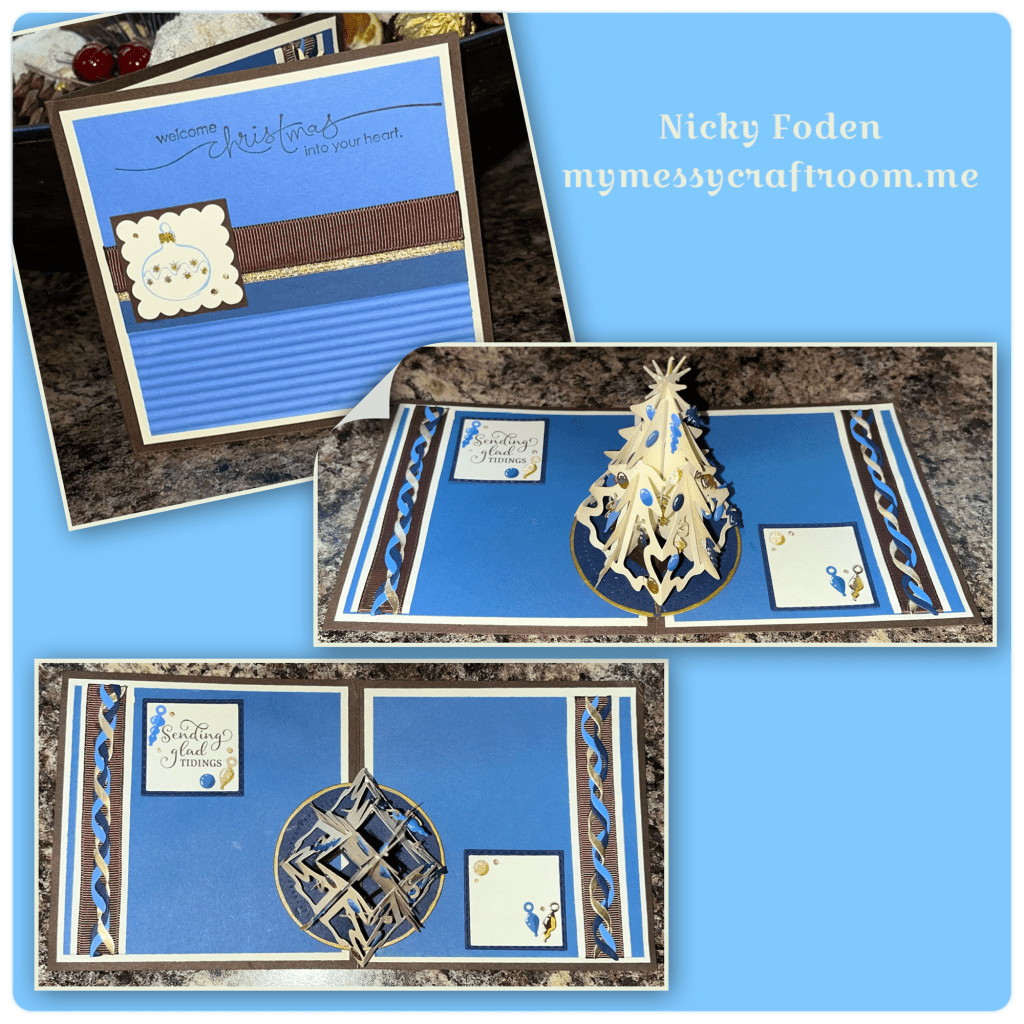
How many of you have cards that you may have in your stash, maybe they are a duplicate, maybe they are cards that are unfinished, well I have piles of them and I have decided to try to breathe life into them again and I call them my Take 2 cards. I actually made this Christmas card first but I blogged about my Take 2 Butterfly Card first.

All the fun is in the reveal, to see this card in action please check out my FACEBOOK page, feel free to join if you would like to share your own crafty creations. You can also see a video of this card on my INSTAGRAM page.
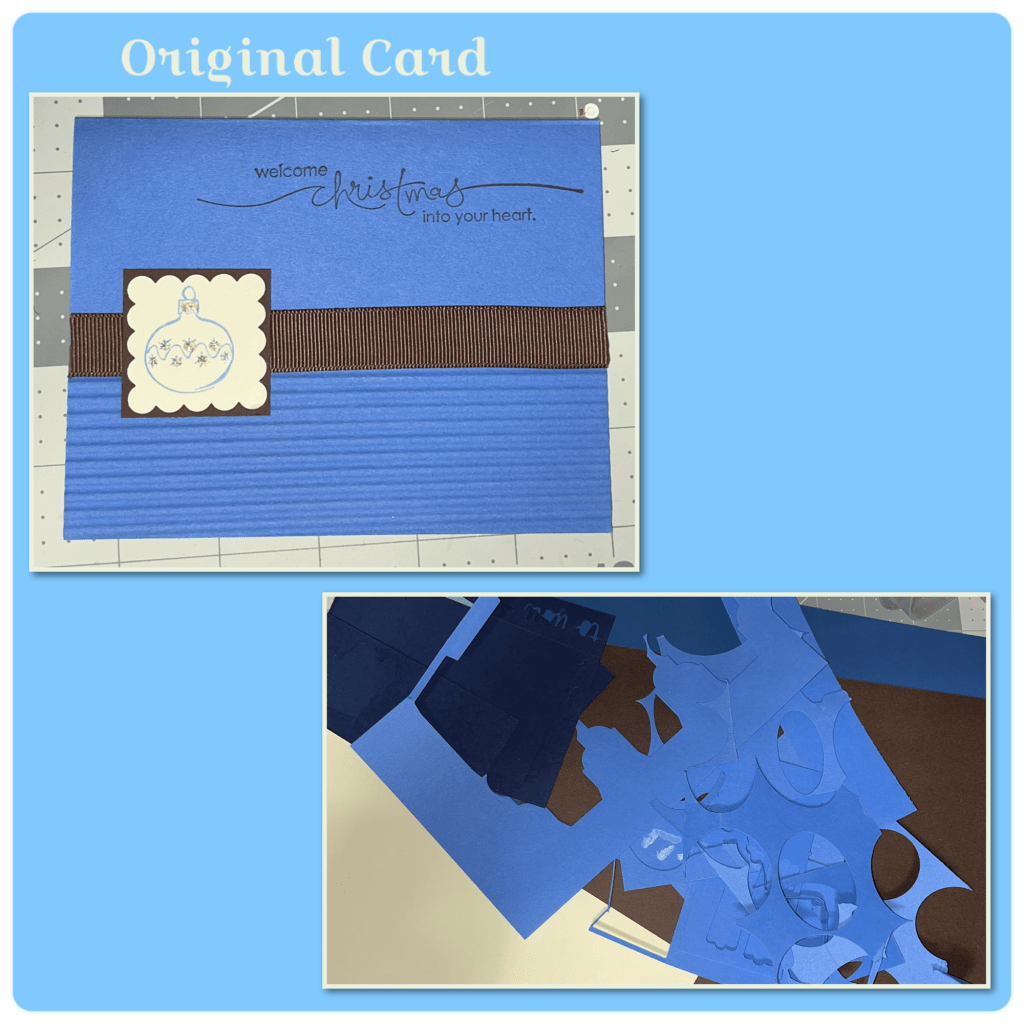
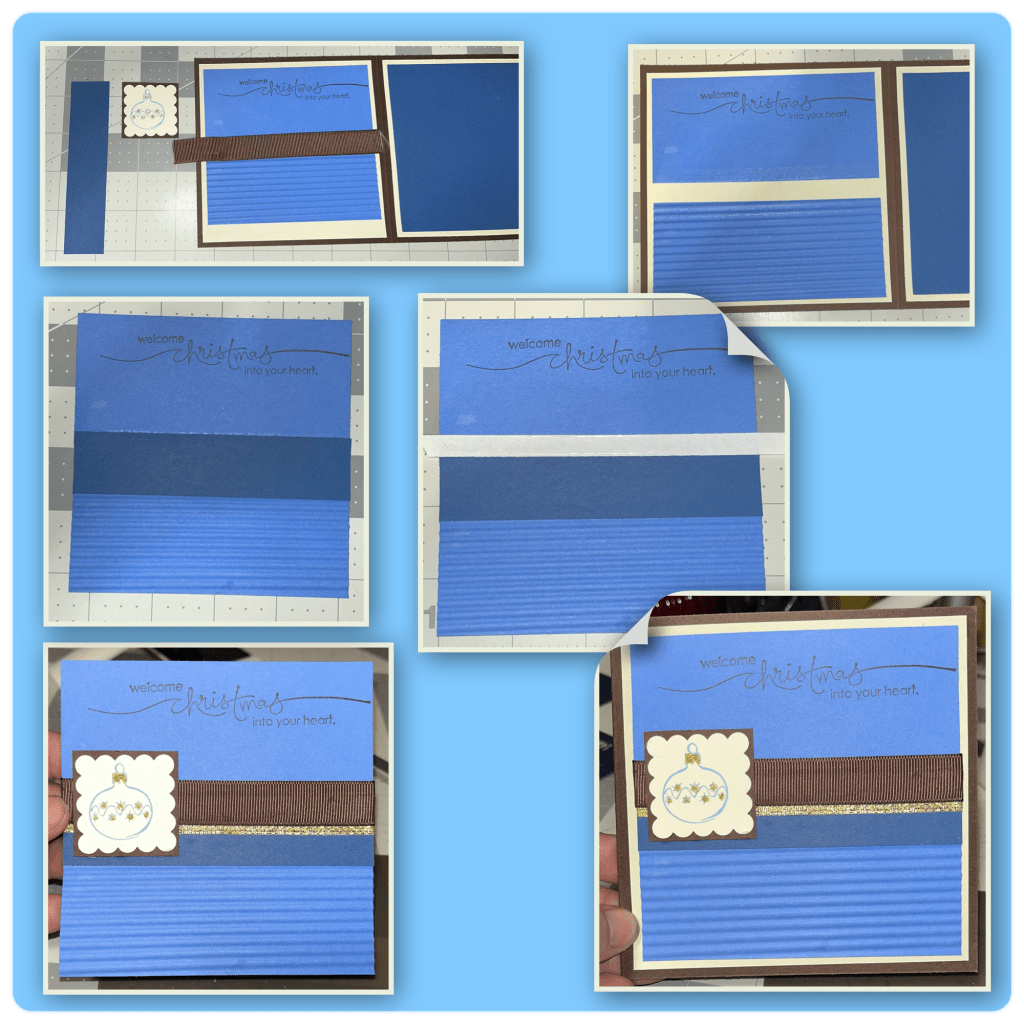
Back in my Stampin Up days I made 40 of the cards shown below to give out to my family and friends. I probably made this card 18ish years ago, my style was much simpler back then. The card is 4 1/4” x 5 1/2”. Anyway I had an extra that I decided to work with. I went through my scrap bin and even after all these years I had a few pieces of the same colour. I chose a few darker shades and a matching brown.
I knew I was going to add a pop up tree on the inside so I went with a 5” x 5” card. I cut 4 of the vanilla coloured cardstock panels and I trimmed the original card to 4 1/2” wide.
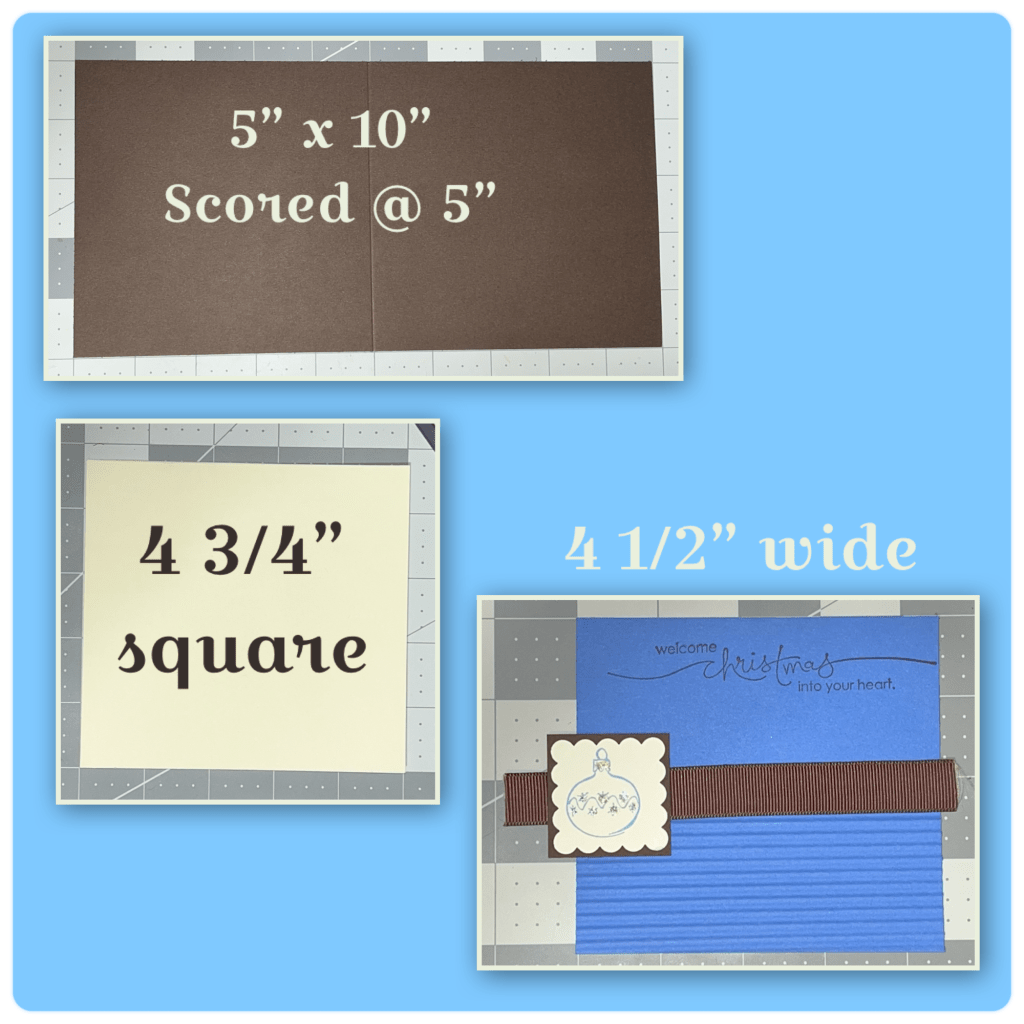
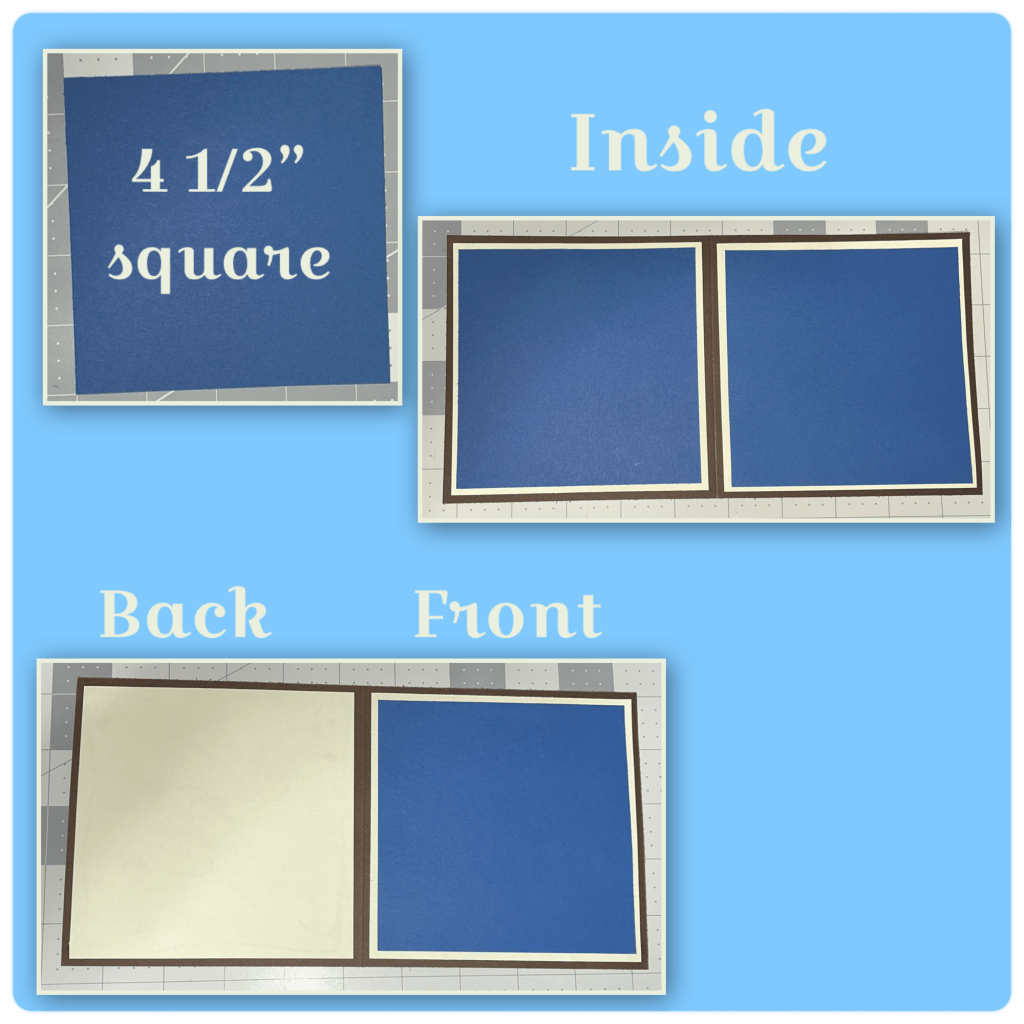
I cut 3 of the blue panels and add the panels to the card as shown.
***** CORRECTION**** The photo that says back and front should be reversed. The front has the Vanilla and the back has the blue.
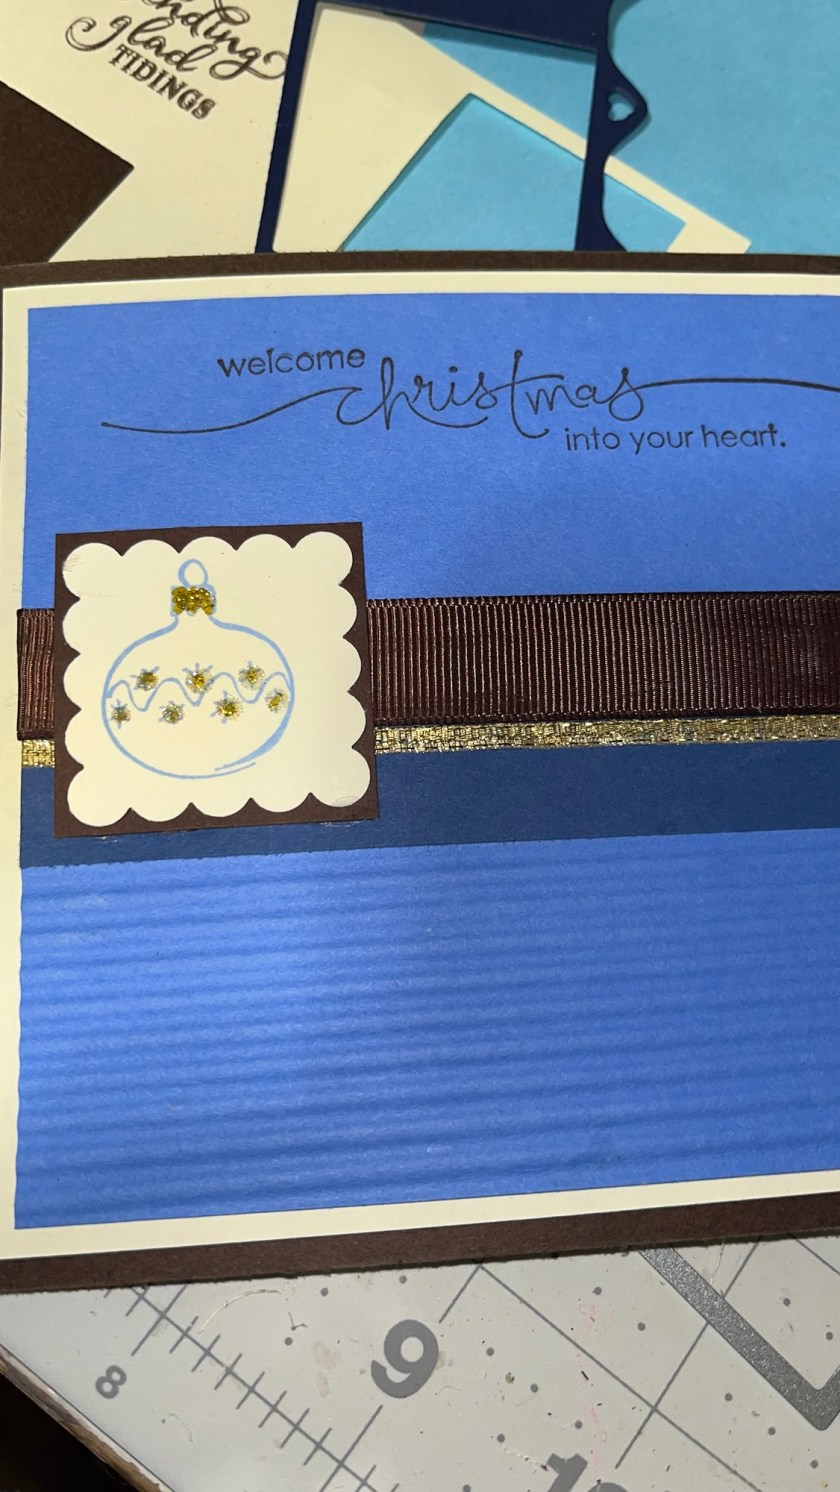
Now to rework the front of the card. I was able to pop off the stamped square and the ribbon and cut the card front in half. FYI I originally used a Fiscars Paper Crimper to crimp the bottom half of the card front. The stamps are all retired Stampin Up.
I spaced out the 2 halves then added a darker blue strip that is 4 1/2” x 1”. I reattached the brown ribbon and decided to also add a very thin gold ribbon. I glued the stamped image back into place.
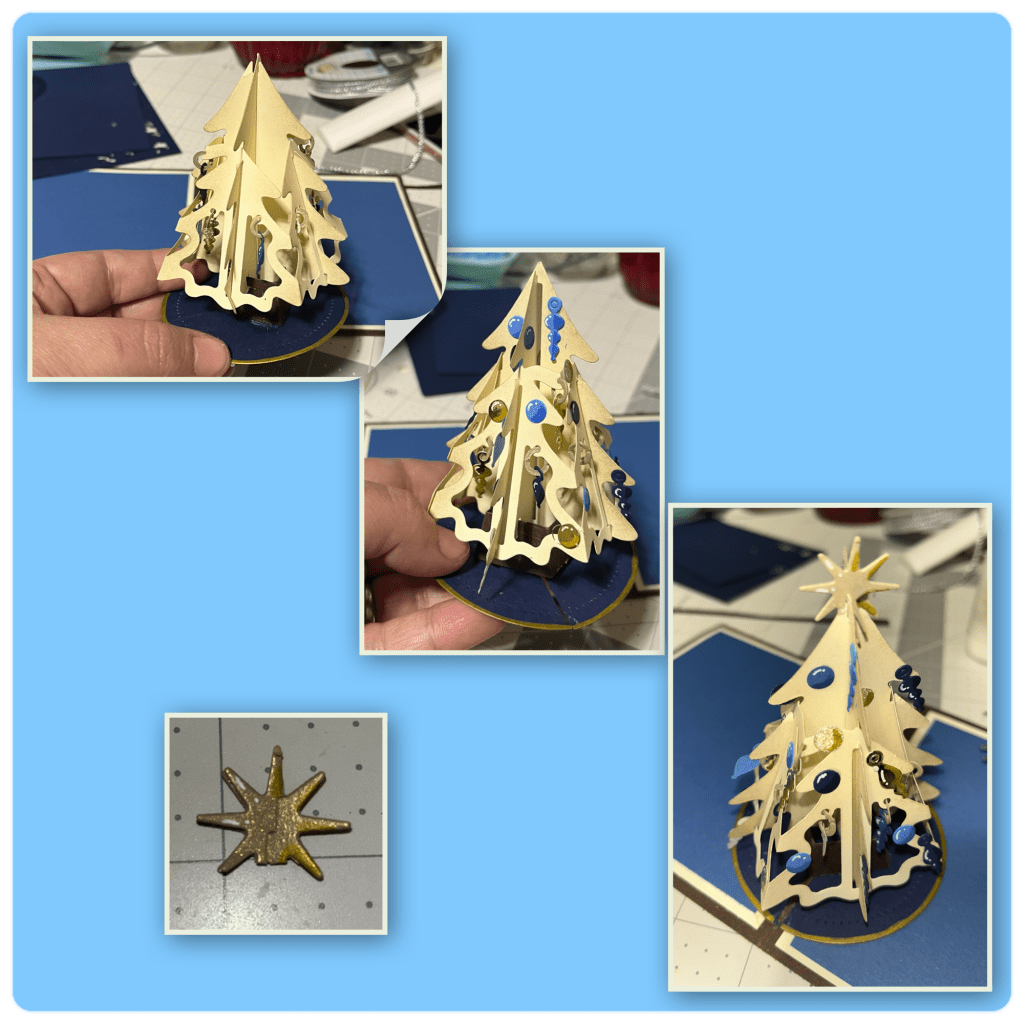
Now for the inside, I cut out the pieces for the Christmas Tree Pop Up, and the Christmas Tree Add on (Karen has a video tutorials on the product page at the links ⬆️ ) I brush a brown ink around the edges of the tree. I used a gold marker and outlined the dark blue tree skirt and added highlights and shading to the ornaments (sorry I forgot to take a pic)

I assembled and decorated the tree, adding the star on the top. and added to the card.
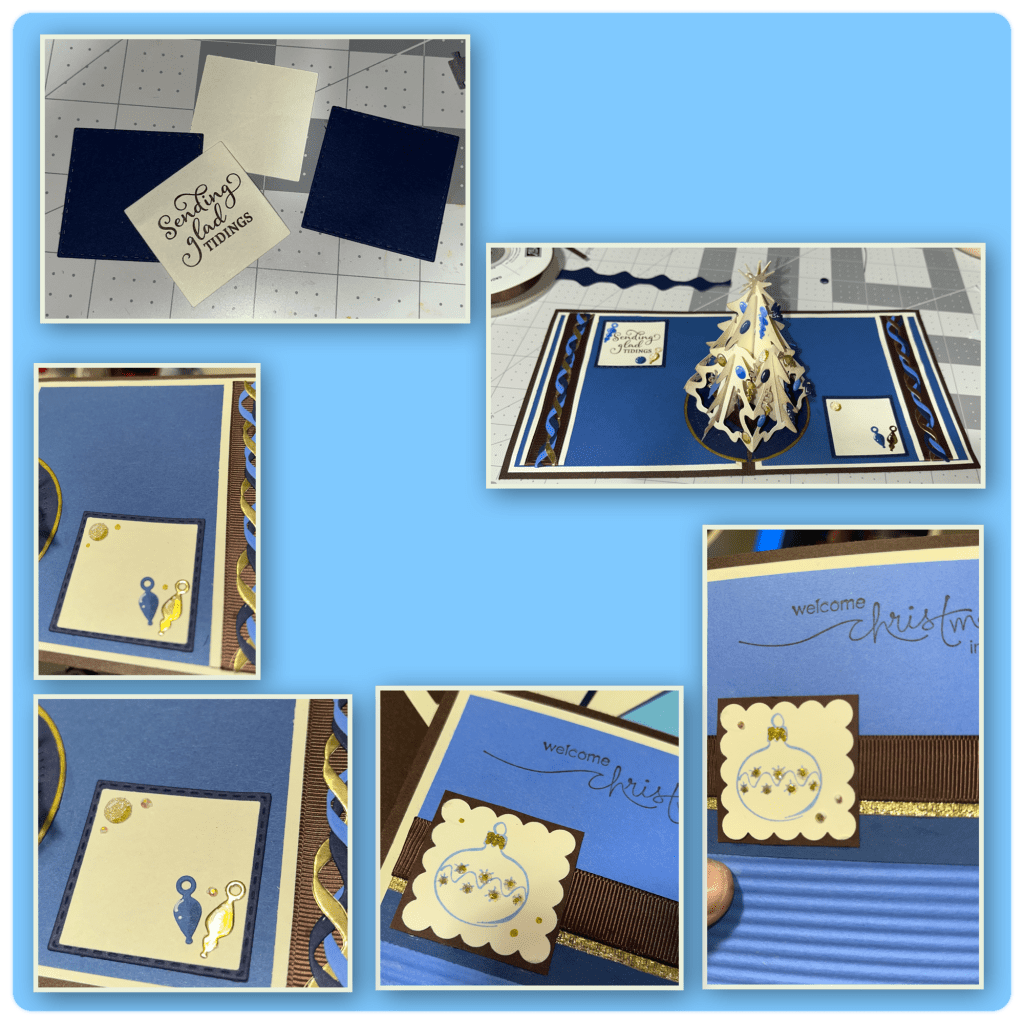
Man I’m a pack rat, I found the same ribbon that I originally used in my stash. To make the border I cut the cardstock slightly bigger than the ribbon and glued the ribbon to the cardstock. Using the Border Blends-Trims I diecut the 2 blues and the gold and twisted them together and added to the ribbon border, then added to the card.

I made this card a few months ago so I forget what square dies I used, but they do have a nice stitch border. I used the Christmas Wishes Clear Stamp set to stamp the greeting. I decorated with some of the left over ornaments. I wanted the look of gold gems but I have clear on hand. So I took the gold marker and made small dots on the vanilla squares (the front and the inside). Then carefully glued the clear gems over the gold. When the glue dried the gems looked gold.
Other Tools used
