
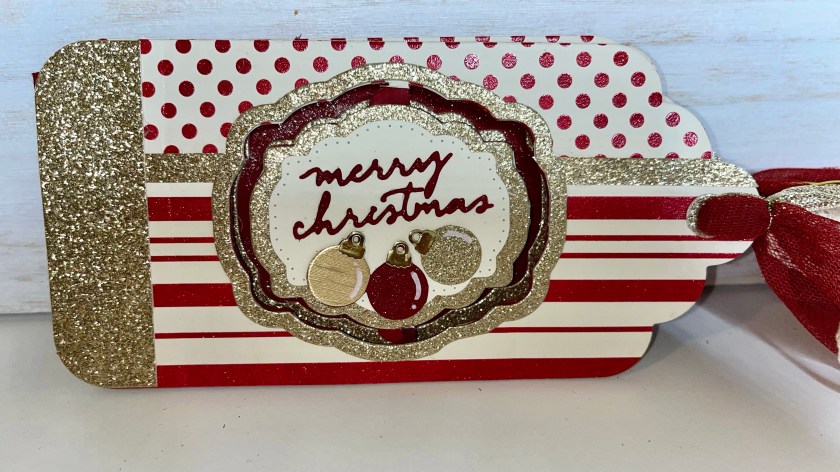
I think this card turned out so pretty. I really love how glittery it is and how much extra the ribbons add.

All the fun is in the reveal, to see this card in action please check out my FACEBOOK page, feel free to join if you would like to share your own crafty creations. You can also see a video of this card on my INSTAGRAM page.
When Karen first showed the design team her new Topper Tags dieset I knew I could figure out a way to turn the tags into a card. So I flipped through my diesets and thought the Label Charm Pop up dieset would be a good set to try.
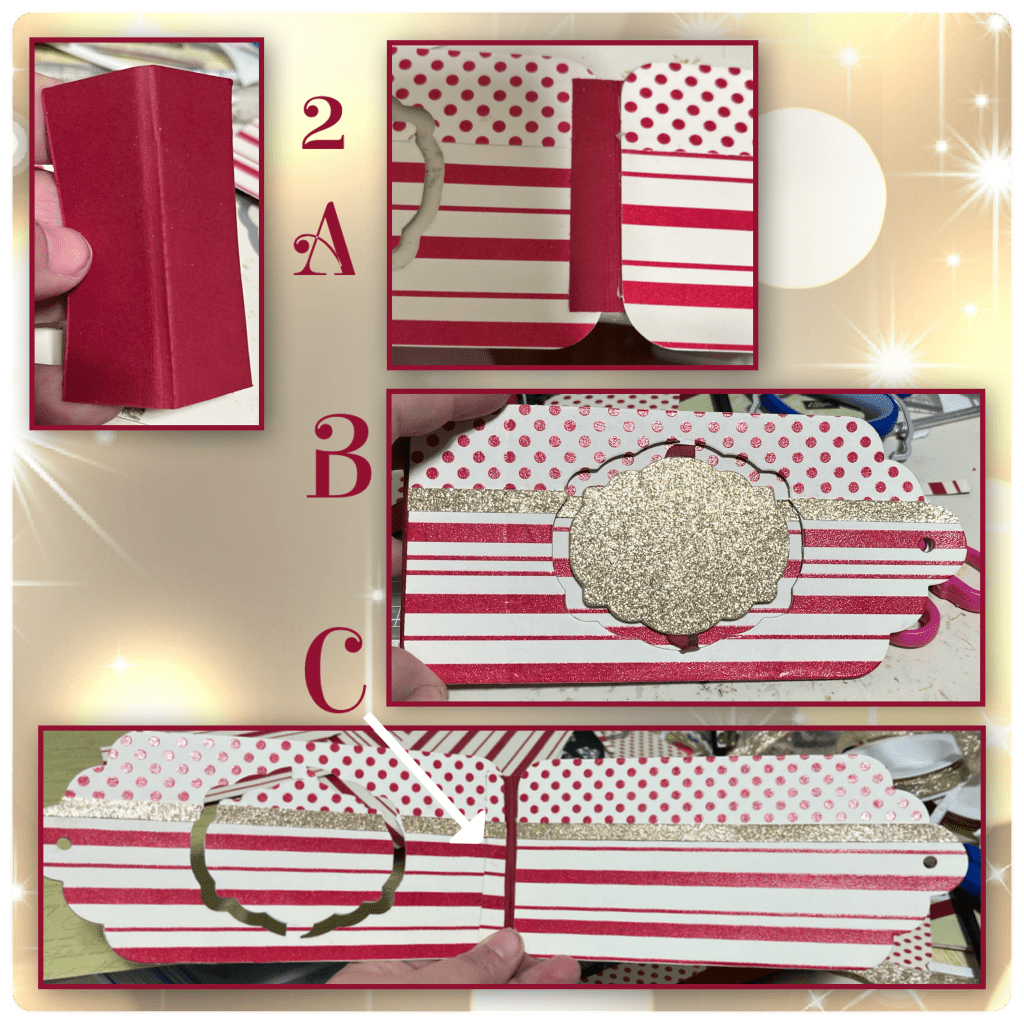
1A- I die cut 2 of the largest Topper Tags in red and I cut a piece of cardstock to fit as a hinge, scored in the middle with about 1/8” gusset.
B- I used the same Label die and cut some red glitter pattered paper. I made sure to cut enough and in the correct direction of each to have the polka dots on the top, and the stripes on the bottom, for front and the inside.
C- I knew that the patterned paper was too thick to die cut through it and the card stock, so I made sure the patterned papers were adhered together, then I cut it with the Label Charm Pop up. I traced this onto the red tag, then cut it and then layered them. This has to be precise. I also added the patterned paper labels to the inside. I had to trace and cut so the inside of the card front also lines up with the window.
D- using another die from the set I cut a gold label for the front, I also cut gold strips to cover where the dot, and striped papers meet.

2A- This is where I noticed a bit of a problem. I was attaching the front tag to the back tag using the hinge piece and realized that I didn’t leave a place on the front tag to attach it. So I attached it to the back of the back tag and the inside of the front tag. If I were doing this again I would have just adhered it to the front because I ended up covering that area anyway.
B- so far this is what it looks like from the front.
C- so far this is what it looks like on the inside. I took pieces of the pattered paper and covered the red hinge, I don’t like this look and I end up changing it on a later step.
I’m going to do my best to make this make sense, but I made this card over a month ago and trying my best to remember. along with the labels in the Label Charms pop up set I used the Labels from the Rectangles and Labels Crosshatch
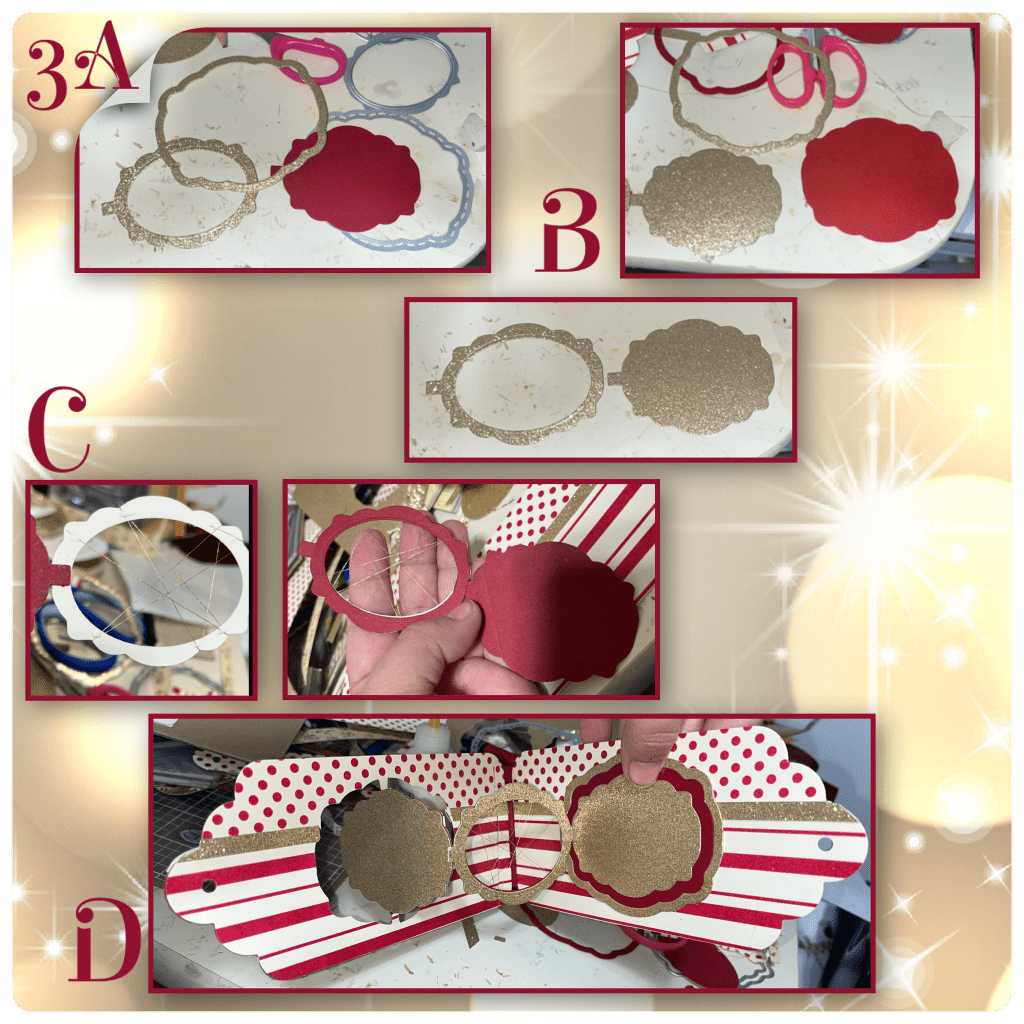
3A- the gold frame will go on the front, the red label I ended up cutting 2, one of them I will cut the centre out to go behind the gold label with the centre cut out.
B- the large red label will go on the inside left, the gold frame will go around it. The gold label will attach to the gold label with the centre cut out. And a red frame.
C- I took a gold thread and wrapped it around the gold label as shown. I added the red label to the back of the gold label.
D- attach all the pieces as shown. It’s hard to see but the thread is on the middle label.
4A- I forgot to add the red frame around the window on the left side before I added the other pieces. So I had to cut the label then wrap it around the window.
B- I added ornaments to the front, and to the gold threads on the middle label. For the ornaments on the inside I sandwiched the thread between 2 ornaments. The ornaments are from Christmas Borders 1. The”Merry Christmas” is from the Small Script- Christmas
C- I was hoping once everything was assemble the patch work I did in step 2C would be less noticeable, but it’s not.

5A- I cut the ends of the tags from gold glitter paper, to make borders. I made the one for the outside a little wider. I put 2 on the inside to cover my precious patch job. I also put gold hole covers on the tag holes.
B- I went through my ribbon stash and picked a red, gold, and cream. I put the ribbons through the holes then tied a gold cord around them to hold them in place.


Rectangles and Labels Crosshatch
Other Tools used

Stunning and most admirable card, I am so happy I could leave you a comment after trying several times xx
LikeLiked by 1 person