

So today I have a belated Valentine card. A coworker asked me if I could make him a card to give to his Star Wars lovin girlfriend knowing that not only was I not able to have it made by Valentine’s Day, it would probably be at least a week late, but he wanted it anyway so I thought that I would try to make it as special as I could. I’d be lying if I said this card didn’t have a few challenges it was a little trickier than I thought It would be but I just kept on moving forward and before I knew it, it was done. I also have to give credit to Lois Gray Bak as after seeing her “Death Star” gave me to idea to make this “Death Star”
This card had 2 separate pop up mechanisms and it LIGHTS UP 🤯

To see this card and all it’s POP UP and LIGHT up glory please check out my Facebook page or my Instagram, please feel to join my Facebook group if you would like to share your own crafty creations.
If you were ever wondering if a Photo Collage pop up mechanism and a Surprise Ball pop up mechanism can fit on the same card and still fit in an envelope the answer is YES. Keep reading and you will find out how 🤔
Like I said above this card was a little tricky, and I was kind of back and forth with how I was making it, so I will try to explain it in an order that will make more sense, so if some of the photos seem that they are out of order please keep in mind that I am explaining it better than how I made it, lol and if I were to make one again I would follow these directions now that I know better 😜
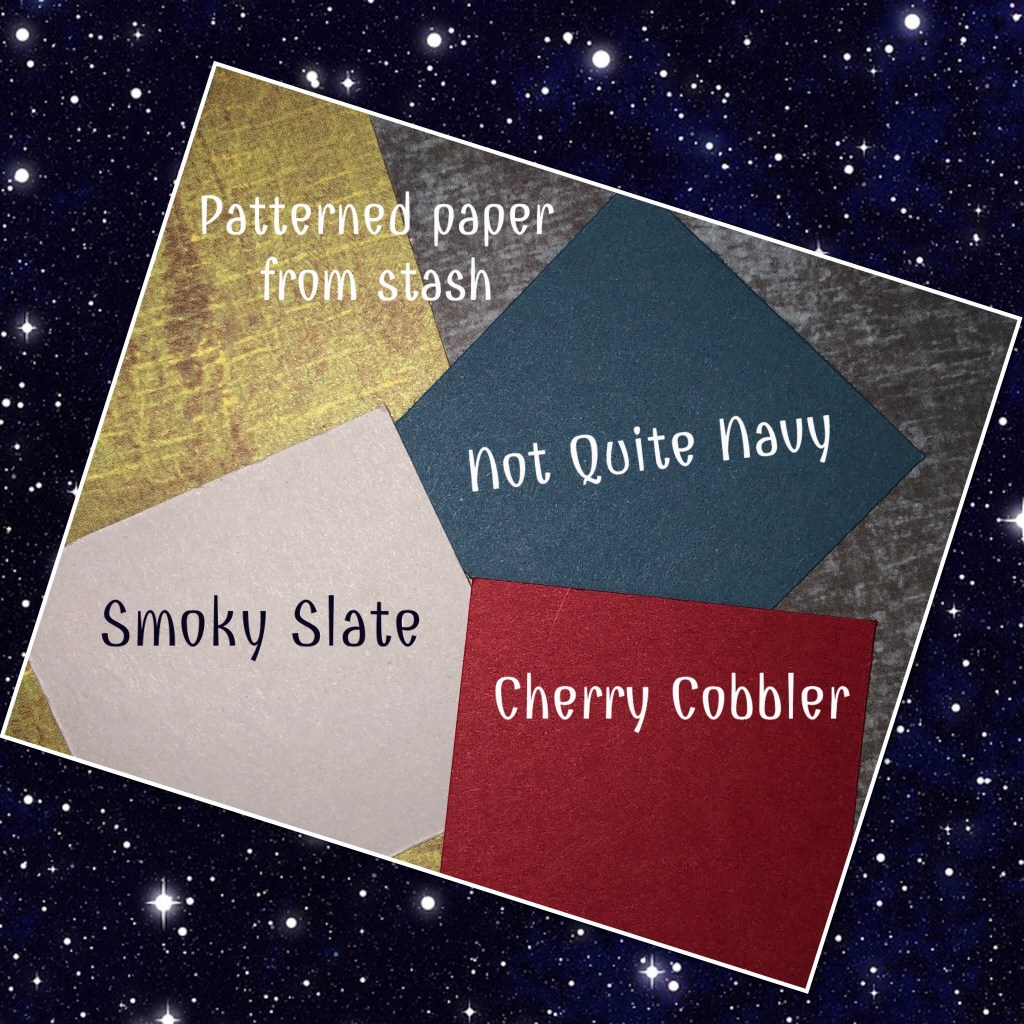
The card stock is from Stampin Up and the colours are listed below, the patterned paper is from my stash I believe it may be from Costco.
Let’s start with the Death Star, I am giving some pretty basic directions, please see Karen’s VIDEO for full directions on how to create the ball mechanism.

The EZ-Lights I got from Karen Burnistons website.


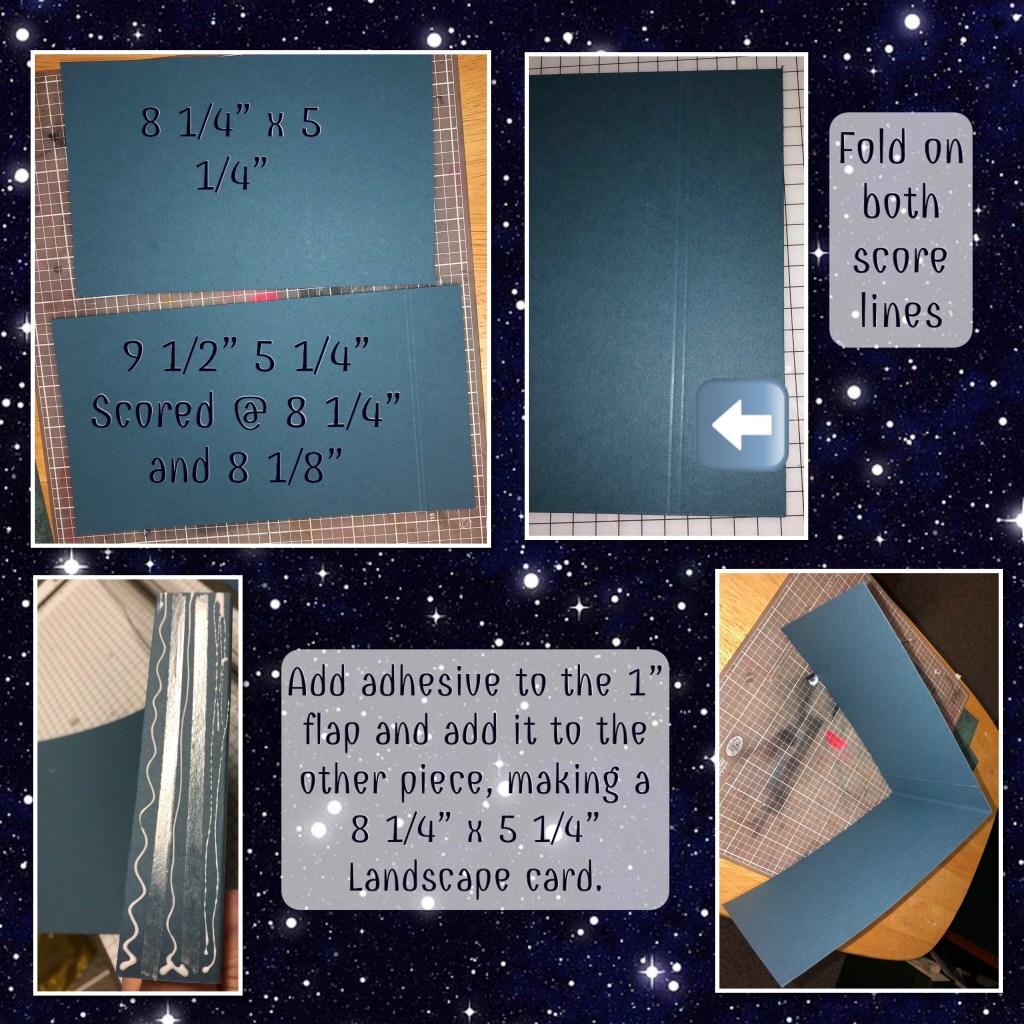
Now I’m on to the Card base.
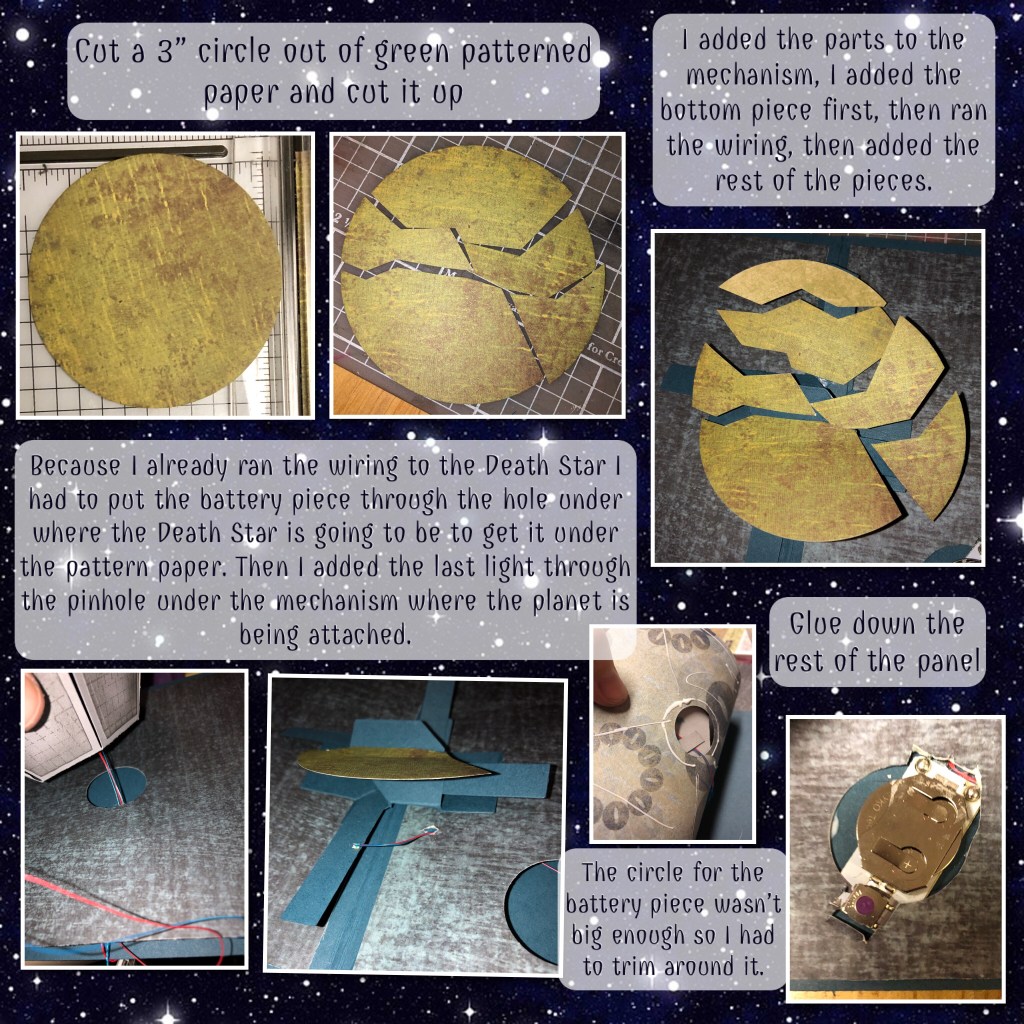
Here is where it starts to get tricky, I created the ball with the lights not thinking about how I would hide the wiring 😜 so I need to know where the ball will definitely go, make a hole big enough to run the wires and battery through, while keeping in mind that I need to run a light to the planet mechanism. Big problem I came across was that I didn’t want to attach the ball and wires quite yet but the mechanism for the planet needs to be attached ON the patterned paper panels but the wiring needs to be hidden UNDER the patterned paper, this is how I proceeded.

The one inch circles I cut on the panel, in retrospect I should have cut the left side circle to at least 1 1/2”
Below I describe how I added the Photo Collage mechanism to the inside of the card, it’s hard to explain in photos so please check out Karen’s VIDEO for complete directions.


I found that as I was closing the card some of the planet pieces were folding so I trimmed them where they were folding and added them back in by either adding them to a piece of acetate where they wouldn’t fold or gluing them to the background.

This card needs a Belly Band to keep it closed.

I am not a very good alcohol marker artist, below I show how I coloured it in, I’m sure there are better examples out on the internet.
The below stamp set is from Kindred Stamps (I believe it’s currently retired) I stamped him with Memento ink and I used my Chameleon Alcohol markers to colour him in.


Now for the back side. I didn’t leave enough room to sign the card on the inside so I added a panel to the back side.


To see some other fun interactive cards please check these out

Holy smokes – you blow me away! This is so creative ❤ Love it 🙂
LikeLiked by 1 person
Holy moly!!! This card is AMAZING!!!!
LikeLike
I bet she was blown away when he gave it to her – absolutely fabulous xx
LikeLiked by 1 person