

A little late this week, but we we go. I’ve been really busy working on cards that I can”t show off yet (the Karen Burniston June sneak peek starts June 19th) so I have Craft Roulette card to share. This weeks parameters were a bit easy so I decided to add the challenge of using diesets I have, but haven’t used before, and to chose paper from my stash, not the pretty new paper I used for last weeks challenge, even though it would have been perfect for this card. lol. Craft Roulette parameters ⬇️

I made a shorter slim line (than I typically make), I think the colours I used could be seen at a tea part, including black for tea, I used the “word” Hello, I have hand drawn lines throughout but they are more noticeable on the front label, I added the little white lines on the pattern paper and borders as well.
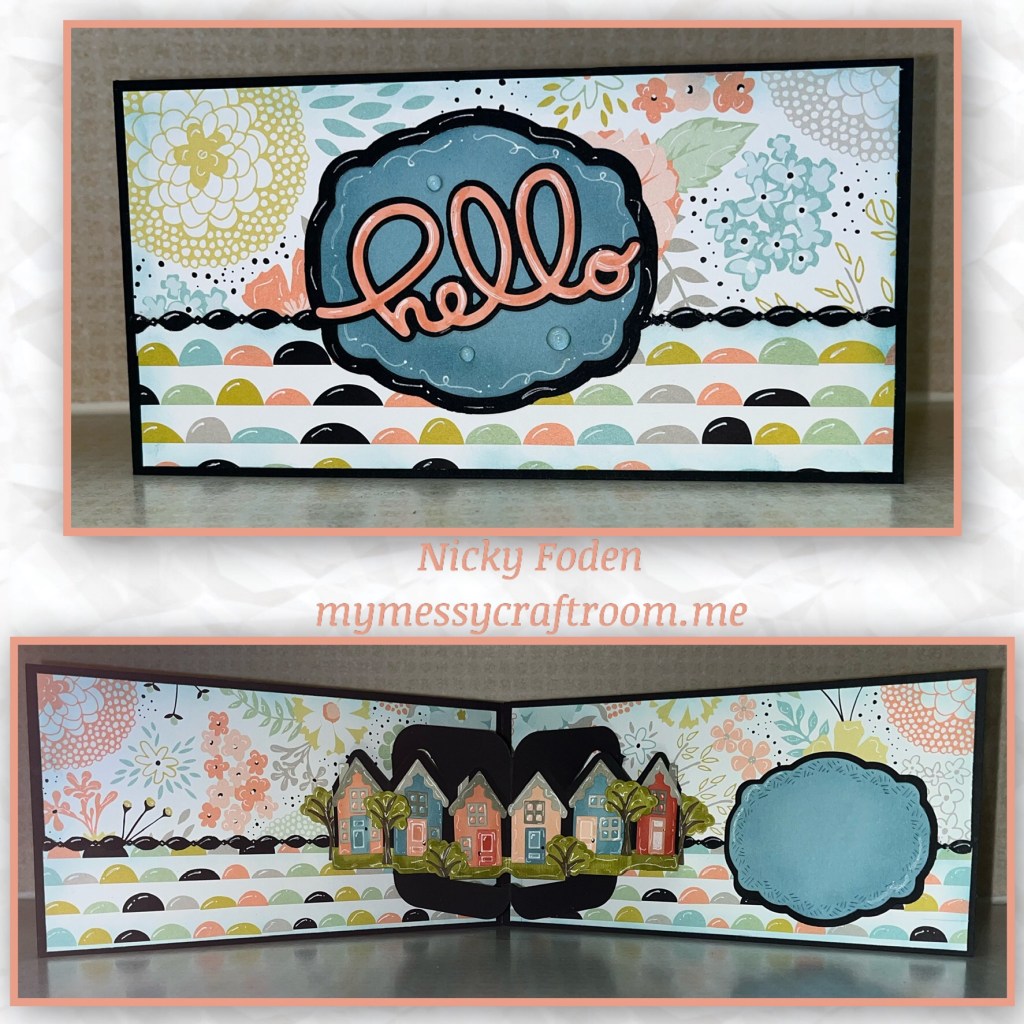
All the fun is in the reveal, to see this card in action please check out my FACEBOOK page, feel free to join if you would like to share your own crafty creations. You can also see a video of this card on my INSTAGRAM page.
1-I cut 2 black panels and adhered together, dimensions below
2- Like I said above, I pulled these papers from my stash, it is retired Stampin Up paper. I cut 2 pieces of patterned paper, the combined dimensions below. I also sponged blue ink around all the edges of the patterned paper.

3- I cut borders using the Border Blends Party dieset. I used them to cover the seams where the 2 patterned papers meet.

4- I diecut the House Pivot Panels and folded all the score lines
5- I diecut the bottom of the House Pivot Panels from green, and I also cut out the houses and their pieces from matching cars stock colours. I trimmed the green piece to look like grass

6- add the green grass piece to the card
7- assemble the houses, I used a White gel pen, VerseMark ink pad with a sponge dauber and a Versamarker to add shading and highlights to the house’s. I added some of the trees, and trimmed son to be bushes.

8- I diecut Hello with it’s shadow
9- I diecut the label with border using this die from the Rectangles and Labels Crosshatch, I aded both to the front if the card
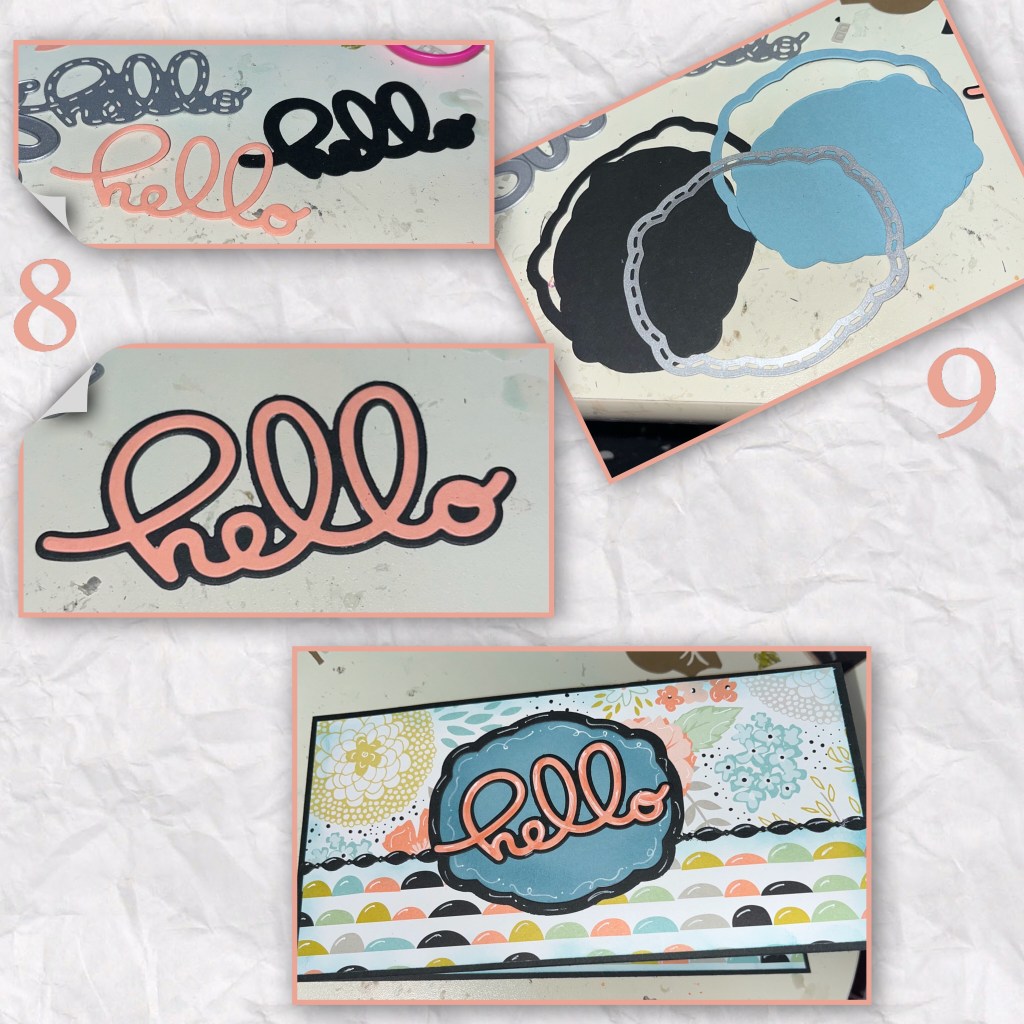
10- I started adding highlight to the pattern paper and the borders. The first pic below shows the left half with the highlights, the right half without. I think the highlights add dimension.

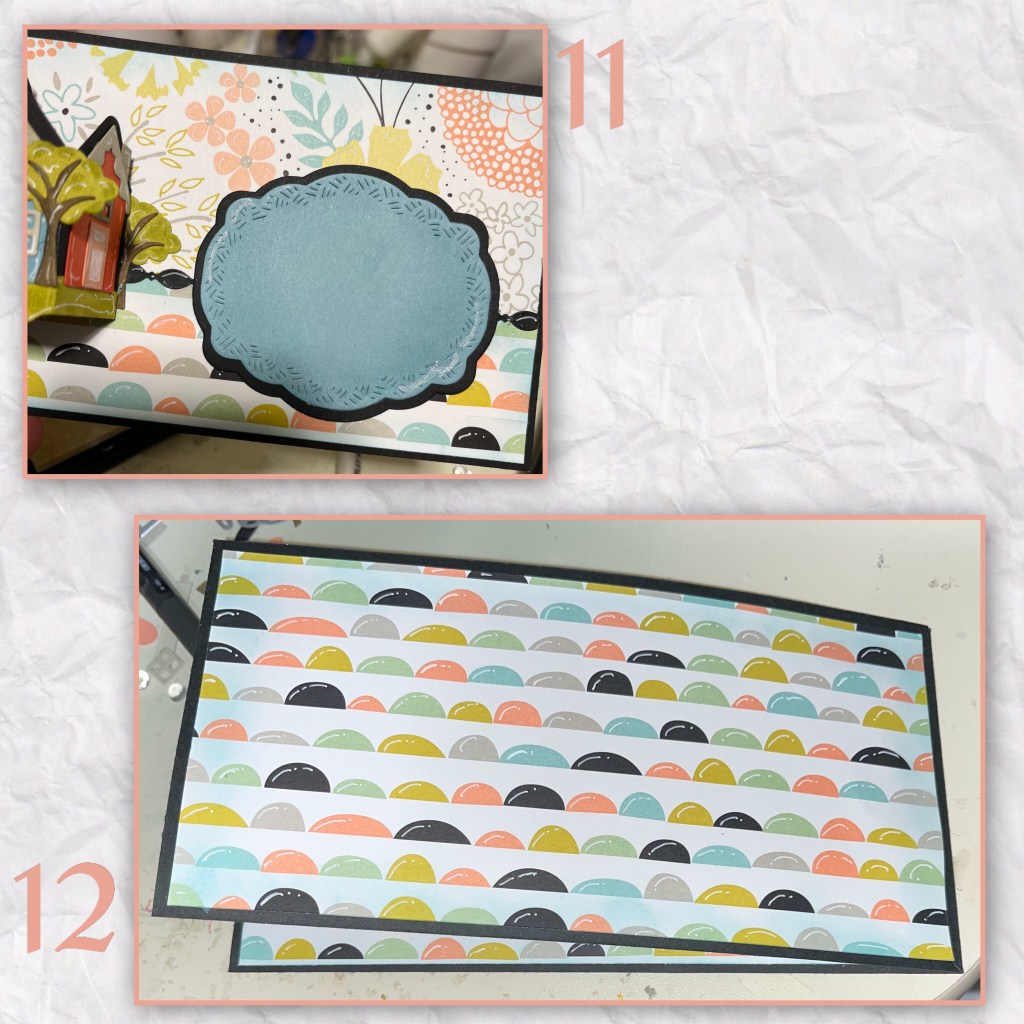
11- using the left over black label from the Rectangles and Labels Crosshatch and the next smaller die from the same set I made a label for the inside to write a message on.
12- I added a pattern paper panel to the back

Other Tools used
