
Love this little mouse, and in this card, the little stinker is running away with a Christmas light. I thought that it would be fun to make an interactive card and have Jolly the mouse actually be able to scurry across the card.
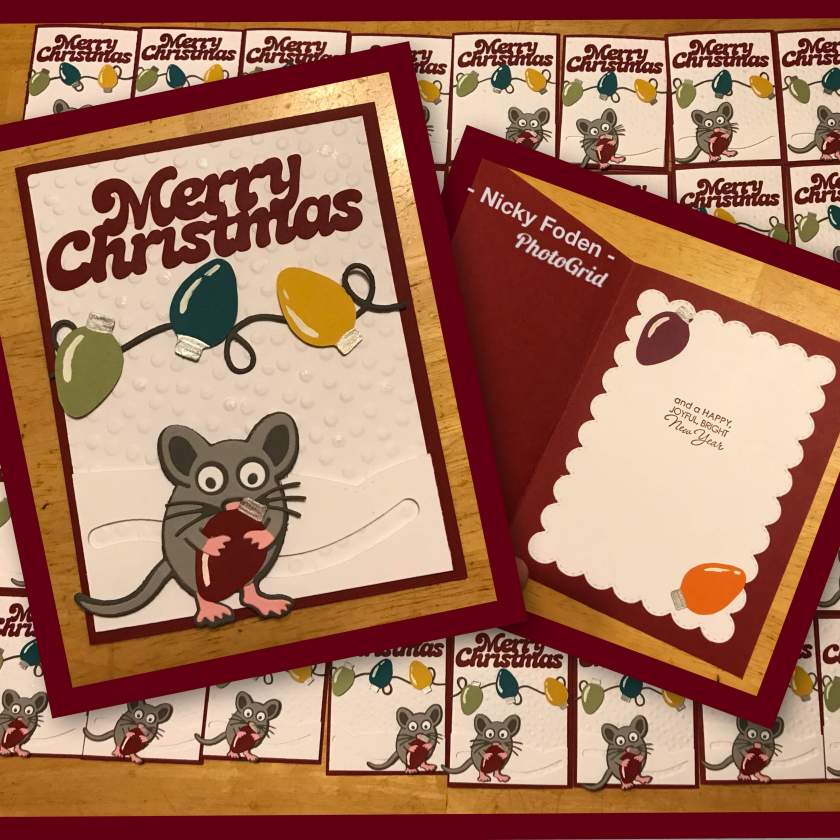
So this card was so much fun to make but turned into quite the challenge when I decided to make 50 of them, there were a few challenges along the way but I did get them all done and in the mail 🙂
Click “read more” to see more.
The star of today’s card is Jolly the Mouse, he is a retired Karen Burniston die but could possibly still be found on eBay or Amazon. The challenge I had with this little guy as I had to run his pieces through my Big shot for every mouse, I was able to run multiple pieces through at the same time but I found when I got about halfway through his smaller pieces such as his pink paws, his nose, his whiskers, and his tail would stick in the metal die, this has never been a problem for me before so I found it quite frustrating. I had double-sided adhesive on the back so assembly would be easier but since I had to pull the little pieces out of the dies with a pin I had to assemble as I went because the adhesive backing was coming off 😦 But I prevailed and got all 50 mice completed.

All the cardstock is from Stampin’ Up. The colours I choose are Whisper White, Cherry Cobbler, Basic Grey, Going Grey, Pretty in Pink, Crushed Curry, Island Indigo, Pumpkin Pie, Rich Razzle Berry, (and I believe) Pear Pizzaz.
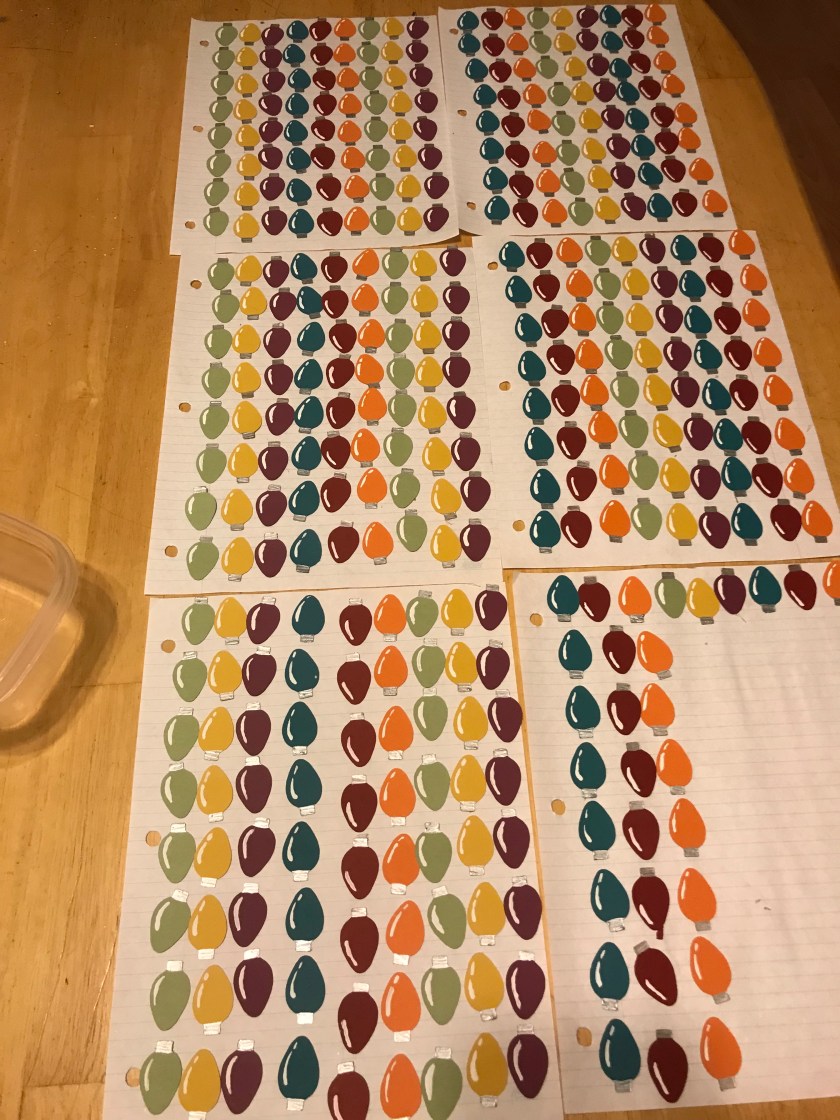
The lights were all cut out with my Brother Scan n cut, once I had them all cut out I used white paint and painted the light highlight on each of them, deciding which colour bulbs would be facing up and which ones down so the highlight would be on the same side. I used silver paint to paint the bottom parts of the bulbs.
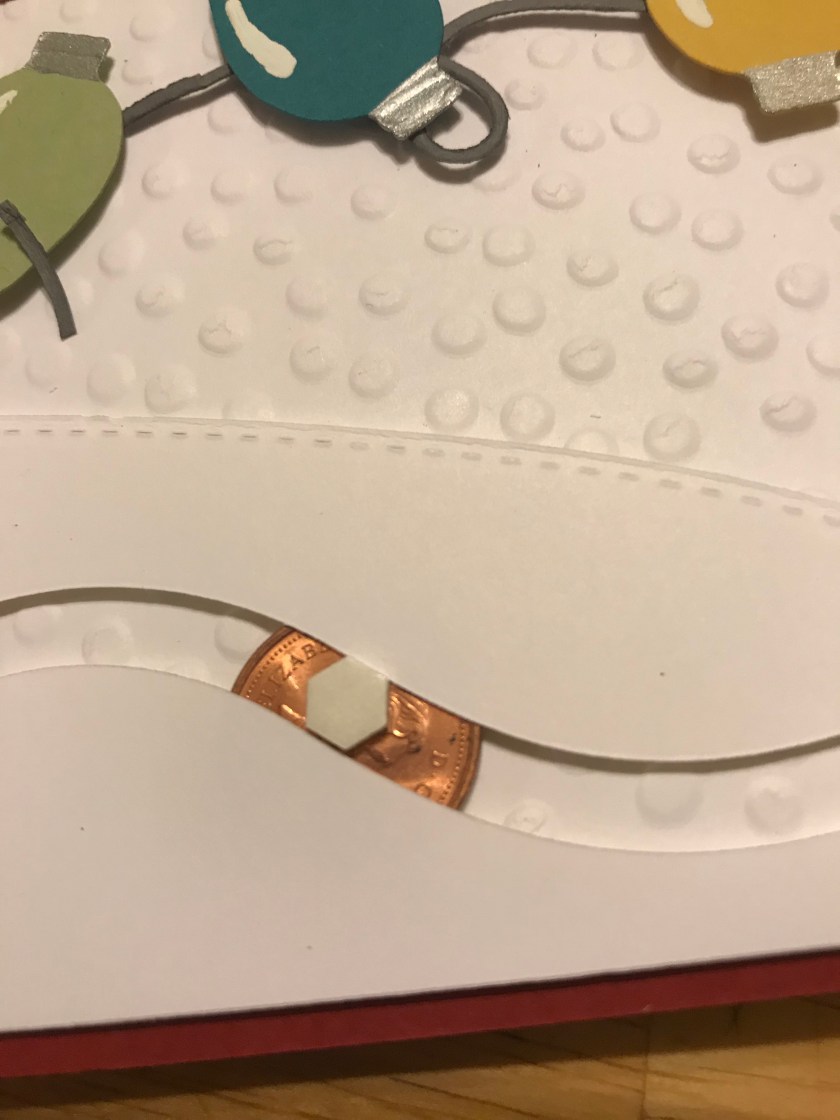
The grey string for the lights was a die from my stash that I cut out with my Big Shot. The front white panel was run through my Big shot with a dotted embossing folder to resemble falling snow, embossing folder is from Stampin’ up.
The snow bank was cut out with an edge die and a track die from my stash (sorry bought second hand, not sure of manufacturer). the snow bank was attached to the panel using Stampin Dimensionals to raised it up from the panel. Then I used a penny and a small dimensional to attach the Mouse to the track so he could slide.

The inside panel was cut using a scalloped rectangle, and I used a Stampin’ Up stamp and Cherry Cobbler ink to stamp the greeting.
The Merry Christmas Greeting was cut out with my Scan n cut.
The lights on the front are attached with dimensionals, the lights on the inside are glued in. Since I used the dimensionals to attach the string and the lights I ran into another problem, the lights started falling off 🤦♀️ so I had to use sticky strip and adhere the lights to the dimensions that already had the string stick to it so all the pieces were sandwiched together.
I used a little bit of Glitter Glue to highlight some of the snowflake spots on the front panel.
Last challenge, since Jolly moves and has a tail he had to be lined up just so on the track to be able to slide into an envelope. He was tricky but I got him in there 😅 did I mention there were 50 of them 😀
Each card mailed with a single stamp, I wasn’t sure, I was a little nervous at the post office. Lol.

2 thoughts on ““Jolly” the Mischievous Mouse”