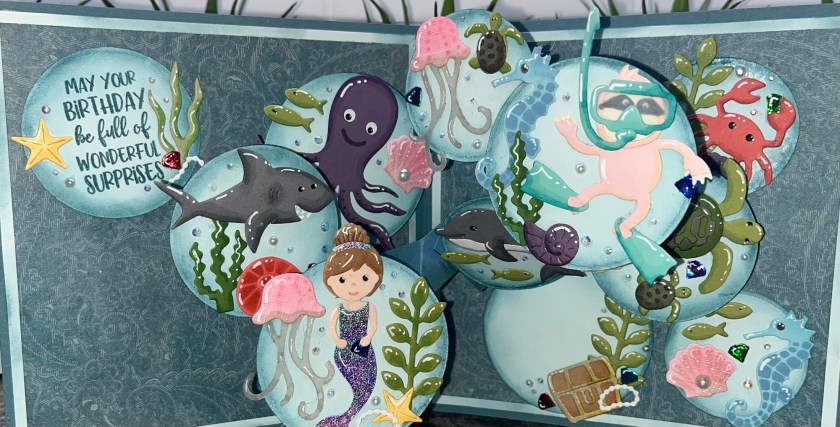
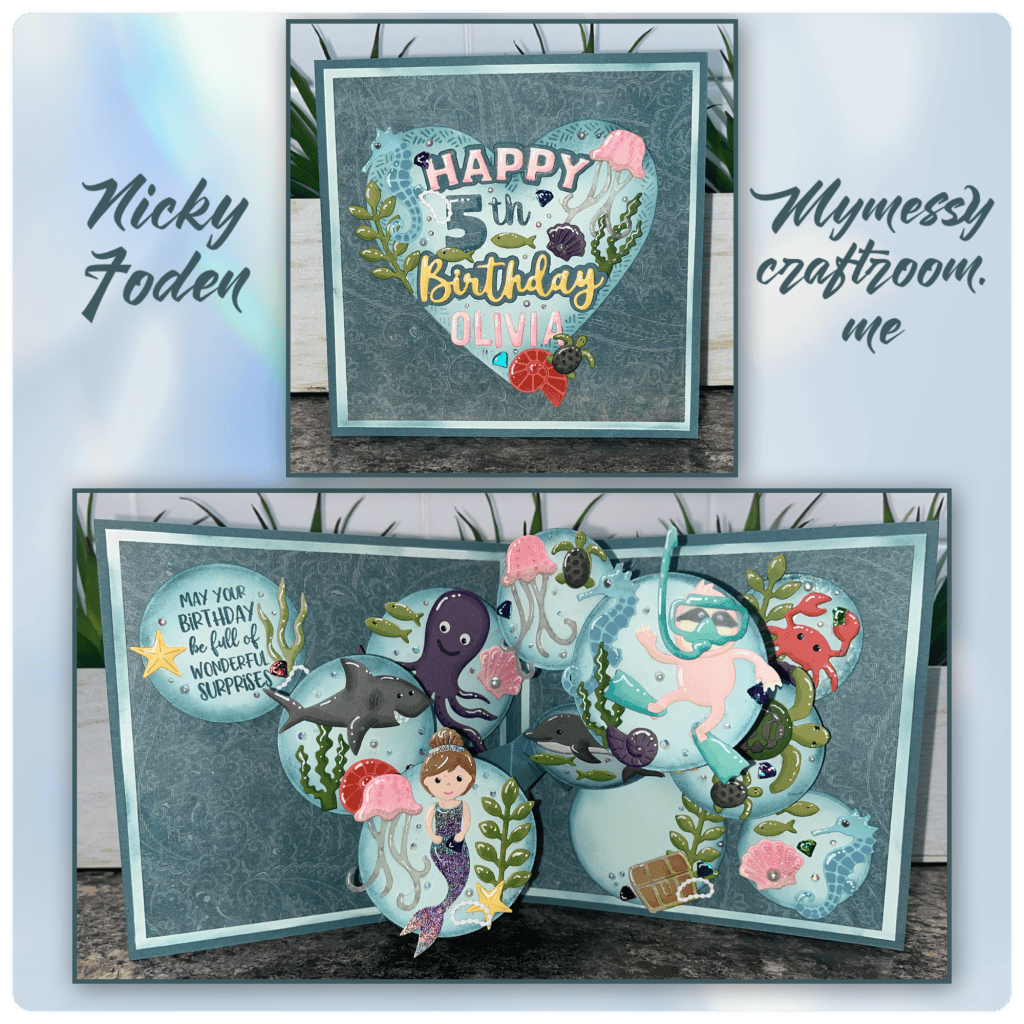
I have to say that I am quite giddy about this card. My granddaughter was having her fifth birthday party and it has going to be an under the sea/mermaid themed card. In the past I have made her cards starring her favourite pink sloth stuffy. I thought this time I would go with just the mermaid under the sea card. The she asked me specially if I could make her a card with her little buddy on, and a heart, a BIG heart. I had already cut out all the sea creatures so I had to think about how I was going to add our pink fluffy friend and this is what I came up with….
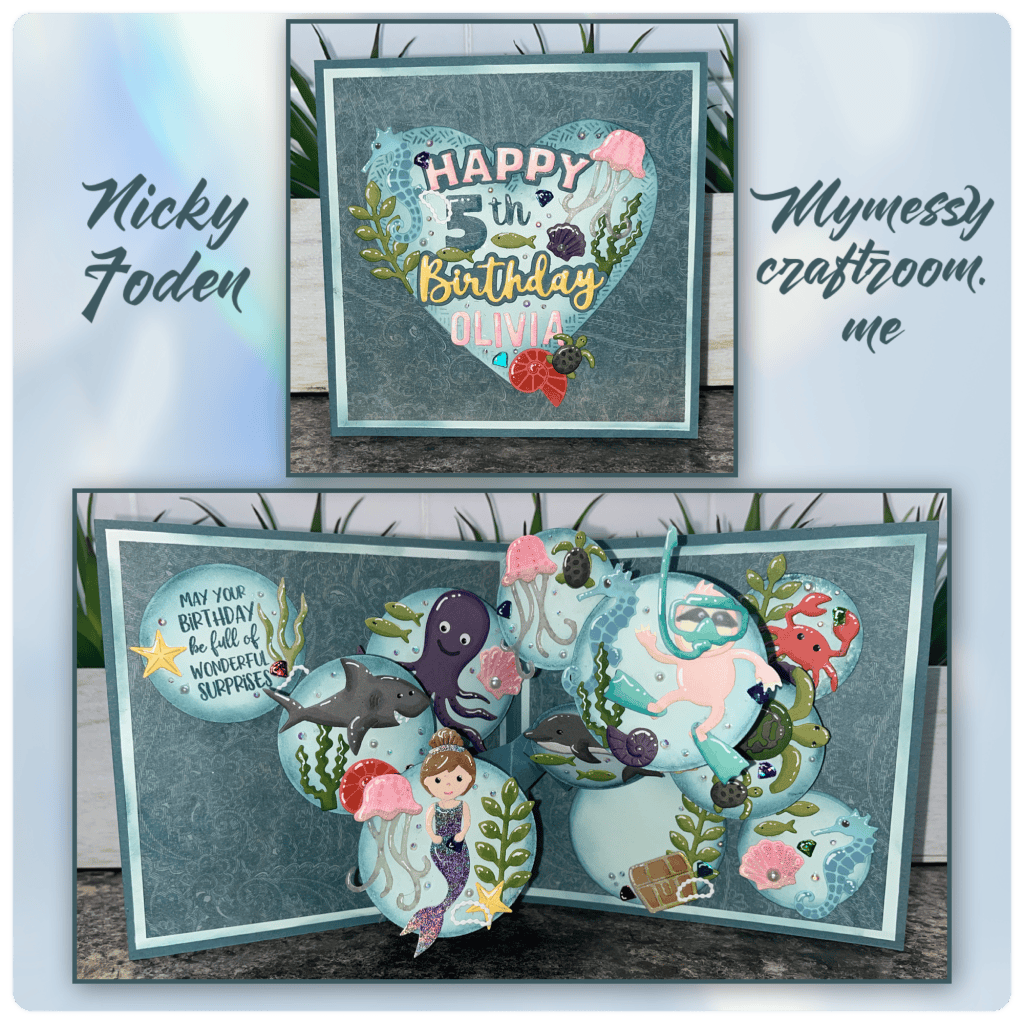
All the fun is in the reveal, to see this card in action please check out my FACEBOOK page, feel free to join if you would share your own creations. A video of this card on my INSTAGRAM
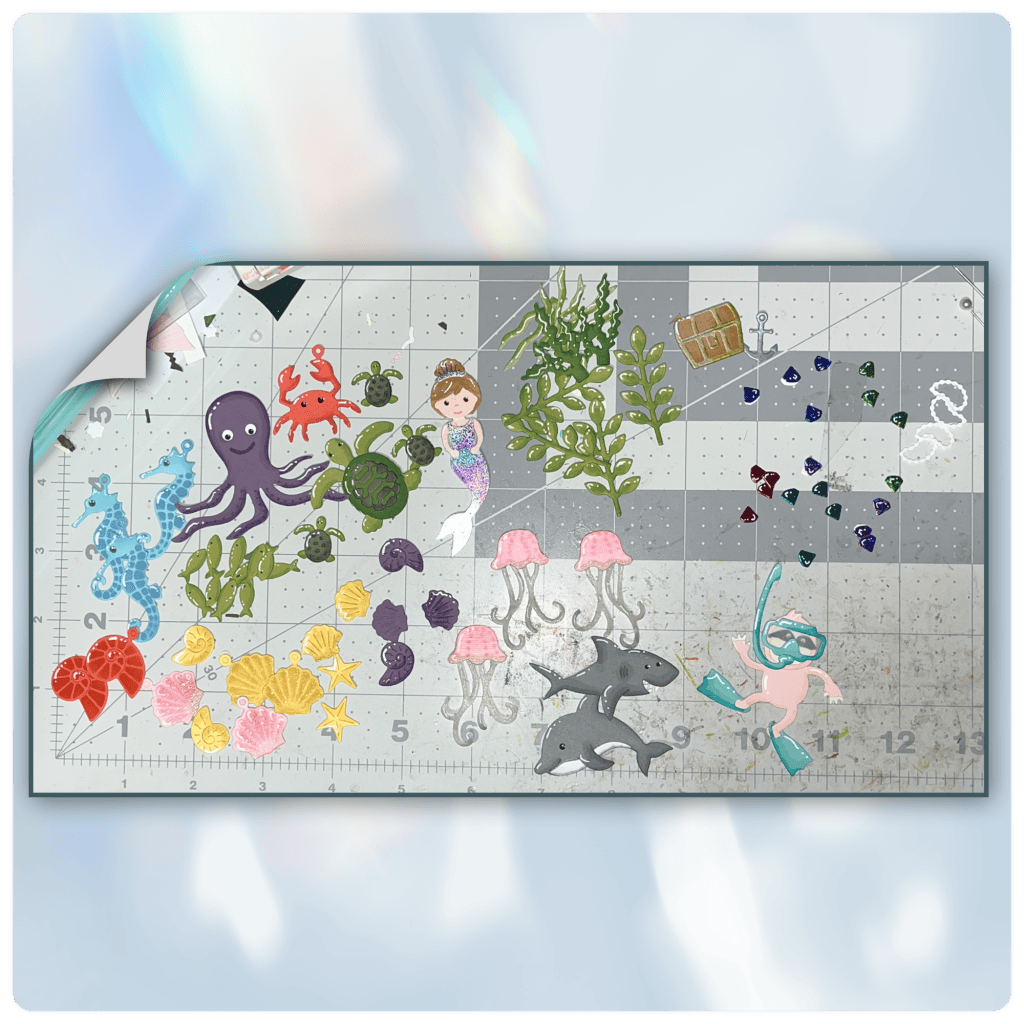
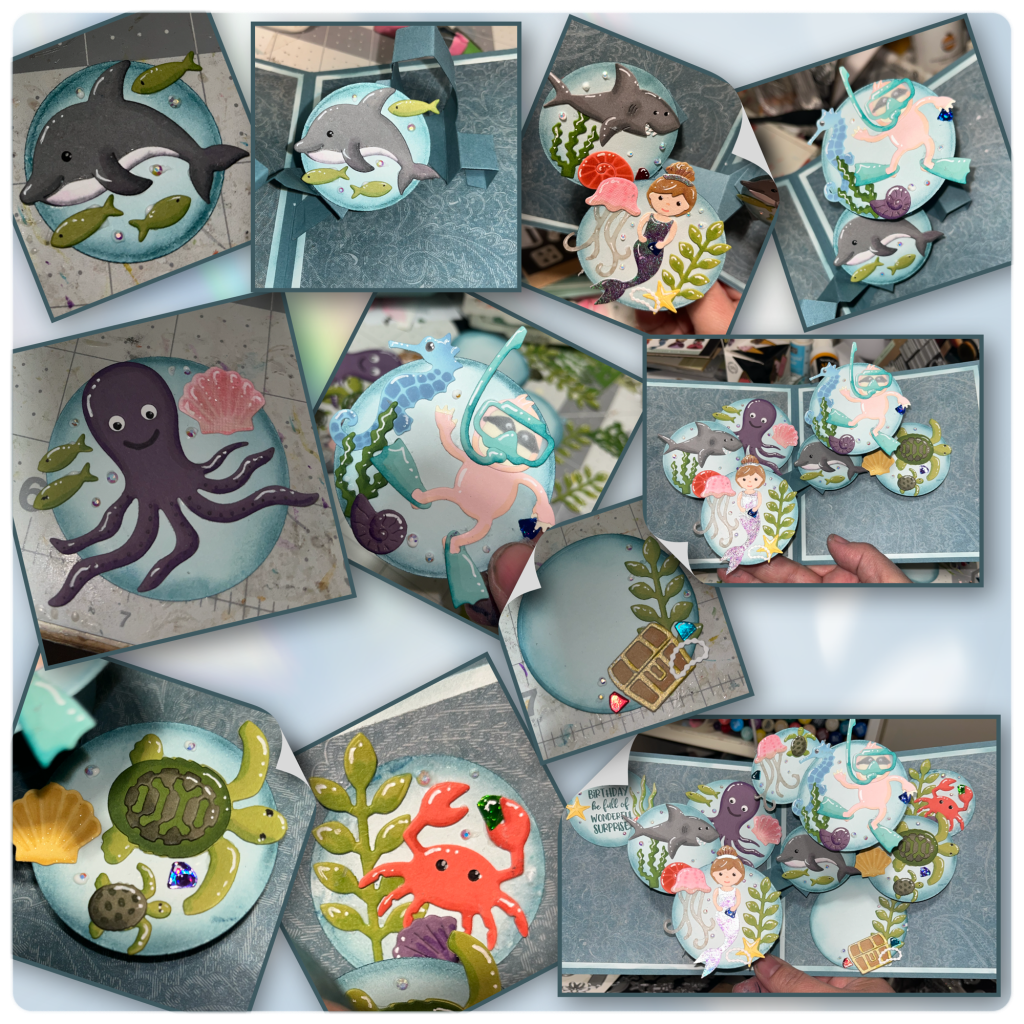
So I started by cutting out and assembling all the sea creatures found below. I cut them from coloured cardstock and added shading with Alcohol markers and highlights with a white Gelly roll pen. I die cut pieces from the Ocean Animals, Sea Animals, Sea Charms, Sea Stage Add ons, Leaping Animals, Princess and Mermaid, Pirate Borders, Monkey and Lion (trimmed to make the sloth), Tiny Accessories 4 (snorkel and fins)
I was inspired by Karens Cascade Halloween Card where she added a second Cascade Pop up mechanism. I cut out several circles from the same set and and inked the edges in a matching blue ink.
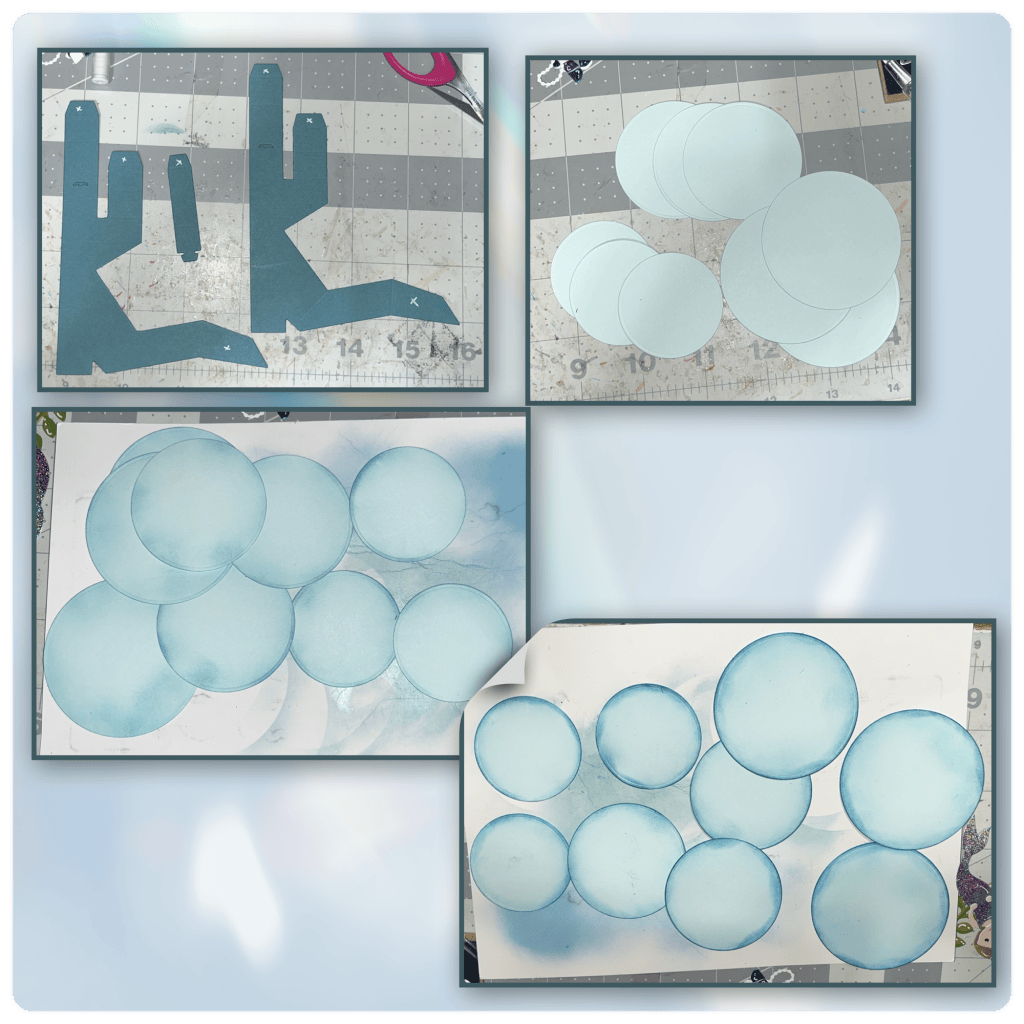
I cut out the cardbase and the panels as shown below. I inked the edges of the light blue to match the circles.
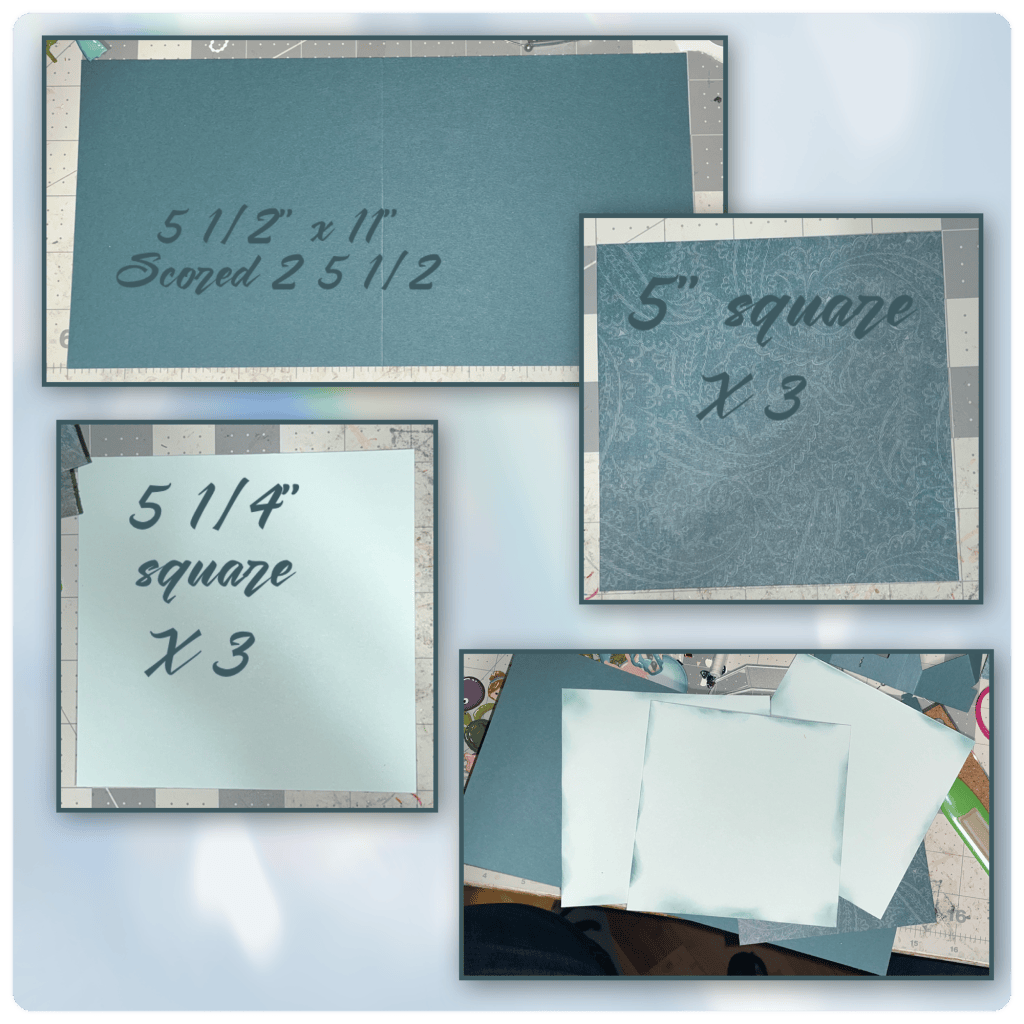
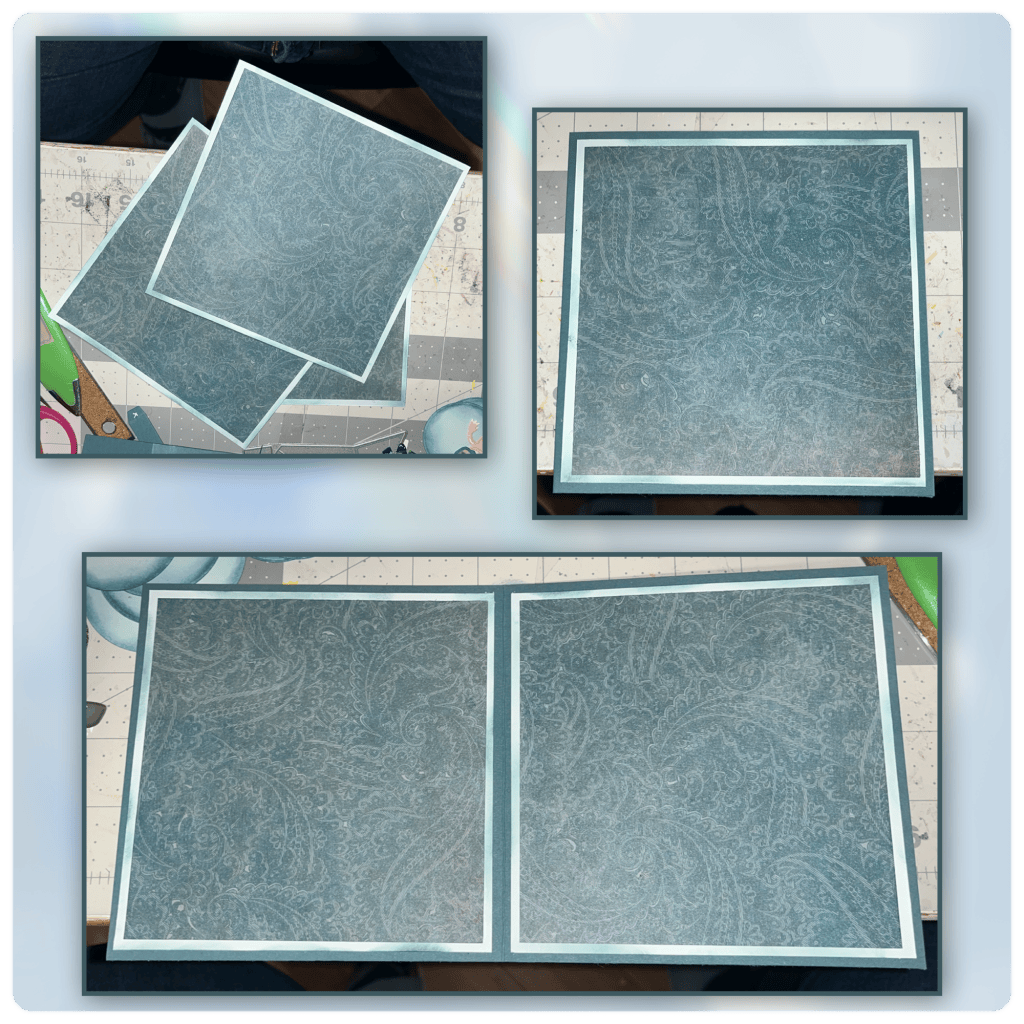
I layered the panels and added them to the card base as shown below
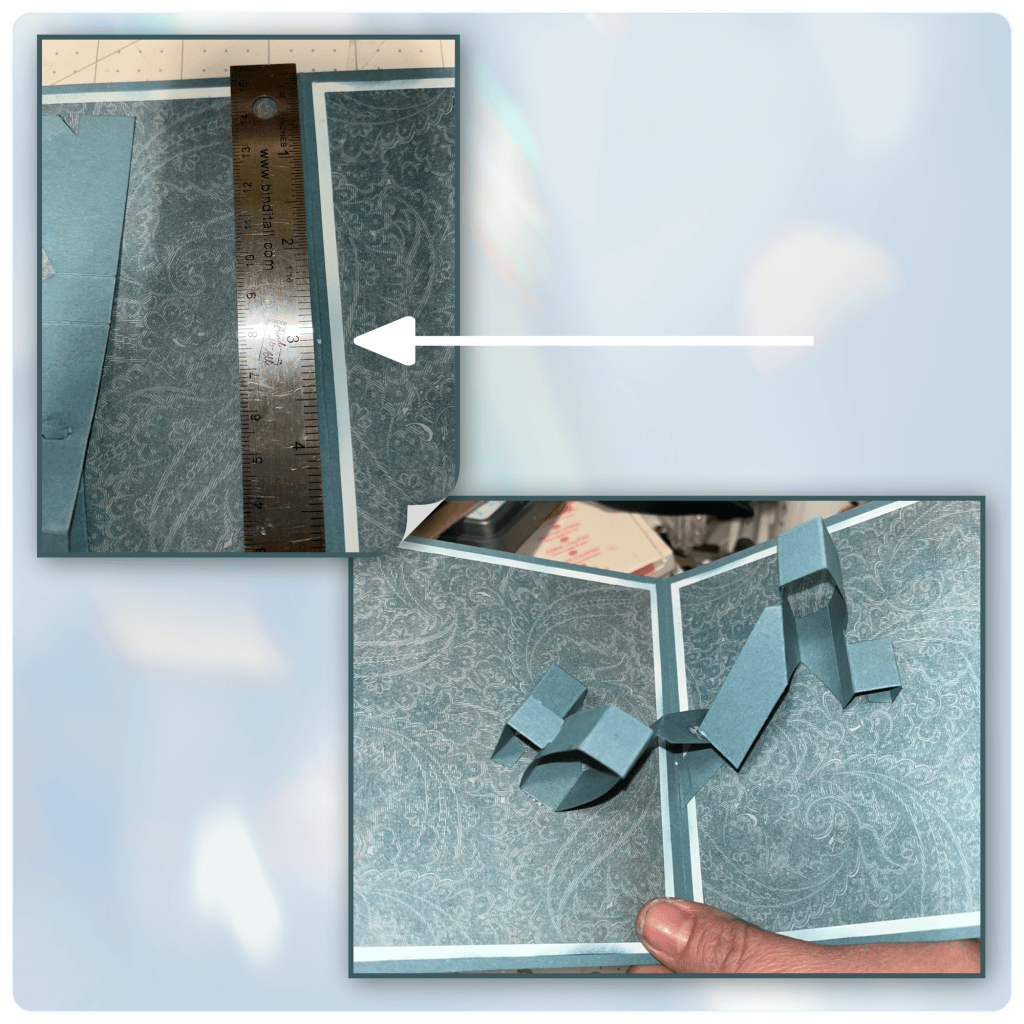
Because I chose to make my card slightly bigger than Karens I decided to mark where I am going to add the mechanism at 3”, I added the mechanism and the second mechanism as per Karens Video
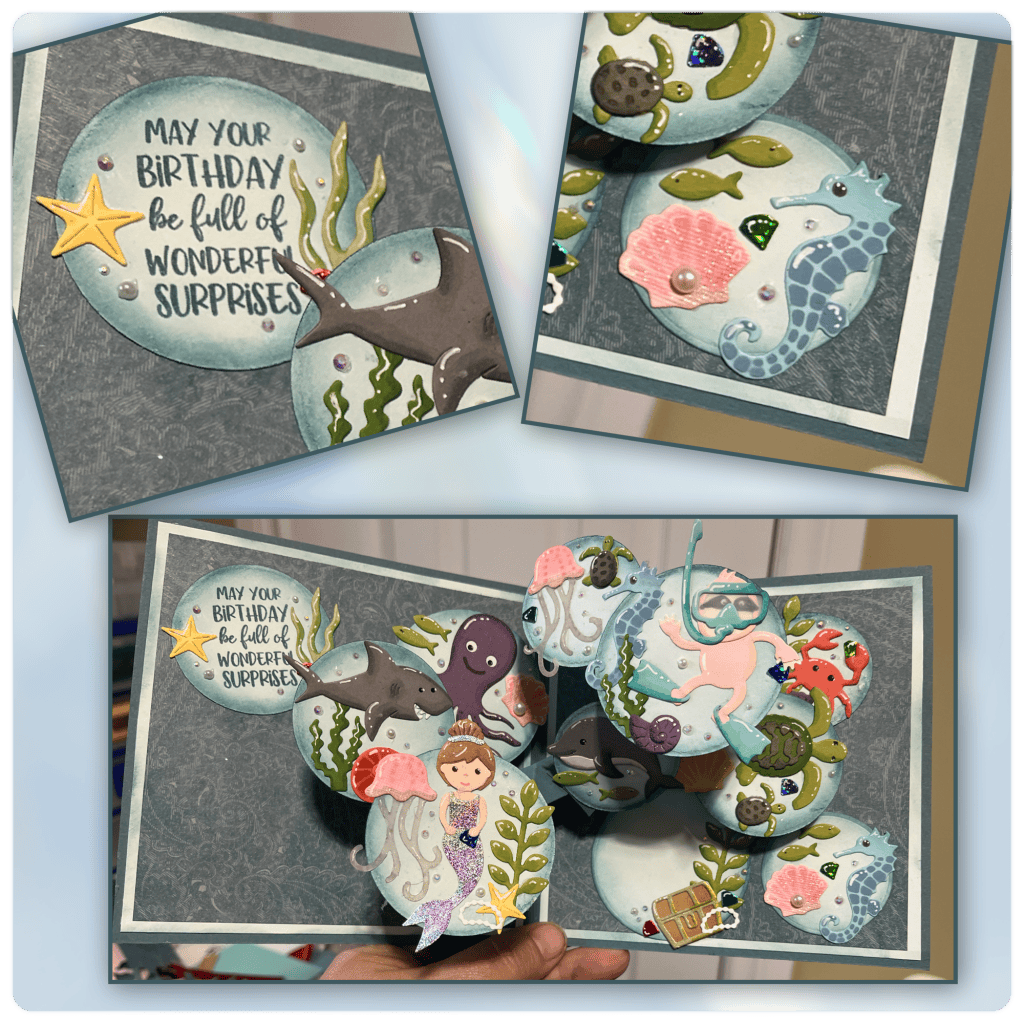
I started adding the elements to the circles and I also added the some itty bitty gems. Then I started adding them to the card. I attached the Jelly fish circle to the back of the sloth piece, the stamped greeting, the treasure chest, and the crab are all attached to the card and not the mechanism.
It seems a little of balance so I added another seahorse piece to the bottom right corner. The stamped greeting is from the Stage Scenes Clear Stamps. I found some small 1/2 back pearls randomly around.
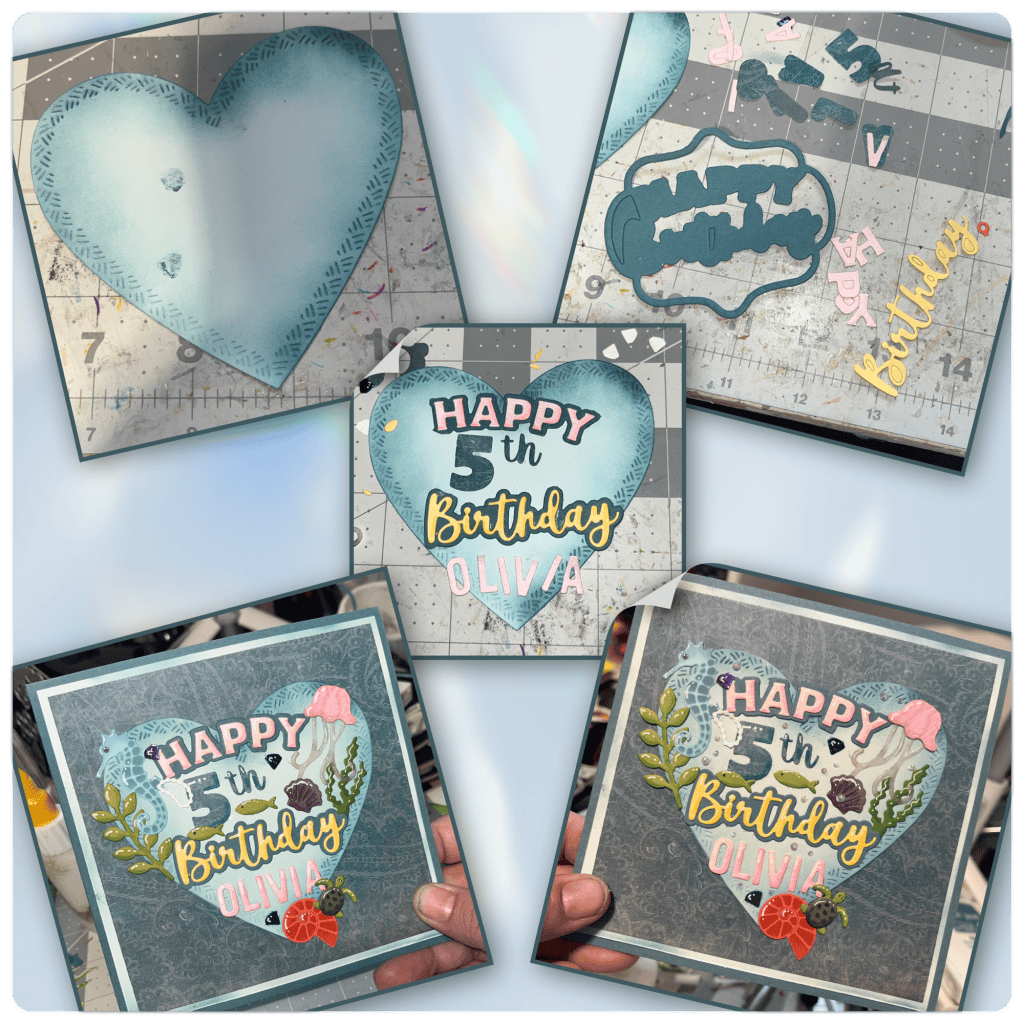
I used the Largest crosshatched heart from the Hearts Crosshatch. I inked the edges and got some inky finger prints on it by mistake. I didn’t want to cut into a new piece of cardstock so I thought I would see if I could make it work. To make the greeting I cut apart the Happy Birthday Lorna Add on , and added the 5th from Numbers, and Mini Alphabet and Numbers for the name. I added some left over elements from the inside to fill in the spaces. I was able to cover the inky fingerprints. I added the itty bitty gems.
Other Tools used


LOVE your work. I particularly noticed one of your cards on an OLD Karen Burniston video so thought I’d see if you’re still creating. When I found this website, I realised your face is familiar and so are some of your recent cards!
I shut down my Meta accounts because I don’t like their T&Cs or behaviours so sadly I can’t access your FB or Insta. As someone who spent 13+years running a website reviewing stories and podcasting interviews with story creators (writers, actors, showrunners etc) I know how thankless it can be at times, so I wanted to jump in here and tell you you’re doing great work, I love it, and please keep it up.
LikeLiked by 1 person
What fun and fab pop up card. Thank you for the detailed step by step; I hope to try this double cascade pop up mechanism soon too and will likely need to come back to re-read your process. Bet your granddaughter was super delighted with her fun birthday card!
LikeLiked by 1 person
This is such an awesome card and so nice that you were able to include the favorite stuffy. Beautiful work as always and thank you for sharing the step by step photos I always appreciate them.
LikeLiked by 1 person