Well, I got the card done by the deadline but the blog post took a couple of extra days. I’ve been busy busy busy making cards for the Karen Burniston June Release but I was able to sneak in a Craft Roulette card
Here are this week’s parameters ⬇️

I took me a bit to wrap my brain about how I was going to meet the parameters but then it just clicked, and this is what I came up with.
Small Bag- the little hand bad the girl gnome is holding
Rainbow colours- throughout the card
Wheel- the greeting turns on the yellow wheel revealing 4 different messages
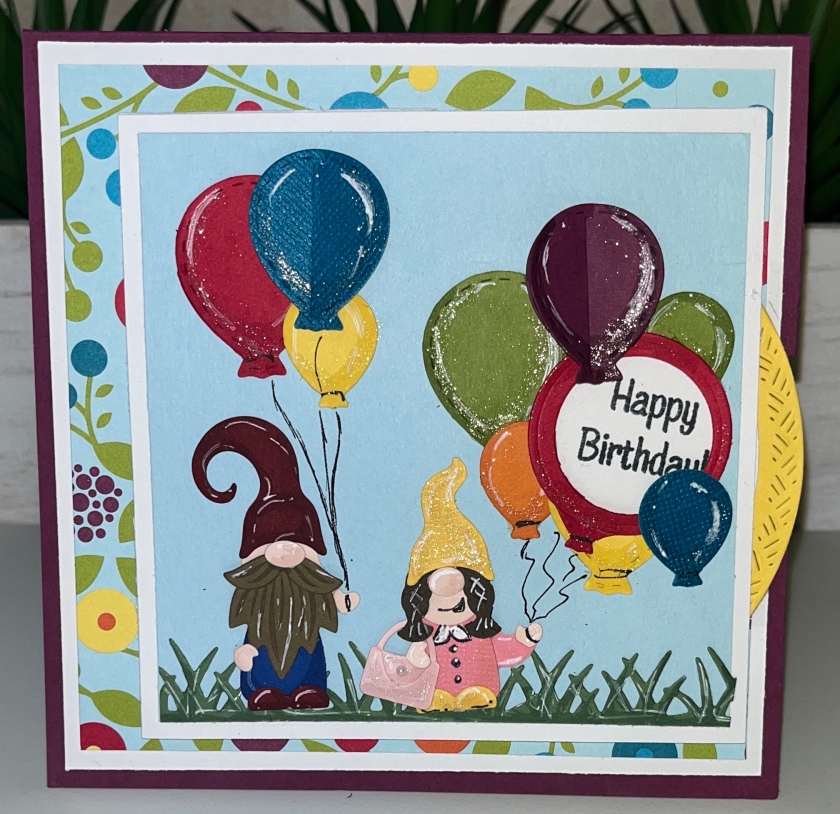
Shimmer- I used Wink of Stella to add glimmer to all the balloons and the girl gnomes.

All the fun is in the reveal, to see this card in action please check out my FACEBOOK page, feel free to join if you would like to share your own crafty creations. You can also see a video of this card on my INSTAGRAM page.
1a- the first thing I was going to do was pick a striped rainbow-coloured paper, which I did but then I saw this flowered paper that has all the rainbow colours which I liked better. I thought it would be a fun paper to work with the garden gnomes. The paper is Retired Stampin Up from my stash.
B- cut the card base and layers, dimensions below. Add the patterned squares on the white squares.

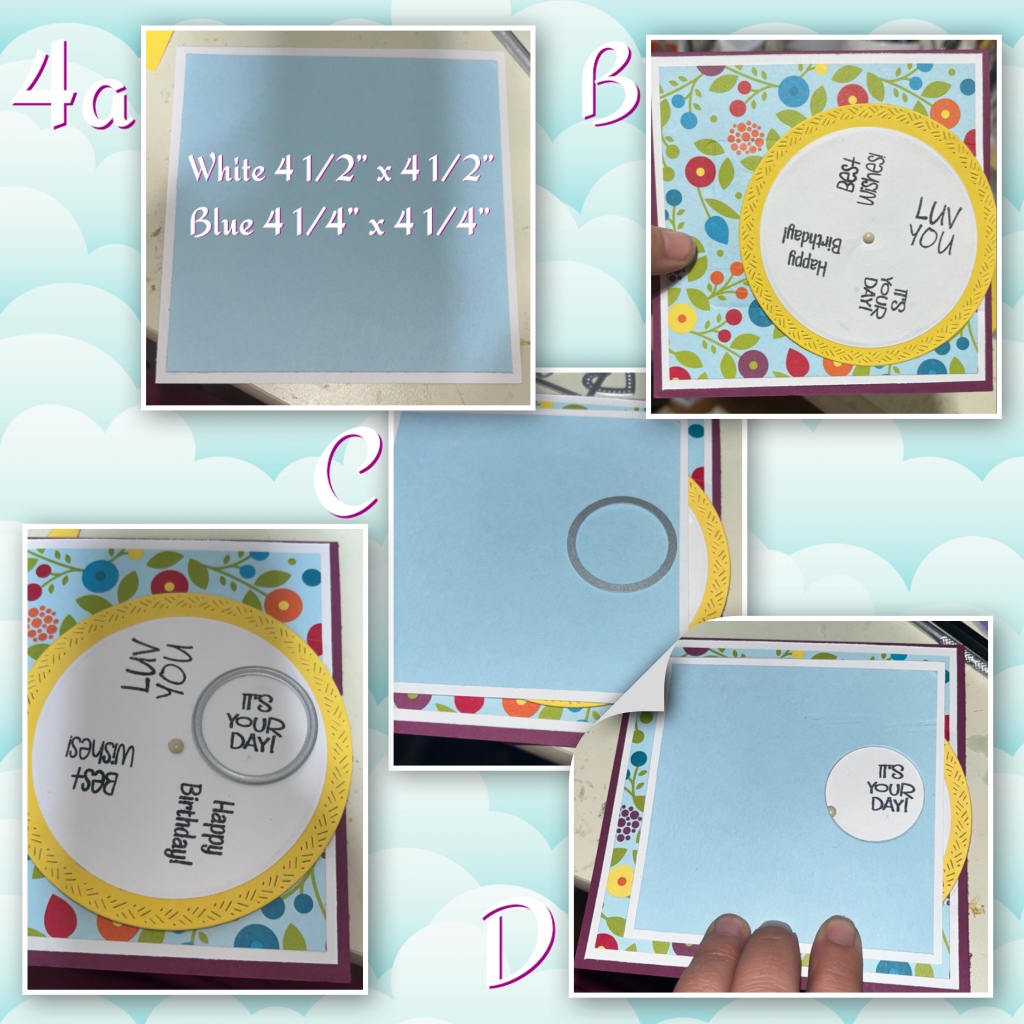
2a- using the Circles Crosshatch dieset, use the largest circle to cut the yellow, use the next smaller circle to cut the white.
B- using a pencil, lightly draw the circle into quarters and mark the center.
C- stamp four greetings on the pencil lines. These stamps were a limited edition set from Riley and Company, and poke a hole through the center of the circle. Erase the pencil lines.

Sorry not shown- add the patterned squares to the inside, and the back. Not the front. The next few steps it looks like I adhered the front but it is just laying on it where I want it to be.
3a- lay the circle where you want it on the card (sorry not shown) put a pencil mark through the hole in the middle of the circle to mark on the patterned square where the center of the circle will be. Also mark where the circle overlaps the edge of the card.
B- because I know the small circle die will never be able to cut through ALL the layers. I laid the front panel where I want it (no glue, only tape if necessary) put the smallest circle from the Circles Crosshatch between the marks from the previous step and cut through
C- remove the front panel, and lay the die in the same space to cut through the layer on the inside. If this doesn’t work, open the card and lay die over the same area and cut from the inside.
D- it should look like this.

4a- cut 2 Squares and adhere them together as shown
B- using a brad, add the wheel to the panel that hasn’t been adheres yet. Then adhere the panel with the wheel to the card front.
C- figure out where you want the window to be on the blue and white panel.
D- die cut the window, add the blue panel with the window to the card front, using foam adhesive in the corners. Make sure not to glue to the wheel so it can turn.
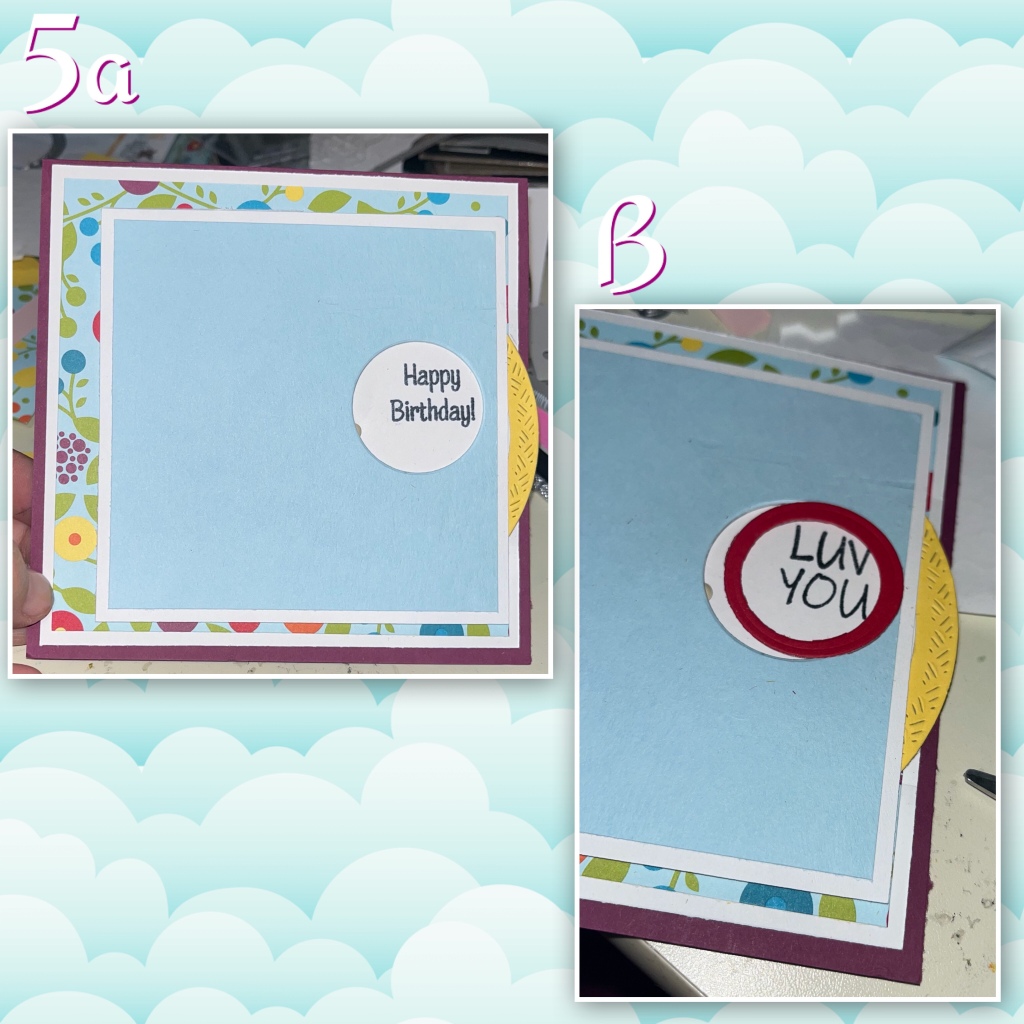
5a- soooo my square is a little of center, I should have made it bigger because to see the words properly I had to lean it towards the left. I will offset the squares I plan on putting on the inside, for balance.
B- I thought the word window was too big, plus the brad was visible so I cut out a red circle the same size as the window, due cut a smaller hole in the middle and attached as shown.
6a – HELPFUL HINT- when I diecut gnomes, balloons, flowers, I typically cut extra, and I store the extra pieces in containers as shown that way if I need something quick I can just grab the pieces I need.
B- I did have to cut balloons out of Rainbow coloured using the balloons from the Balloon Collage add on die set. I used a Versa Marker and a white gel pen to had shading and highlights.
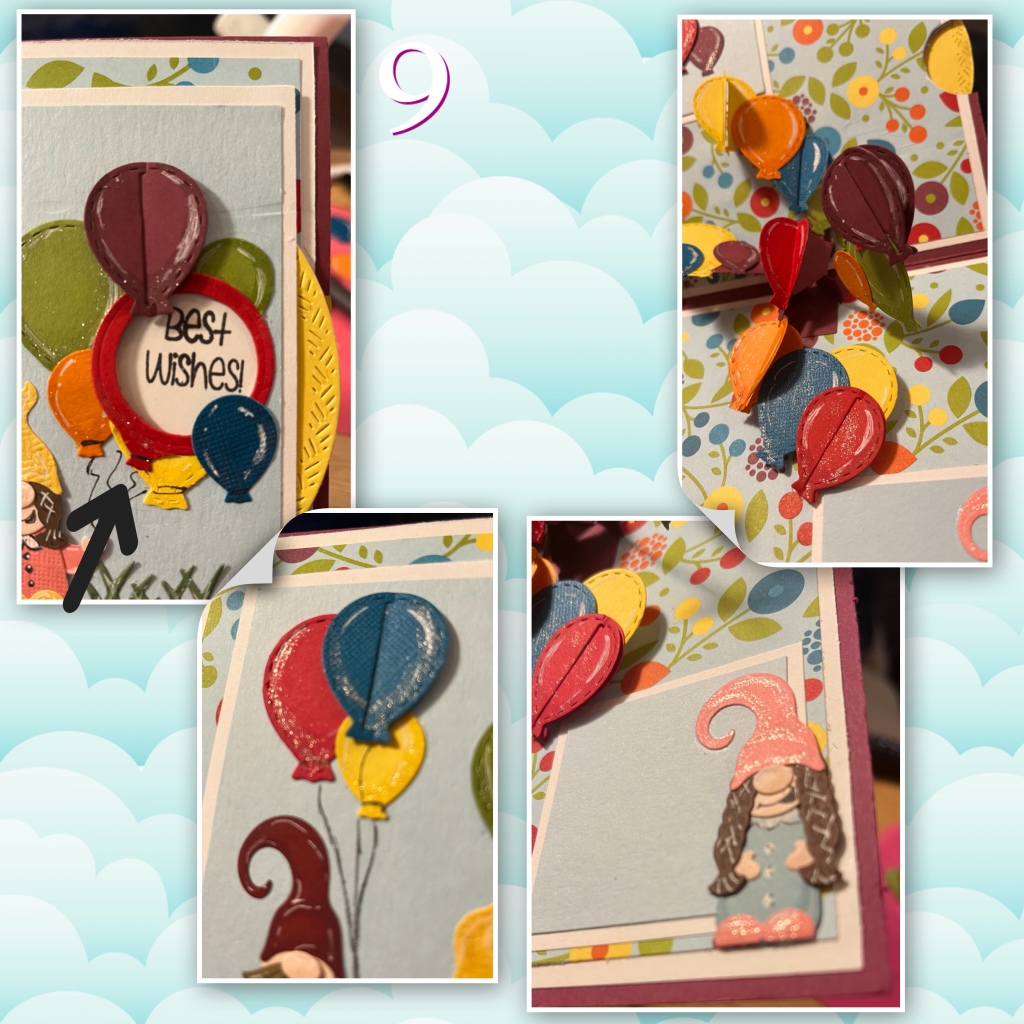
C- I started adding balloons as shown, covering the extra space around the red circle.
D- I added a couple of Tiny Gnomes to the card front. The little purse is from Tiny Accessories 2

7a- die cut, assemble, and add the Heart collage pop up mechanism to the card base (assembly directions at link)
B- add the balloons, checking between each add on the there are no catch points and that the card is able to close.

8a- make 2 squares as shown,
B- add one to the top left with a couple of balloons, and one to the bottom right with another gnome.

9- I added Wink of Stella all around the balloons and the girls gnomes.