

I’ve just made another Christmas card to add to my pile. I actually made a really huge mistake, that led me to switching up the card, and I truely think it is better than what it would have been. I played Craft Roulette to come up with this card. These are this weeks parameters

This is how I used the parameters, the framed penguin “drops down” when the card is closed. Supper table colours, wood frame/wood table, the greens and reds are salad colours, blue and white could be the table cloth and the other colours are neutral. The season I chose was Christmas, and there are red mirror cardstock accents and little gems.

All the fun is in the reveal, to see this card in action please check out my FACEBOOK page, feel free to join if you would like to share your own crafty creations. You can also see a video of this card on my INSTAGRAM page.
So I was making this card on the fly so unfortunately I am missing a few photos, but I’m pretty sure I have what is needed to re create this card.
1A- the card base is green, and it is a 5 1/4” card base the cream coloured panels are not exactly 4 3/4” square but I knew I was going to cover the uneven side with the border
B- I cut red frames to use as matts, I cut the centers out to conserve cardstock and to get rid of some of the bulk, dimensions below.
C- I cut the borders from retired Stampin Up paper, dimensions below
D- I added all the pieces as shown and used a border from Border Blends Party to cover where the border edge meets the cream cardstock.

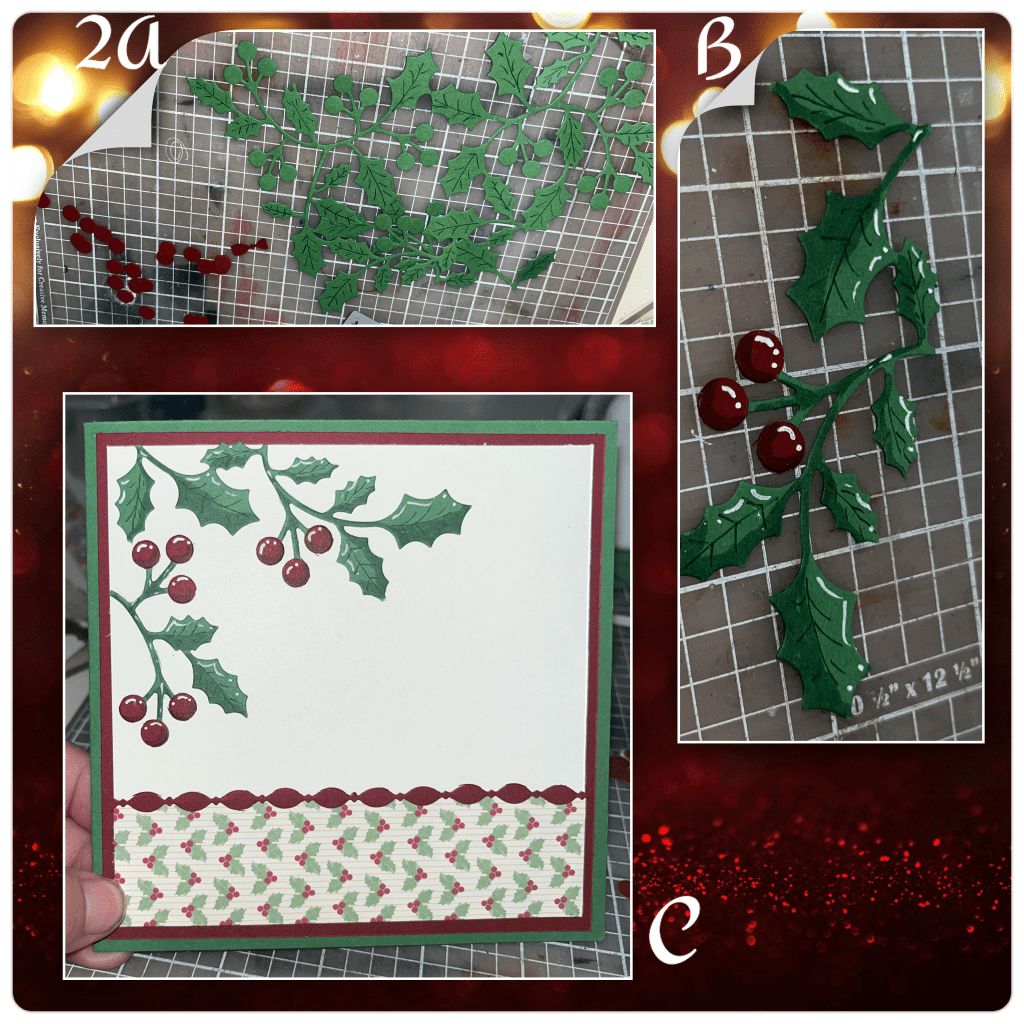
2A- I cut out the Holly and berries using the Pattern Plate Holly dies
B- I added shadding with a Versa Mark Marker, and highligts with a white Gelly Roll pen
C- I added to the card base as shown.
3A- I added the panels and borders to the inside as shown.
B- I diecut the frame, the back, and the mechanism from the Flip Frame Pop up as shown. (Karen has a video tutorial on the product page at the link ⬆️ )
C- I decorated the frame with the reindeer from the Christmas Animals dieset. I added some Holly, berries and a few gems.
D- add the mechanism piece to the card, Karen has a video tutorial on the product page at the link ⬆️

This is where I realized my mistake. Had I refreshed my memory on how to assemble the card I would have been reminded that the card needs to be at least 5 1/2” long, mine is 5 1/4” AND I didn’t have the mechanism as high as it could have went, sooooooo the frame is going to completely hang over the edge 🤦🏻♀️

To fix my mistake I decided to put the reindeer on the right side of the card, and I would put a smaller frame on the mechanism. I have a thing about having groups of three so I decided to make 2 smaller frames for the left side.
4A- the penguin and bear are from the Winter Animals dieset, and the frames were cut from woodgrain paper, both frames are from the Slim Frames dieset, I added Holy, berries and gems as well.
B- MISTAKE #2, I originally adhered the frame centered on the mechanism, but it didn’t close right so I had to move it slightly to the right side of the frame (when you are looking at it)

5A- I decided to add shading with a Versa Mark Marker, and highlights with a white Gelly Roll pen.
B- add the framed animals as shown, I added a few extra gems

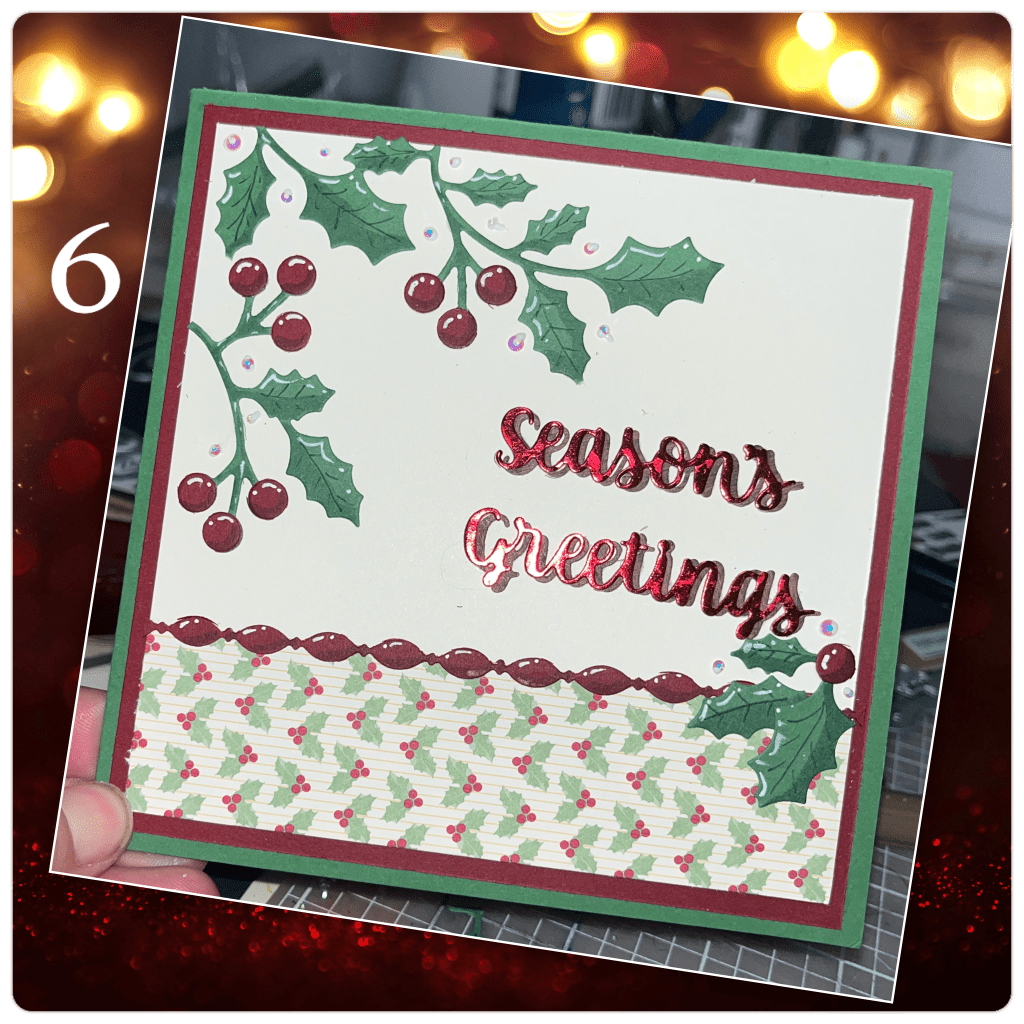
6- using Wordset 3 Holiday I die cut “Seasoms Greetings” from the red mirror cardstock and the woodgrain cardstock and layered as shown and added it to the card front. I added a some more Holly, berries and gems.

Other Tools used

Absolutely stunning card design and most precious reindeer with the red shiny nose,
LikeLiked by 1 person