
There is a bit of a benefit when some of your family doesn’t follow your blog or your social media ( or anything on the internet ), you can post their birthday card before their birthday 😜 sshhhhh
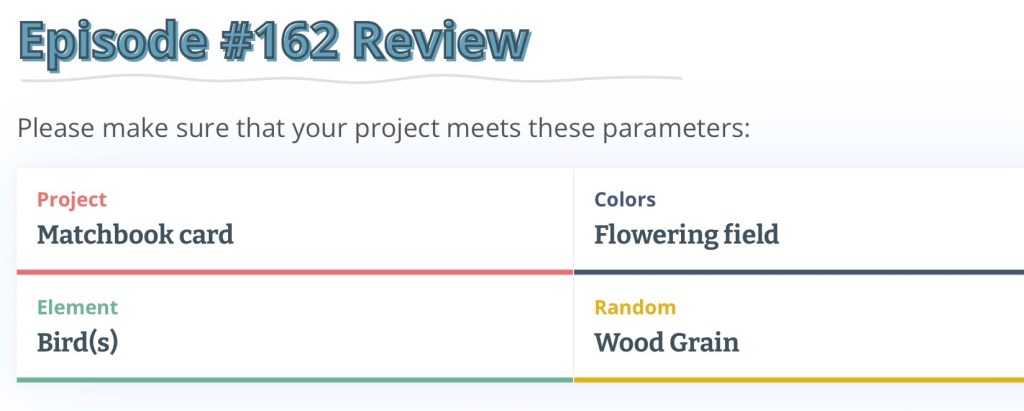
This weeks Craft Roulette Parameters weren’t too difficult, so I decided to give myself a couple extra challenges, 1 was to make a pop-up card that works with the rest of the parameters, and 2 was to make it masculine. CR parameters ⬇️
One of the challenges for me was to find patterned paper that was the colour of “Flowering Fields” but could still be used on a masculine card. The colours on the stripes look like they were painted on.
All the fun is in the reveal, to see this card in action please check out my FACEBOOK page, feel free to join if you would like to share your own crafty creations. You can also see a video of this card on my INSTAGRAM page.
1- gather cardstock, the yellow pieces I got from a Dollar store paper pack, it’s hard to see but there is some texture to the paper. The Night of Navy card stock is from Stampin Up, the striped paper is double side and is from my stash ( I just zoomed in to see if I can see the company name and noticed it’s called “Backyard Stripe” lol.

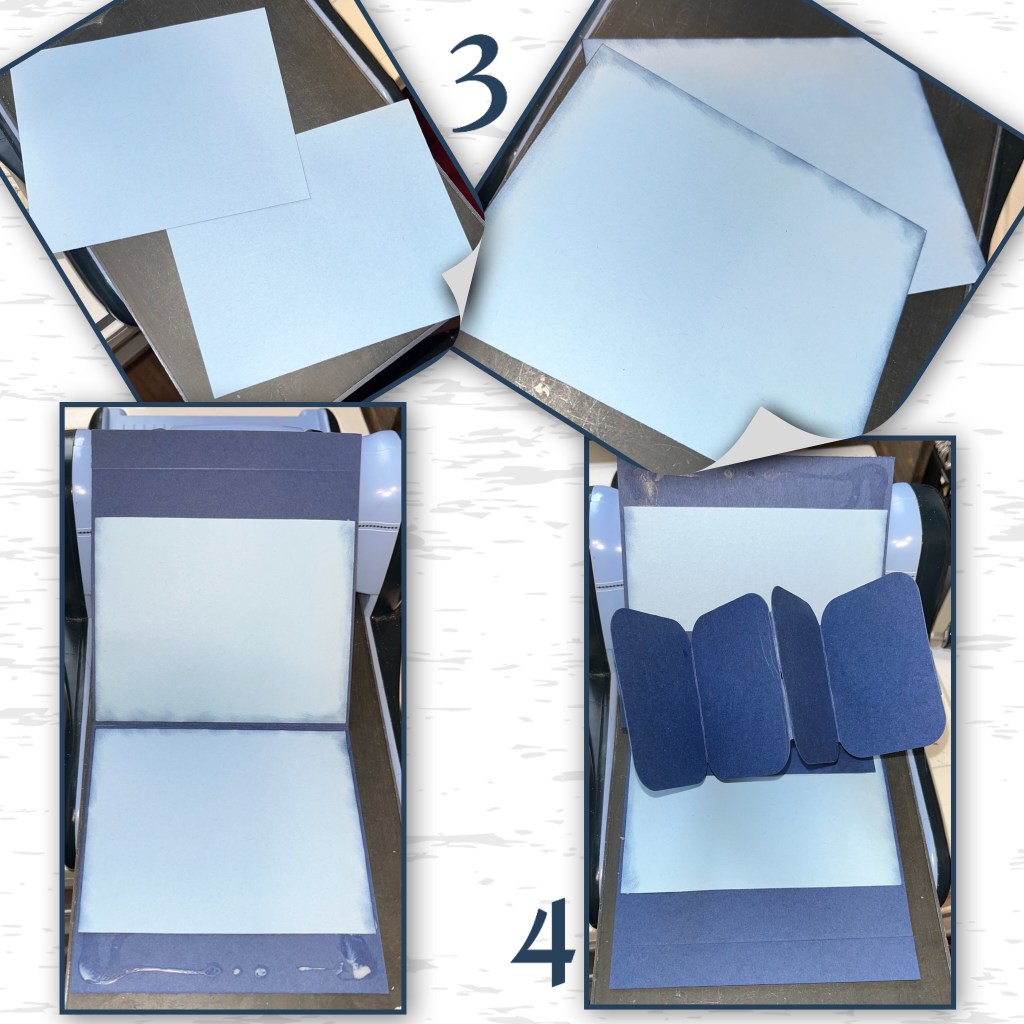
2-using the Navy cards stock make the mechanism from Twist Panel Pop up, (photos below but check out Karen Burnistons Video for directions ) when I cut the main mechanism (1st photo) I ended it trimming it down to 4 3/4” wide x 3 1/3” scored in the middle. See Karen’s video for the rest of the assembly.

3- blue paper is 5 1/8” wide X roughly 4”. Doesn’t need to go all the way to the ends, it will be covered with striped pattern paper. I inked up the edges with Night of Navy ink. Add to the card and then add the mechanism as shown.
5- Out of the striped paper I made big borders , I also added some ink to the edges, dimensions below. Add to the card.
6- using the die from Twist Panel Pop up cut the little panels from the textured cardstock.

7- using the Tree pop up up dieset cut out several trees, and several leaves. One of the trees I didn’t cut all the way to the end so I was able to make the trunk longer and wider.
8- using the same die that I just use for the panels , trim the tree trunk so it will fit just right. I drew on wood grain with a brown, black, and a white pen.
9-To give that leaves some dimension I trimmed them in small sections, used a Versa Mark marker randomly, I use a matching green marker to draw in veins, and then a white gel pen.

10- I added the branches and leaves. I was trying to make it look like one long branch.

11- About here and noticed that the flap that I made for the bottom of the match book card base, wasn’t going to be big enough for a pop up card. So I cut out a piece of paper 5 1/4” wide, roughly 2 1/2” with a 1/8”gusset through the middle. I added adhesive as shown, not all the way to the score line. And added to the card as shown, leaving a space between the end of the card and the gusset.

12- I wanted to cover the whole front with the light blue card stock. But I didn’t have a piece big enough, I also didn’t have a piece of striped paper big enough to cover the joining of the two card stocks. So I decided to add borders from the Border Blends Trims, I added some gel pen to highlight the circles to give them more dimension.

13- I trim the corners off the flaps, and I added matching paper to continue on from the border that’s already there.
14- So the inside matches outside, I added Border Blends Trims to the inside as well.

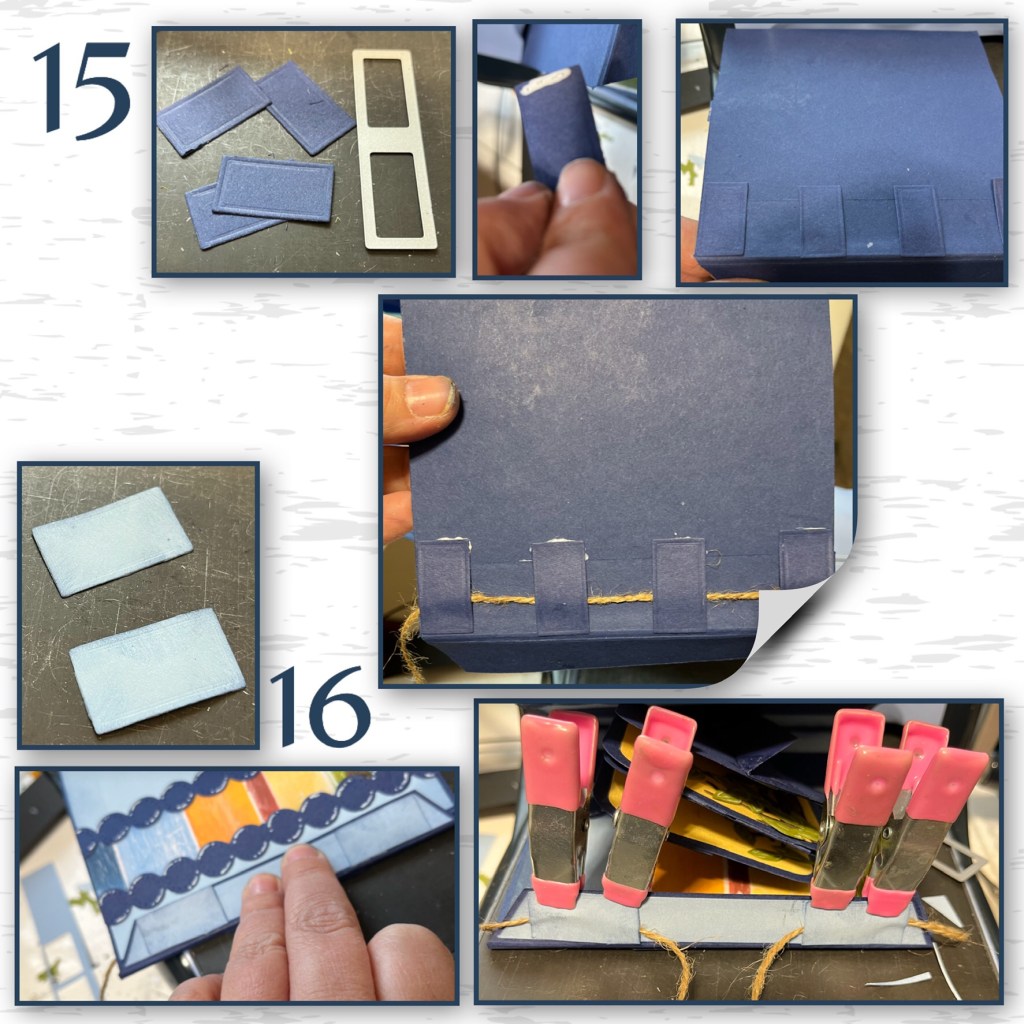
15- using a die from the Bam Box dieset I cut out some little rectangles, I added them to the card like little belt loops to add the hemp twine. I knew because of the depth of the card I needed some wiggle room to make the matchbook closure. I did the same for the front of the card.
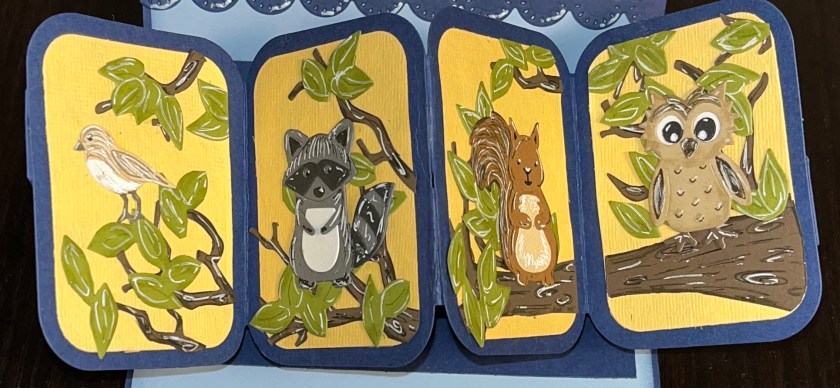
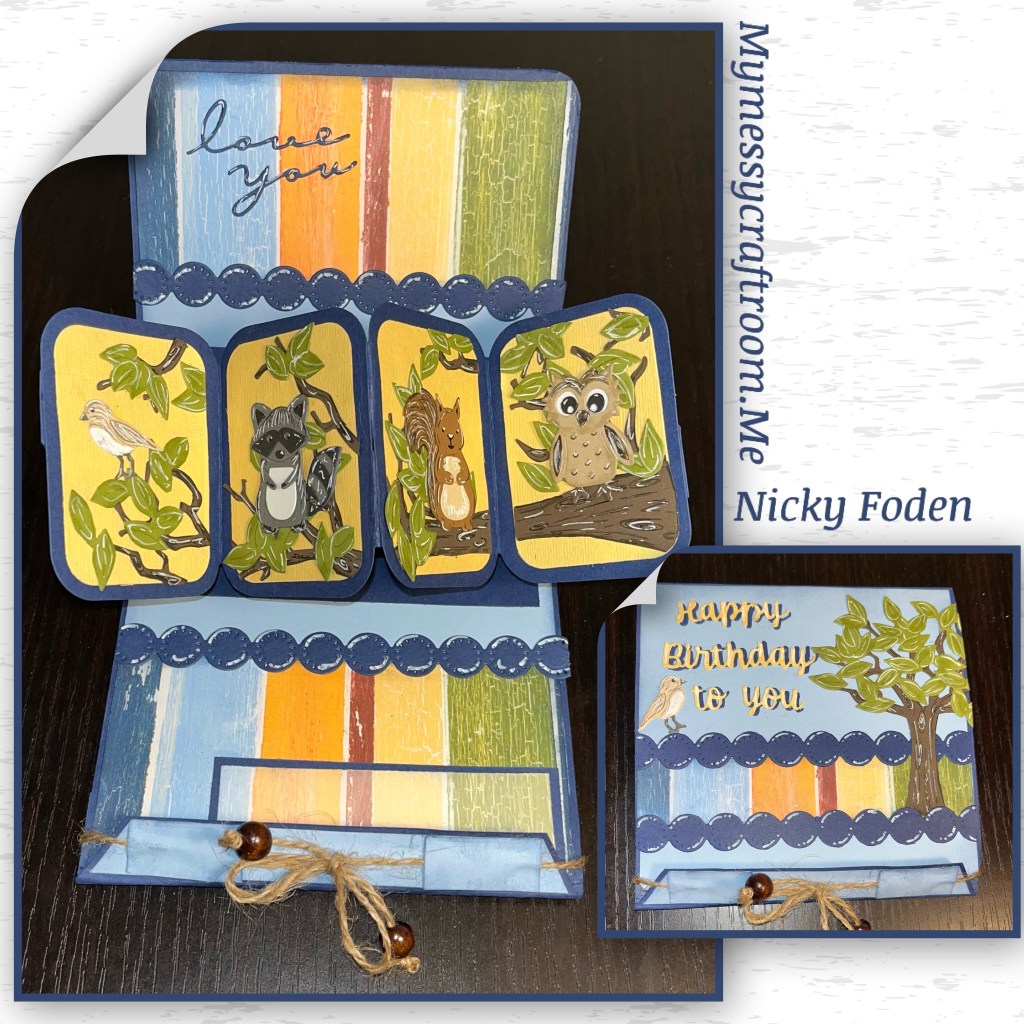
17- I diecut the Squirrel and the Raccoon using the Woodland Animals dieset, the owl is from the Feathered Friends dieset. The little birds are from the Frame Pull Pop up. The “love you is from the Pop n Swap dieset
18- the striped paper is reversible, and the backside is the same only lighter than the front side. So I found a piece that perfectly lined up with what I already had. Layered it in a navy frame and lined it up in the card as shown.

19- I die cut the “Happy Birthday to you” from Wordset 2 Birthday, I added a tree and a bird left over from the inside and tied the twine. The twine has 2 wooden beads on the ends.

20- here are close-ups of the animal panels, I added a few more branches with leaves to fill in some of the extra space.


Other Tools used
