

It seems likes it’s been forever since I’ve played Craft Roulette and I soooo enjoyed making this card. This weeks parameters weren’t too hard and I had fun adding butterflies to butterflies to make this explosion of colour. Here are this week’s parameters.

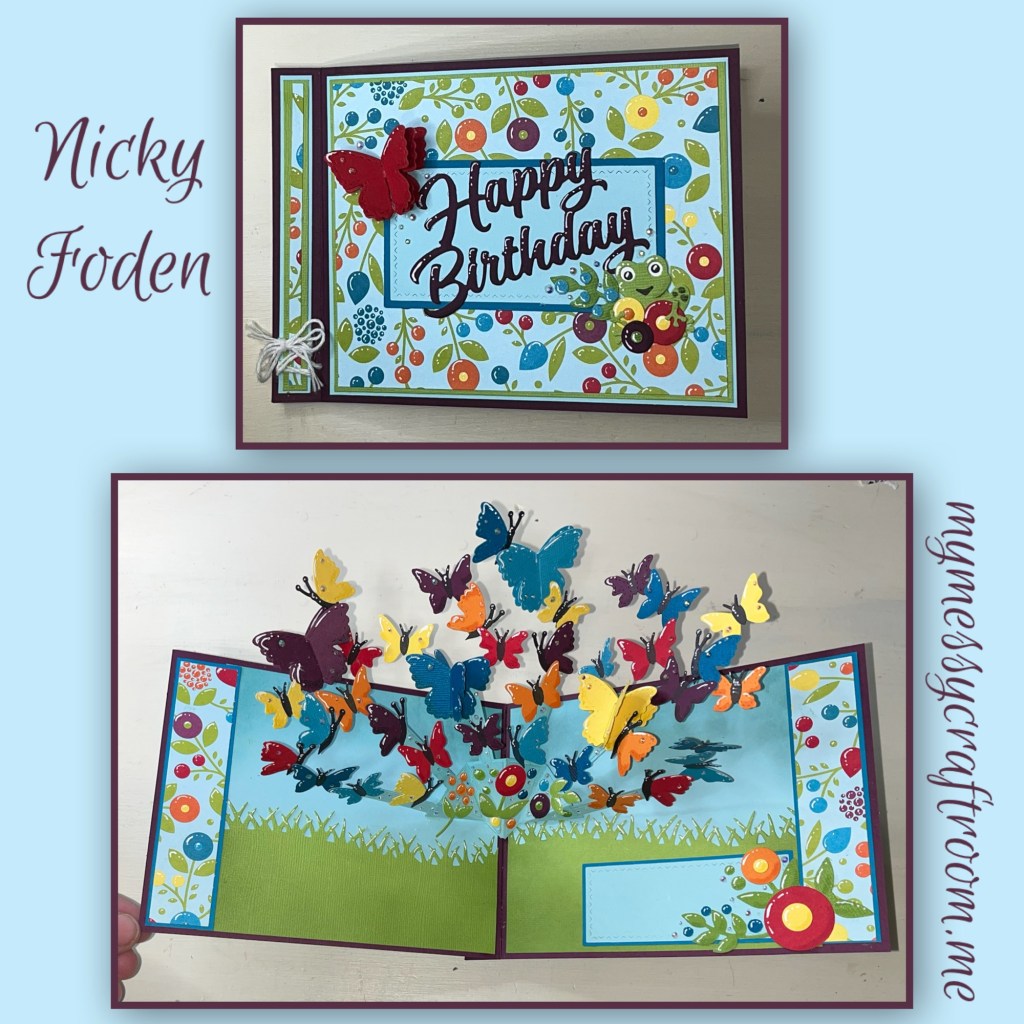
Here is how I met the parameters… Book Binding Card is a style of card where the side fold looks like it’s binded. Candy colours were easy, these bright colours could be jelly beans or gummy candies. My little frog rhymes with “ogg” and Happy Birthday is the letters.
All the fun is in the reveal, to see this card in action please check out my FACEBOOK page, feel free to join if you would like to share your own crafty creations. You can also see a video of this card on my INSTAGRAM page.
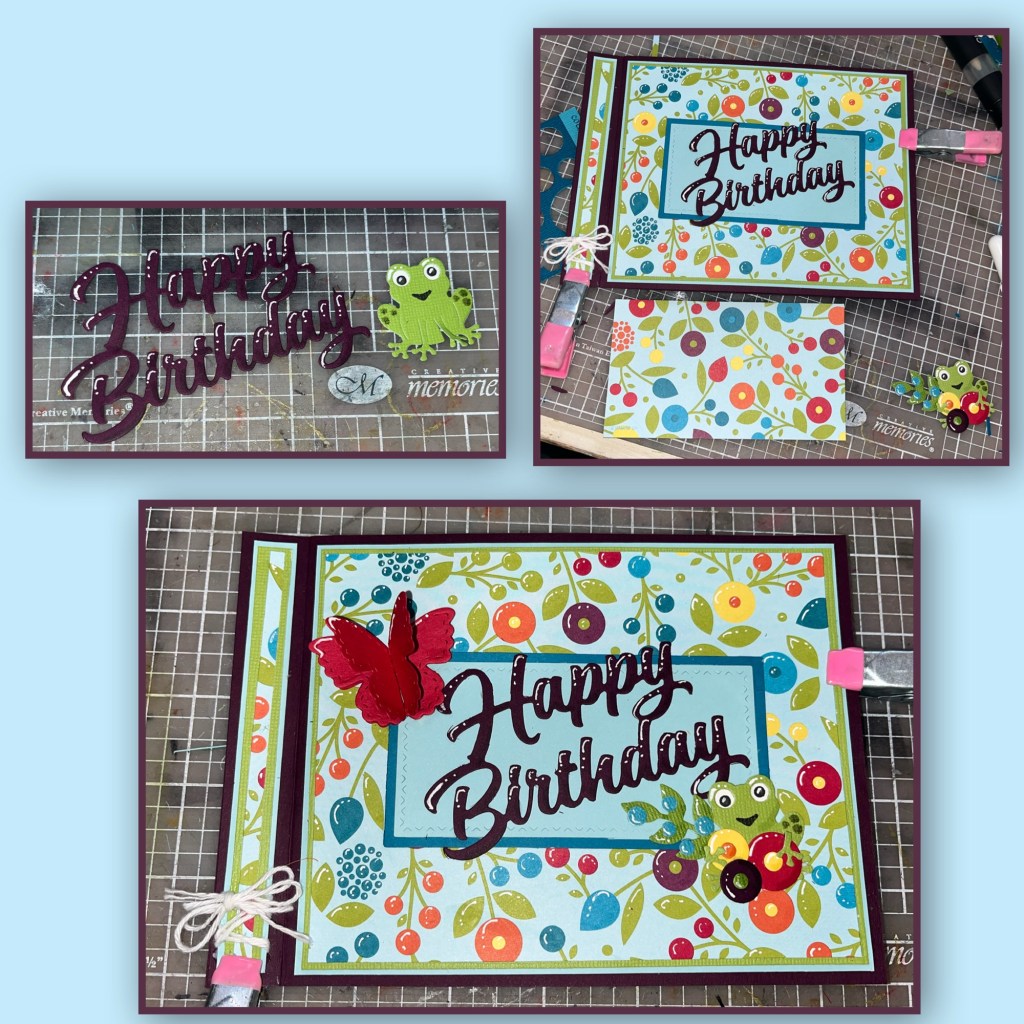
I started this card by finding a pretty patterned paper with nice bright colours, and coordinating cardstock. I cut 2 pieces of card stock to the same dimensions and scored one (dimensions below). Add glue to the one with the score line as shown and adhere both pieces together.

I cut and adhered the borders as shown below. To make the background panels I cut the blue and green to 5 1/4” wide and 3 1/2” high but I used the grass die from the Long Nature Edges to cut the grass. I wanted the grass to be below where I was going to put the mechanism so below 2 1/2”. I used a blending brush and matching inks around the top, bottom, and side. I then added all these pieces to the card.

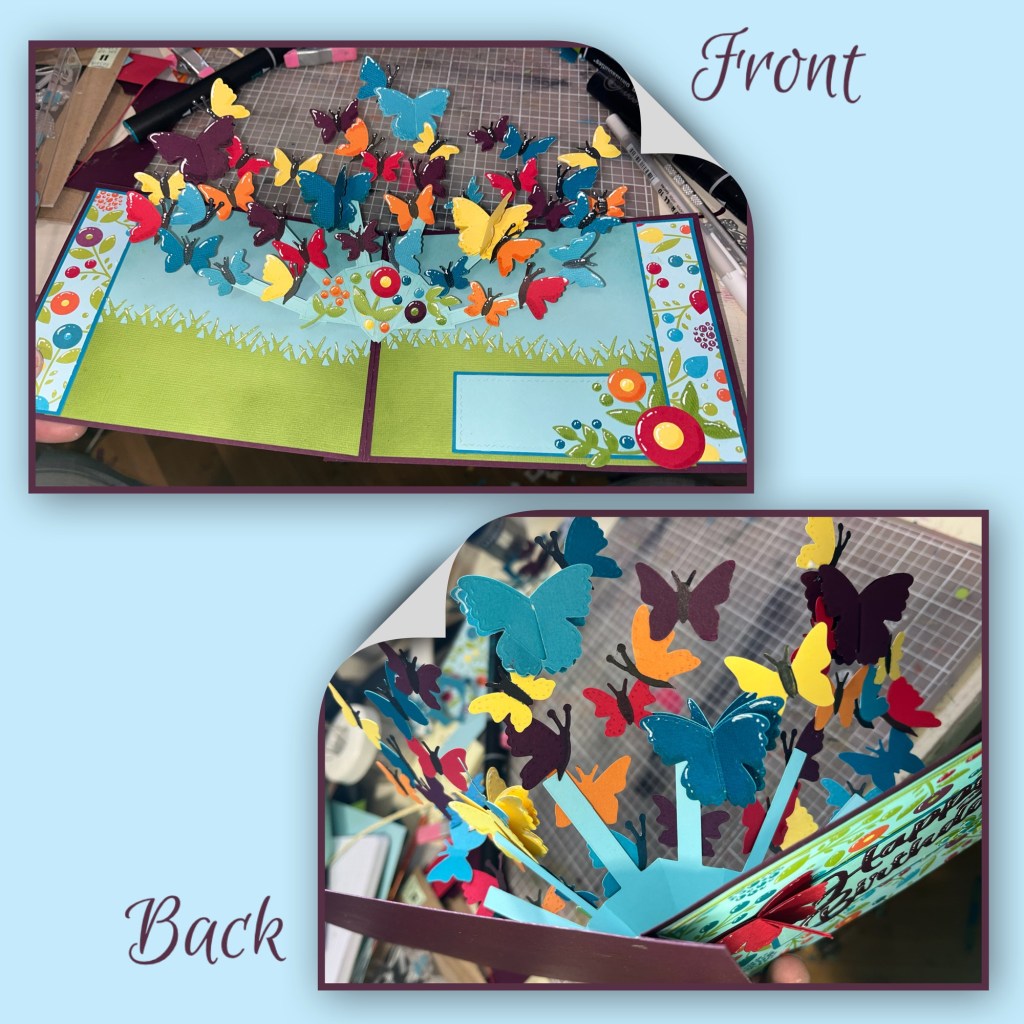
I cut the Photo Fan mechanism and the layers from the same colour. I wanted the blue to not take the attention from the butterflies, I might have been able to not use the layers but I thought the mechanism would need the support as I wasn’t sure how much weight the arms could support on their own. I brushed a little bit of blue then add the mechanism to the card base (Karen has a video tutorial on the product page at the link ⬆️)

I picked out the colours using the pattern paper as reference. I used the Butterflies Collage Add on (butterflies) the Fun Flowers (leaves, smaller circles, stitched butterfly) and Coffee Cup Pop up (larger circles) to cut out all the pieces. I added shading with a Versa Mark Marker, and highlights with a white Gelly Roll pen, I also used a black marker to draw in the butterflies bodies. I started adding the butterflies to the mechanism.
HELP HINT: I triple layered some of the largest butterflies but they were too floppy and kept getting hung up when closing the card. So I picked an angle that I liked and added a little bit of glue to where the wings meet in the middle, to keep them from flopping but they still have the dimension.

I kept adding more and more butterflies, when I ran out of room on the arms I started connecting them wing to wing. Closing and opening after each butterfly to make sure they weren’t catching on each other and that they stay within the limits of the card when closed.
I layered 2 of the rectangles from the Slider Box set to give a place to sign. I made flowers out of the circles and added them to the bottom part of the mechanism and the lower right corner of the message block.

For the front I cut out the layers as shown. I cut the center out to conserve cardstock and lessen the bulk. I cut smaller layers using pieces from the Slider Box again and layered as shown. Almost forgot, I added a little bakers twine bow to the bottom of the left skinny panels.

I cut out Happy Birthday I added shading with a Versa Mark Marker, and highlights with a white Gelly Roll pen. My little frog is from the Bayou Animals. I cut off his arms and wrapped them around the flowers so it would look like he is holding them. I added a triple layer butterfly to the top left. I thought that because I added highlights and shadows to all the diecut pieces and flowers the paper looked a little flat. So I added shading with a Versa Mark Marker, and highlights with a white Gelly Roll pen to all the flowers and leaves. If you zoom in you can see the differences in the top left photo.
I could not stop with this card so I added more butterflies to the inside.
To give this card more of a whimsical look I added itty bitty gems randomly around and on the butterflies and flowers.

Other Tools used

Impressive, and so beautifully done! So inspired to try one like this too, thank you!
LikeLiked by 1 person