
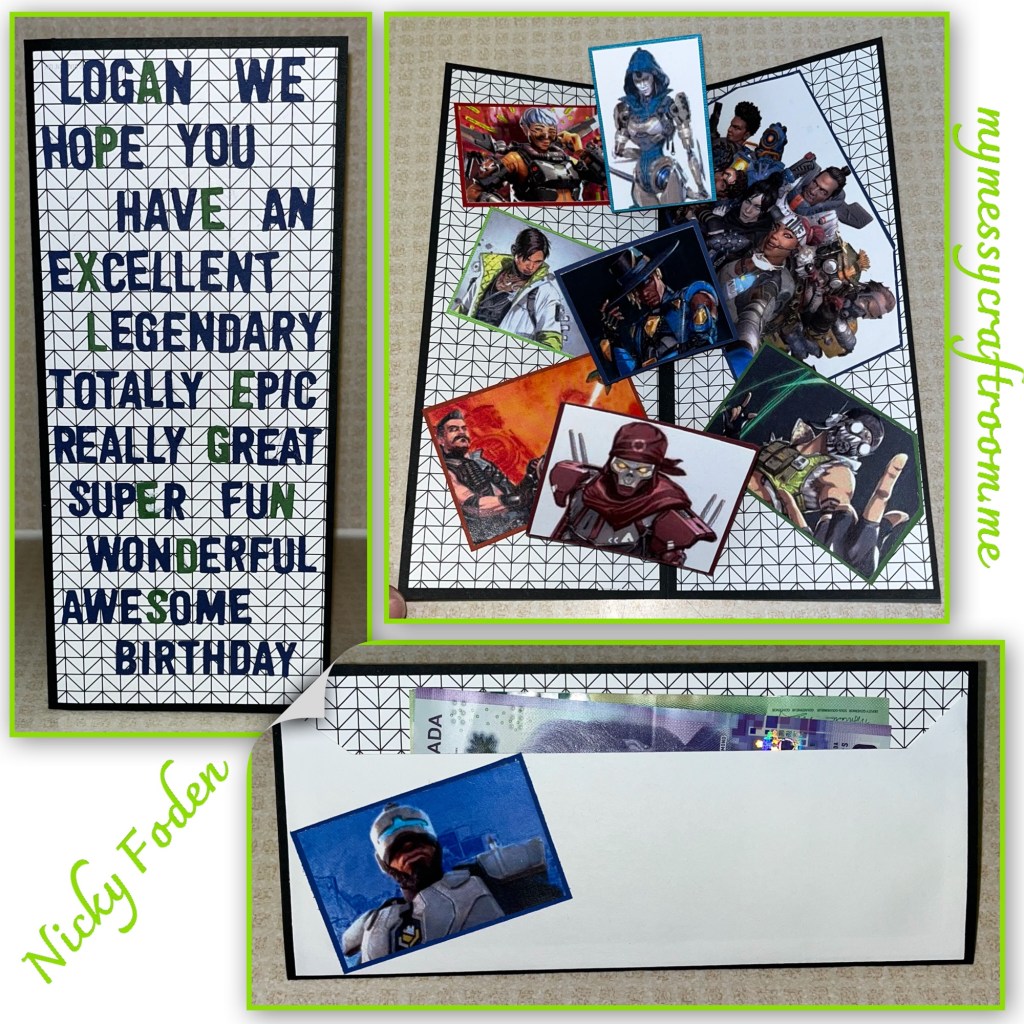
So sort of a funny story behind this one. I needed a birthday card for my nephew. And I was going to make him a cupcake card. Who doesn’t love cupcakes. My husband asked me what kind of card I was making and how old was our nephew going to be. And he was like “you are not making our teenage nephew a cupcake card, your going to call you sister and find out what he is into and your going to make him a cool card”. So I did and she filled me in on a video game that I have never heard of before. Google saved me again. If you read the green letters, it spells the name of the video game.

All the fun is in the reveal, to see this card in action please check out my FACEBOOK page, feel free to join if you would like to share your own crafty creations. You can also see a video of this card on my INSTAGRAM page.
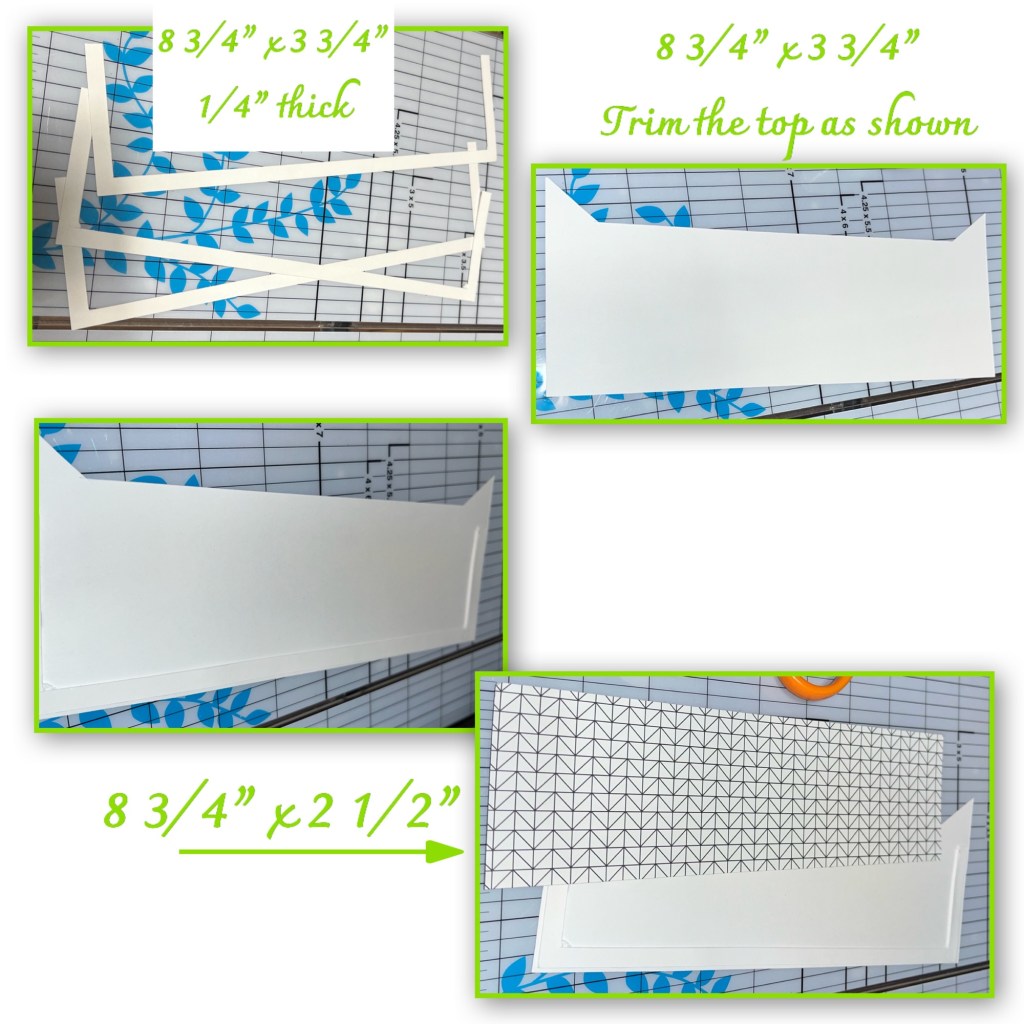
I wanted the card to be black and white with pops of colour. I cut the card base and panels as shown below. And added the panels to the front and inside.

I diecut 3 mechanism from the Twist Flower Pop up, I fold 2 the correct way and one in reverse. I added them to the card. The one in reverse is the one in the middle. (Karen has a video tutorial on the product page at the link ⬆️ )

I wanted to work in the name of the video game “Apex Legends” and I wanted to fill in most of the card front and this is what I came up. I die cut the letters using Mini Alphabet and Numbers

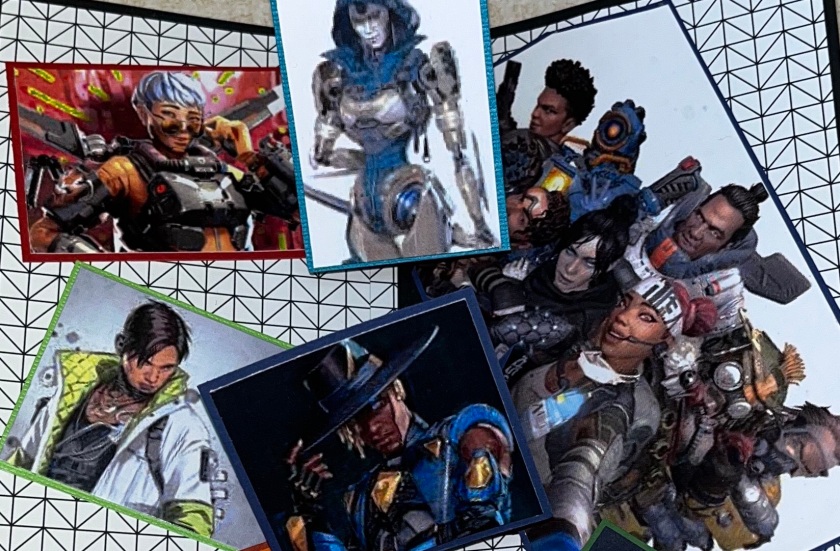
I googled “Apex Legends images” and found these. This game has a lot of characters, I tried to get as many as I could. I don’t have a colour printer so I had a print shop print them onto cardstock. I had to get creative on how to make them all fit. I trimmed and matted each one in a different colour. I added 3 to the mechanism making sure the card closes after each new addition.

I needed to make a pocket so I cut 3 frames as shown (edit they are only 3” high not 3 3/4”) layer them and add them to the pocket piece. I only had a scrap piece of the pattered paper left but it was big enough for what I needed.
Add the pieces to make the pocket on the back. I added the last character piece to the back.

Other Tools used
