
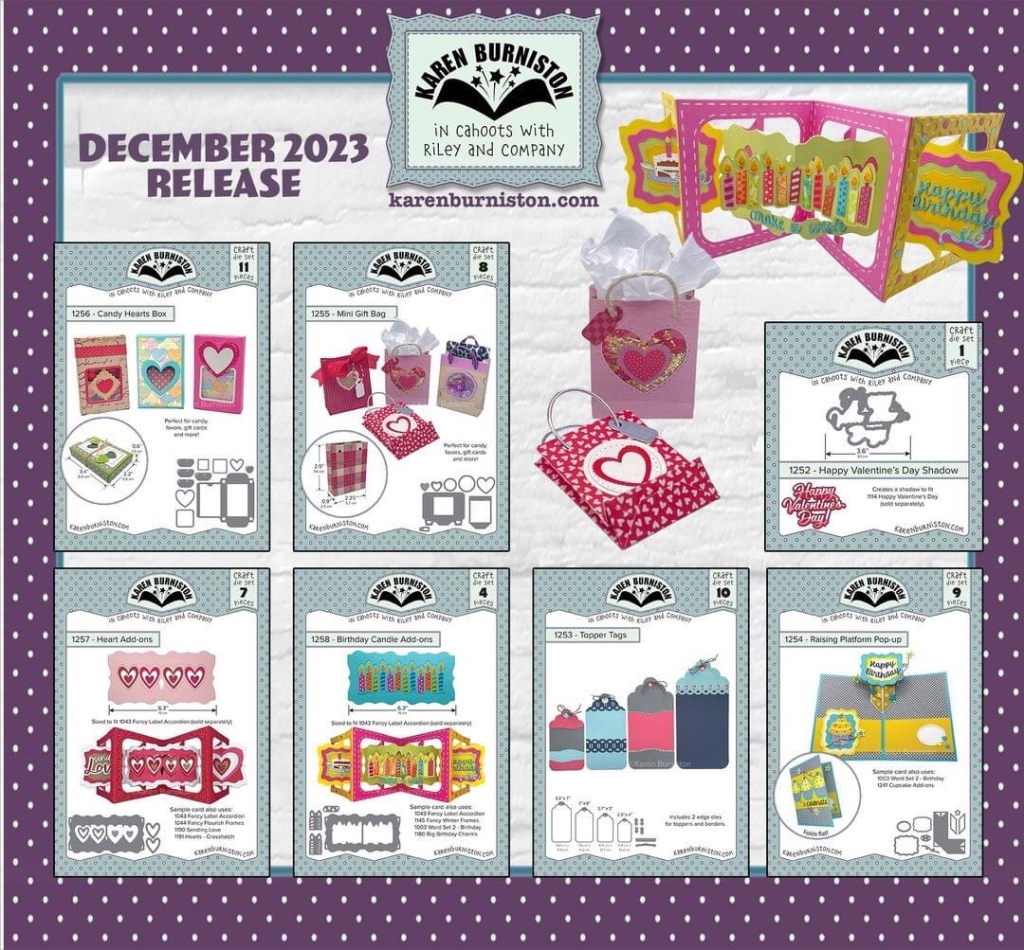
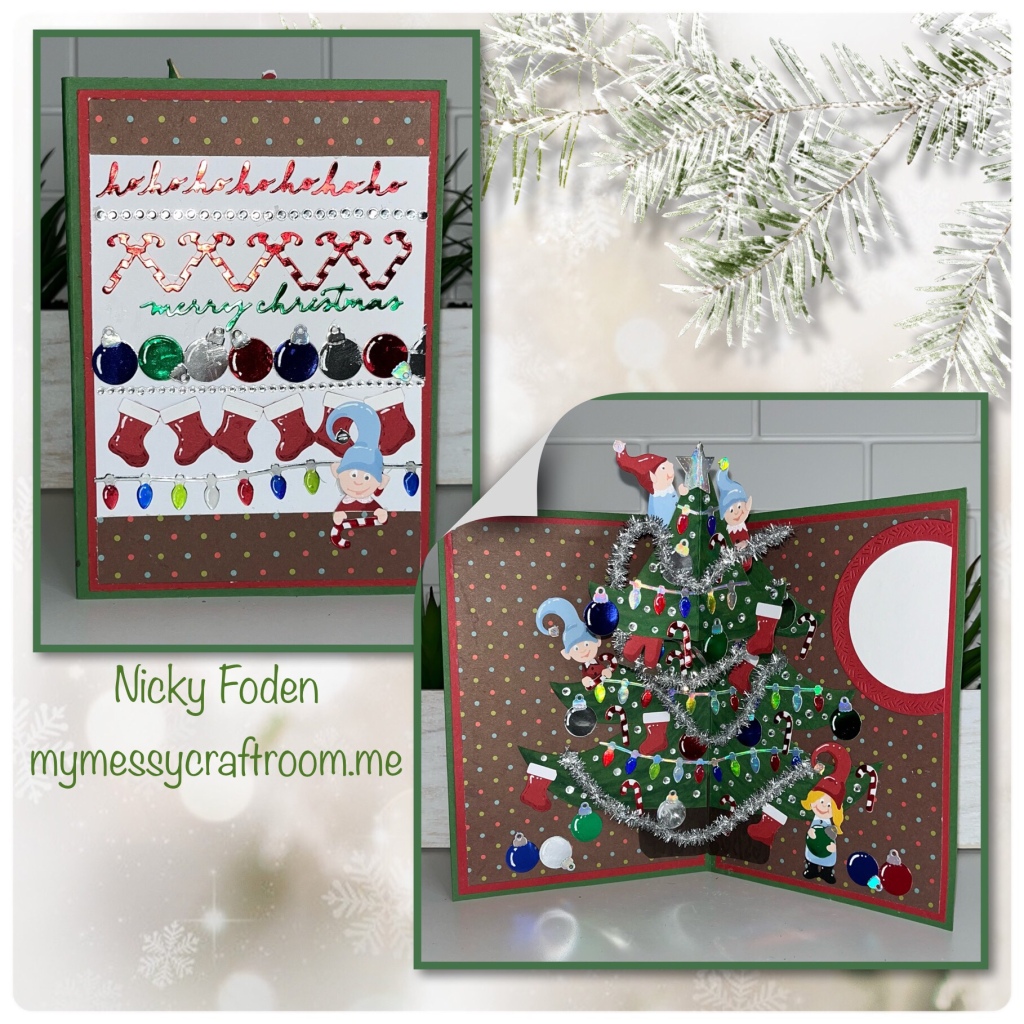
Todays card pulls DOUBLE DUTY….. it is Design team challenge day AND it is my second Sneak peak card for Karen Burnistons December Release. The Design Team challenge was to have a Christmas stocking on the card, I chose to use the stocking border on the front as well as having them as ornaments on the tree.

It’s hard to tell in the photograph but I did use the brand new Raising PlatformPop up dieset. The tree top raises up outside the limits of the card when opened.
All the fun is in the reveal, to see this card in action please check out my FACEBOOK page, feel free to join if you would like to share your own crafty creations. You can also see a video of this card on my INSTAGRAM page.
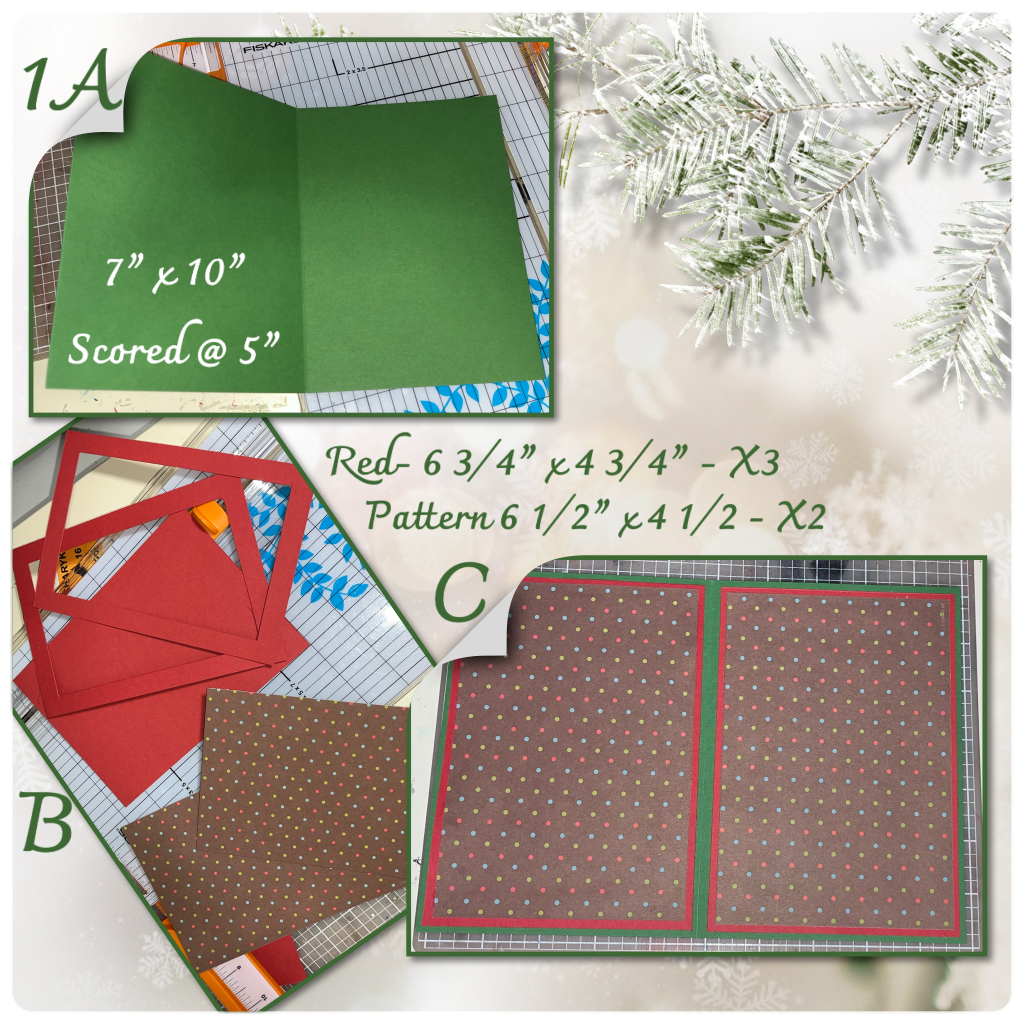
1A- I made a bigger card than usual, I started with a 5”x7” green cardbase.
B- I wanted the matting to be red, so I cut 3 rectangles (dimensions below) I cut the centres out of 2 of them to conserve cardstock and reduce the bulk. The third red rectangle will be the front, I hadn’t decide what the front would be yet. I also cut the patterned paper.
C- add the layers and so far it should look like this.
I wasn’t sure of how big to make the tree, and where the tree top would match up so I just was figuring it out as I went, so I hope the following makes sense.
2A- this is what the mechanism for the Raising Platform pop up looks like. Fold on all the score lines in both directions.
B- I hand drew and cut out 2 halves of the tree trunk. I used alcohol markers to draw in bark lines.
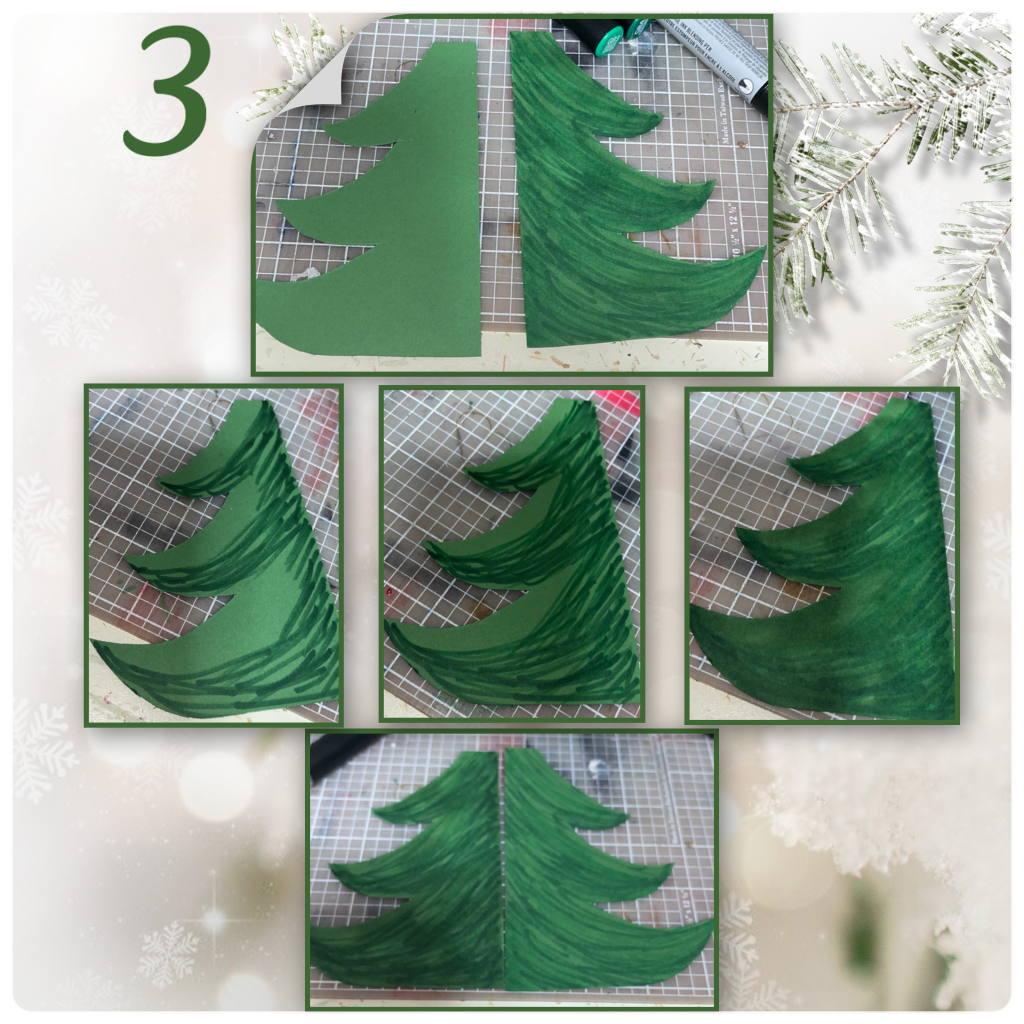
C- I laid the green cardstock down on the card base as shown and hand drew half of the tree as shown. I layered a second piece of green behind and cut them at the same time so both sides are exactly the same.

I am not very good at colouring large pieces with alcohol markers so I just kind of winged it
3- I started with the darkest green, went to a medium them a light. It is pretty streaky but I knew I would have a lot of decorations on it so I was hoping it wouldn’t be so noticeable
4A- I started adding the pieces of the tree to the card. I even coloured in the fold so there wouldn’t be a different coloured line up the middle of the tree.
B- I added the Raising Platform mechanism (Karen will have a video tutorial on the product page at the link ⬆️ )
C- I coloured the mechanism to match the rest of the tree.
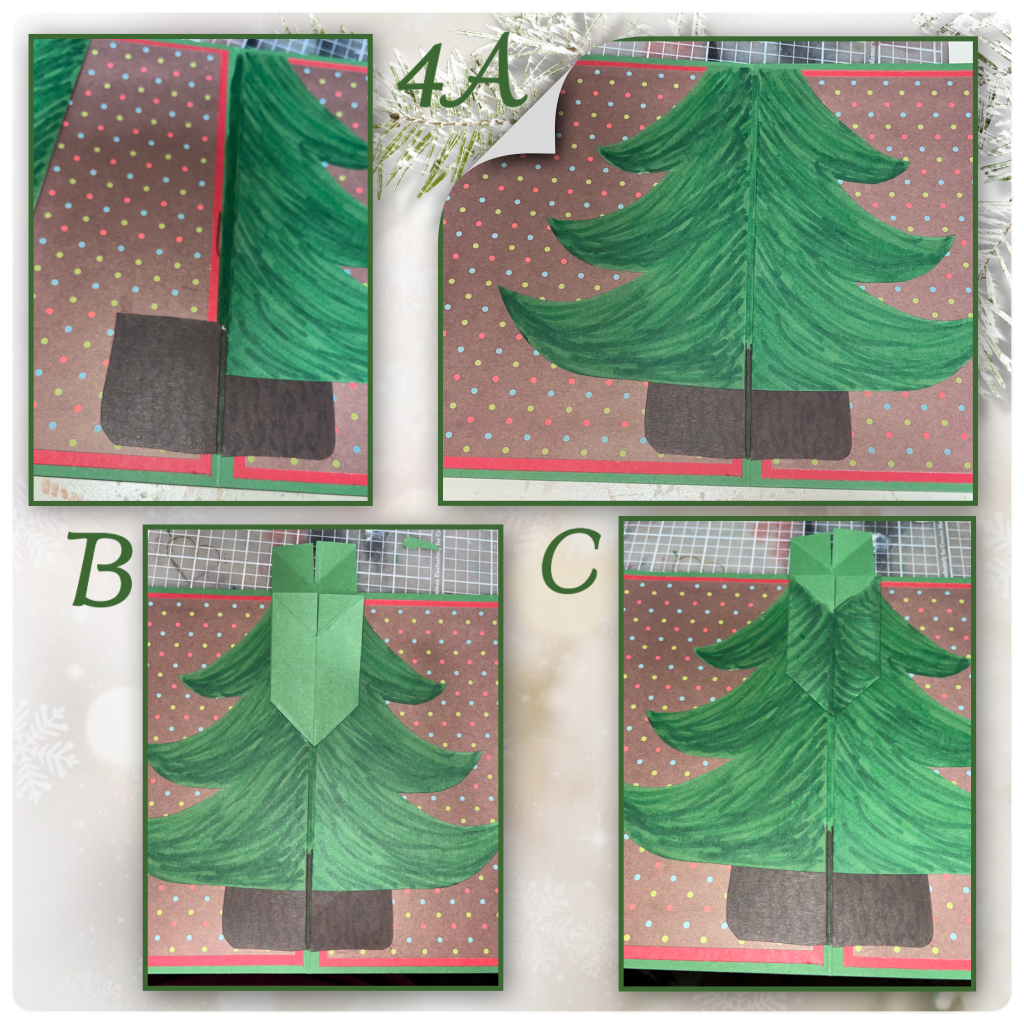
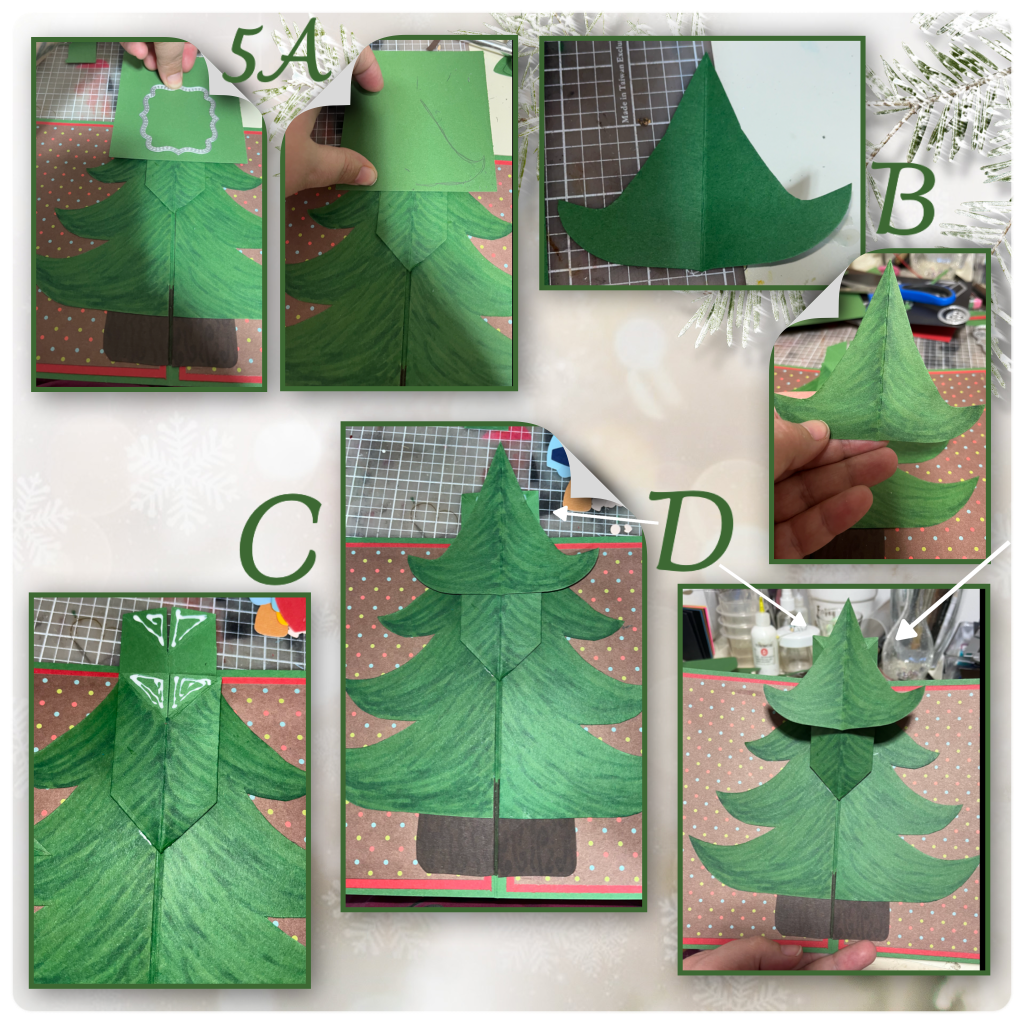
5A- I used the label die that came with the Raising Platform dieset as a reference to help see how big the tree top should be. I drew half on a scored pieces of cardstock, and then cut both halves at the same time.
B- I cut and coloured it to match the rest of the tree.
C- add the tree top to the mechanism.
D- the tops of the mechanism are peaking out side the sides of the tree top.
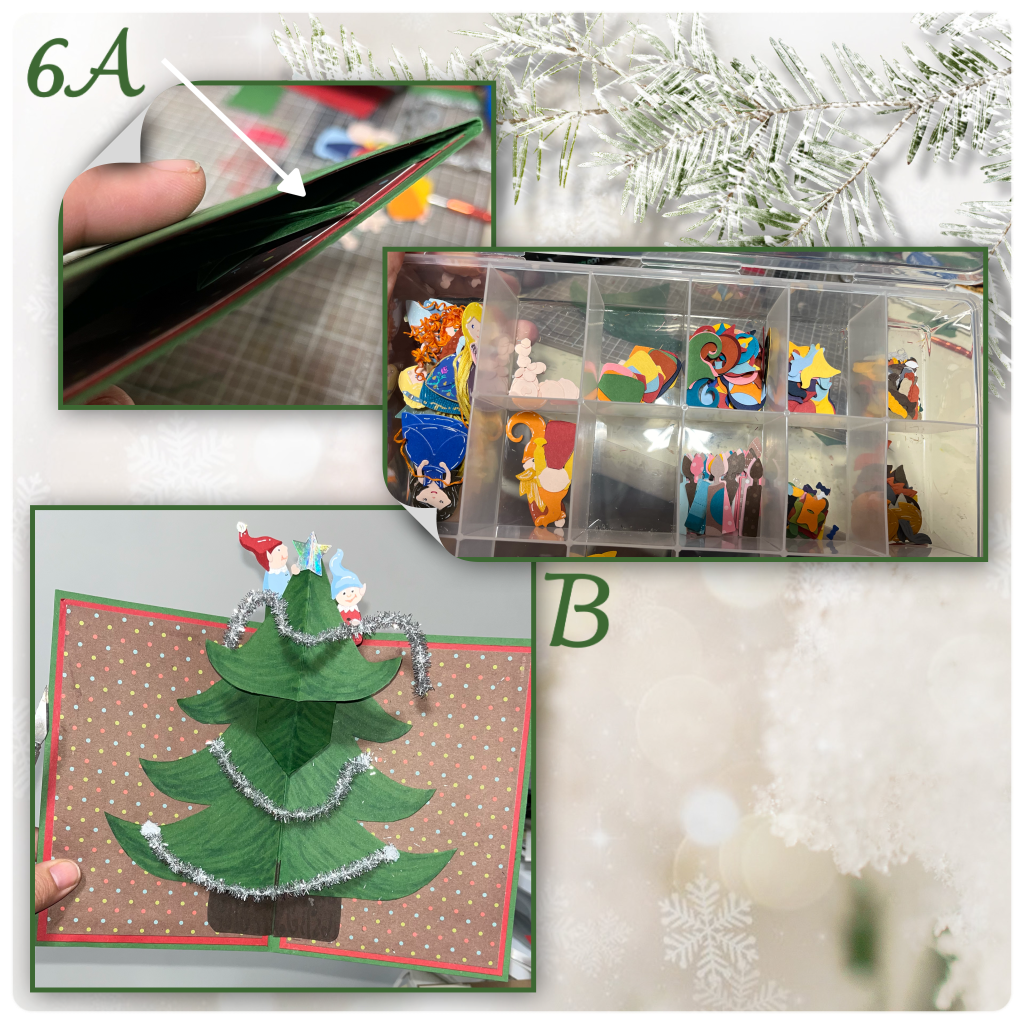
6A- it was just luck but my tree top literally just stays inside the card when the card is closed.
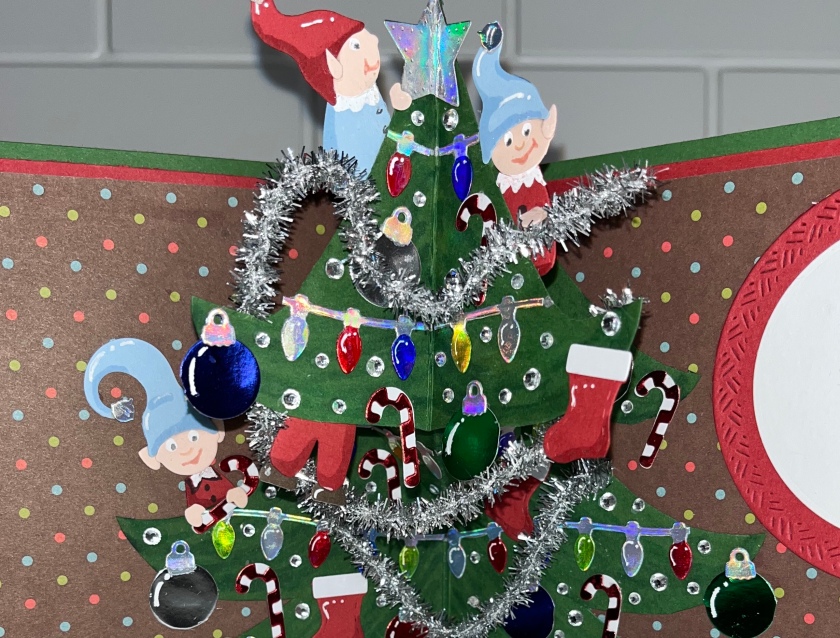
B- I pulled out my box of extra Tiny Gnomes pieces, to make them look like elves instead of gnome I didn’t use the beards, and I used the little hearts to make elf ears. I have one elf placing the star, and one hanging the garland. I had to make sure that they don’t go past the top of the tree top.
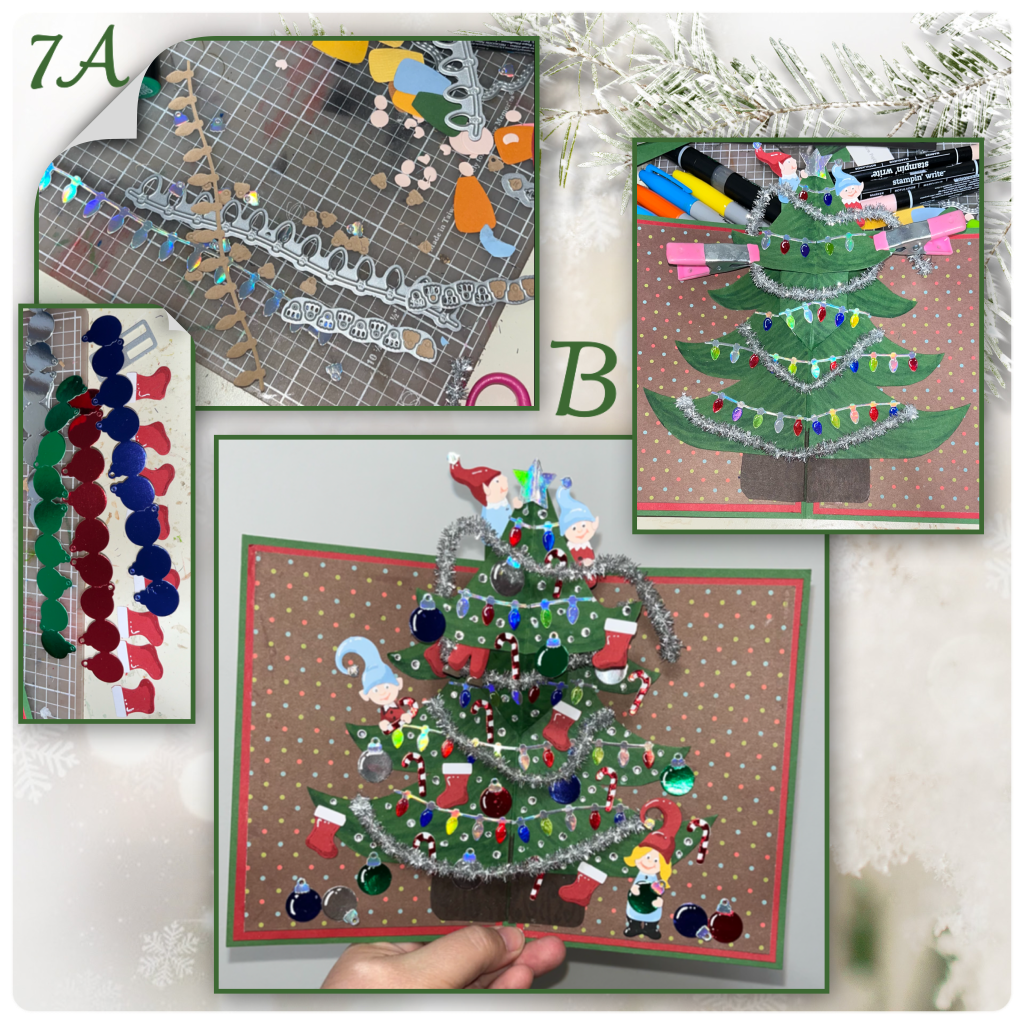
7A- I diecut pieces from Christmas borders 1, and Christmas Borders 2. For the Christmas lights I cut from silver holographic paper and used sharpies to colour the lights. The ornaments I cut from red, green, silver, and blue mirror cardstock. The stockings from red and white cardstock. The candy canes are cut from white cardstock and red mirror cardstock.
B- decorate the tree. I filled the tree up with all the decorations. I added a few more elves, and I added some silver gems to fill in some of the spaces.
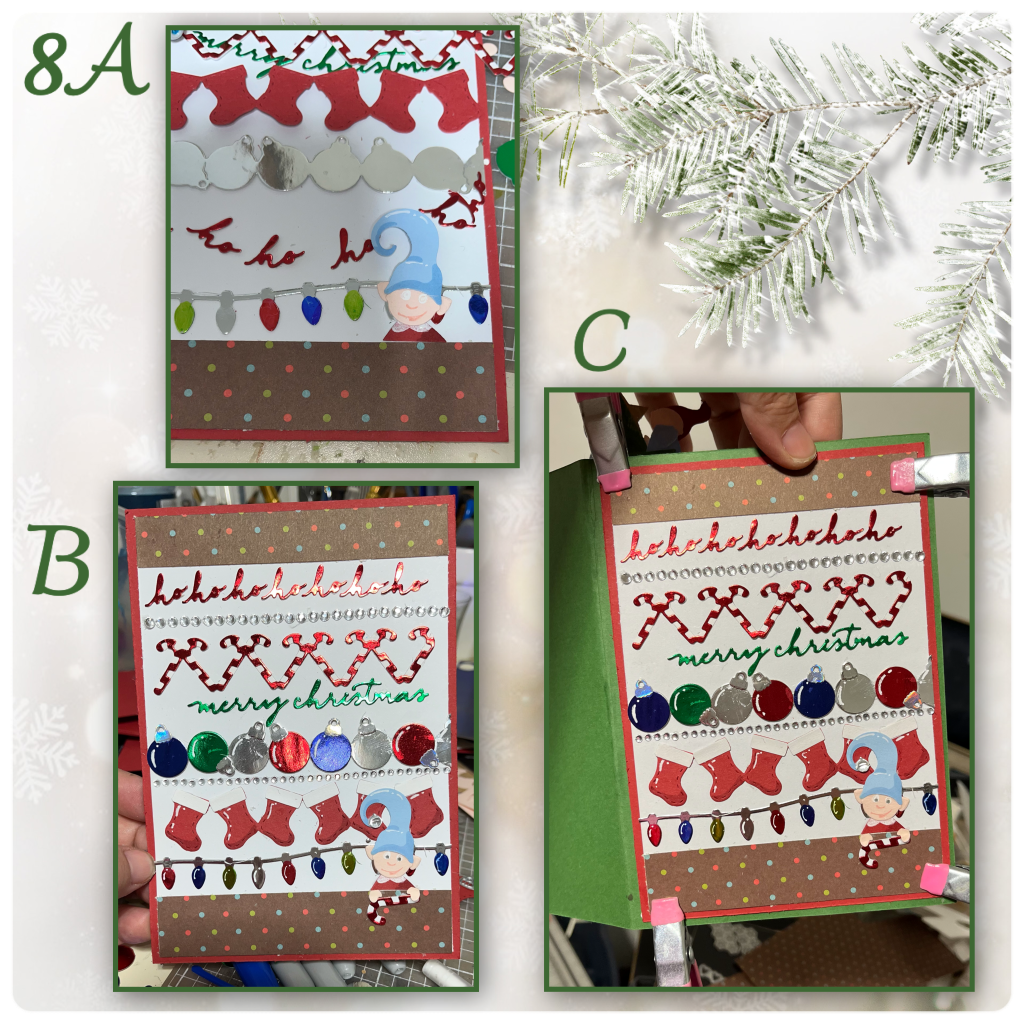
8A- I chose some more of the Christmas borders to decorate the front. I also diecut Hohoho and Merry Christmas from Small Script- Christmas I’ve also got one more peeking elf.
B- I adhered them to the card and I used gem strips (from the dollar store) to fill in the spaces.
C- I added the panel to the front of the card
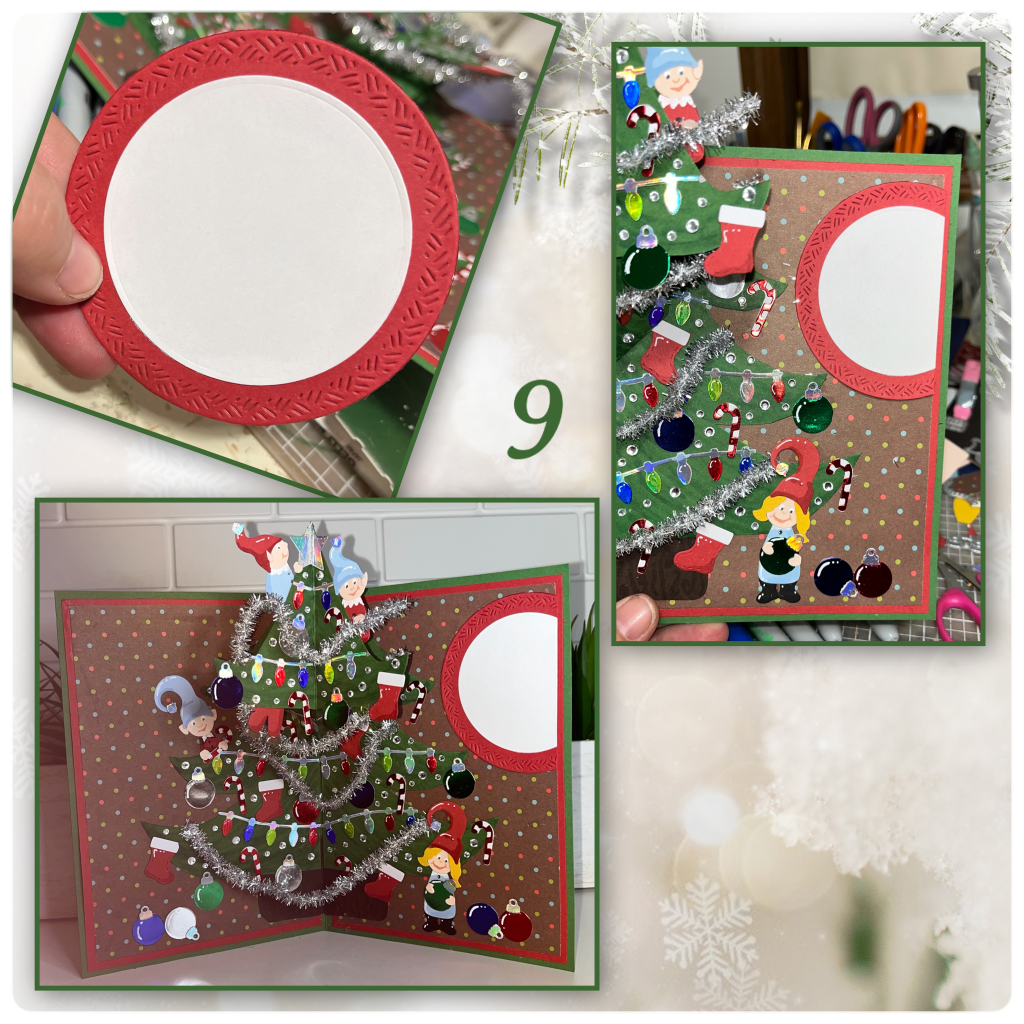
9- I layered a couple of Circles Crosshatch circles to make a signature space, trimmed the side and added it to the inside of the card.
Dieset used
Christmas Borders 1 Lights and ornaments
Christmas Borders 2 Stockings and candy canes.
Other Tools used
Garland was a Christmas gift in a pack of random paper crafting items.
