It’s been a minute since I’ve played Craft Roulette, but I couldn’t resist playing along on World Card Making Day. Along with the challenges below I also challenged myself to use some patterned paper that was gifted to me. I also had an unforeseen challenge in that I made a mistake and I had to come up with a creative solution.

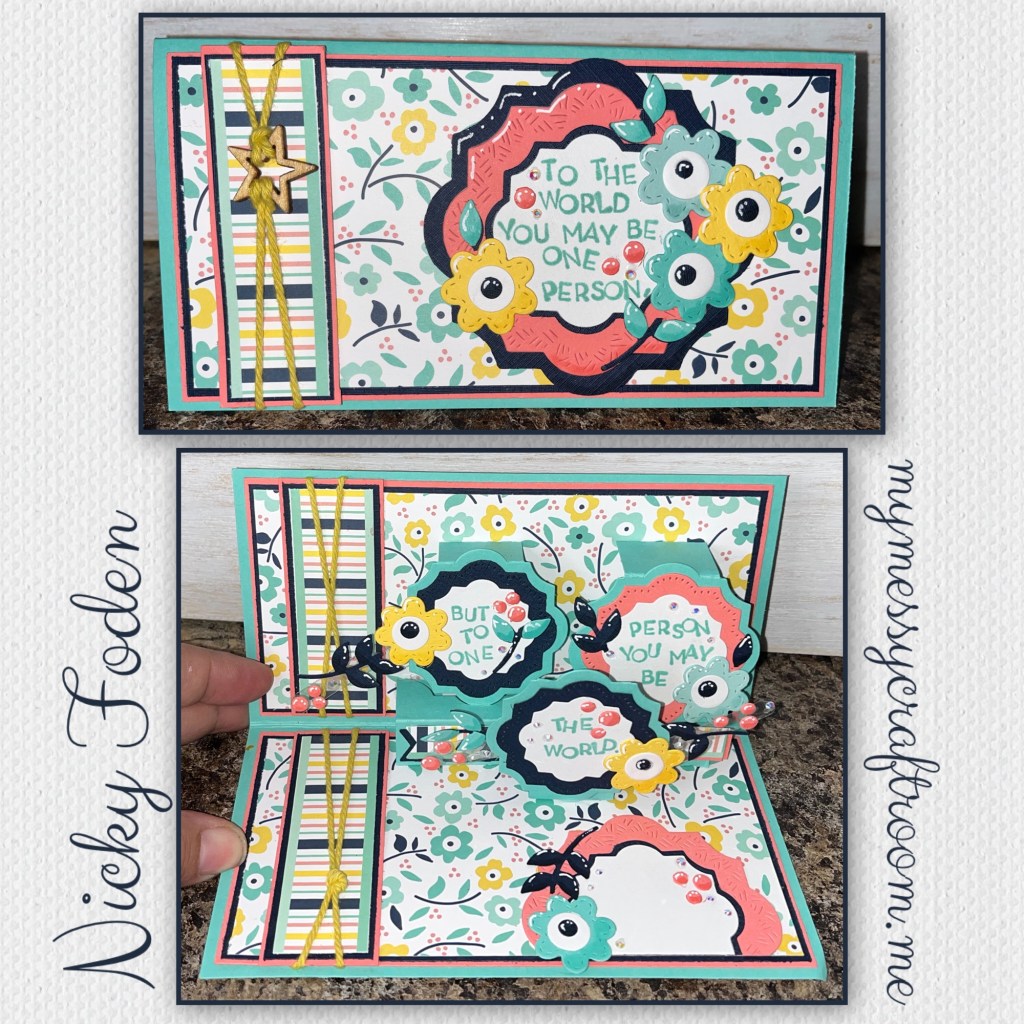
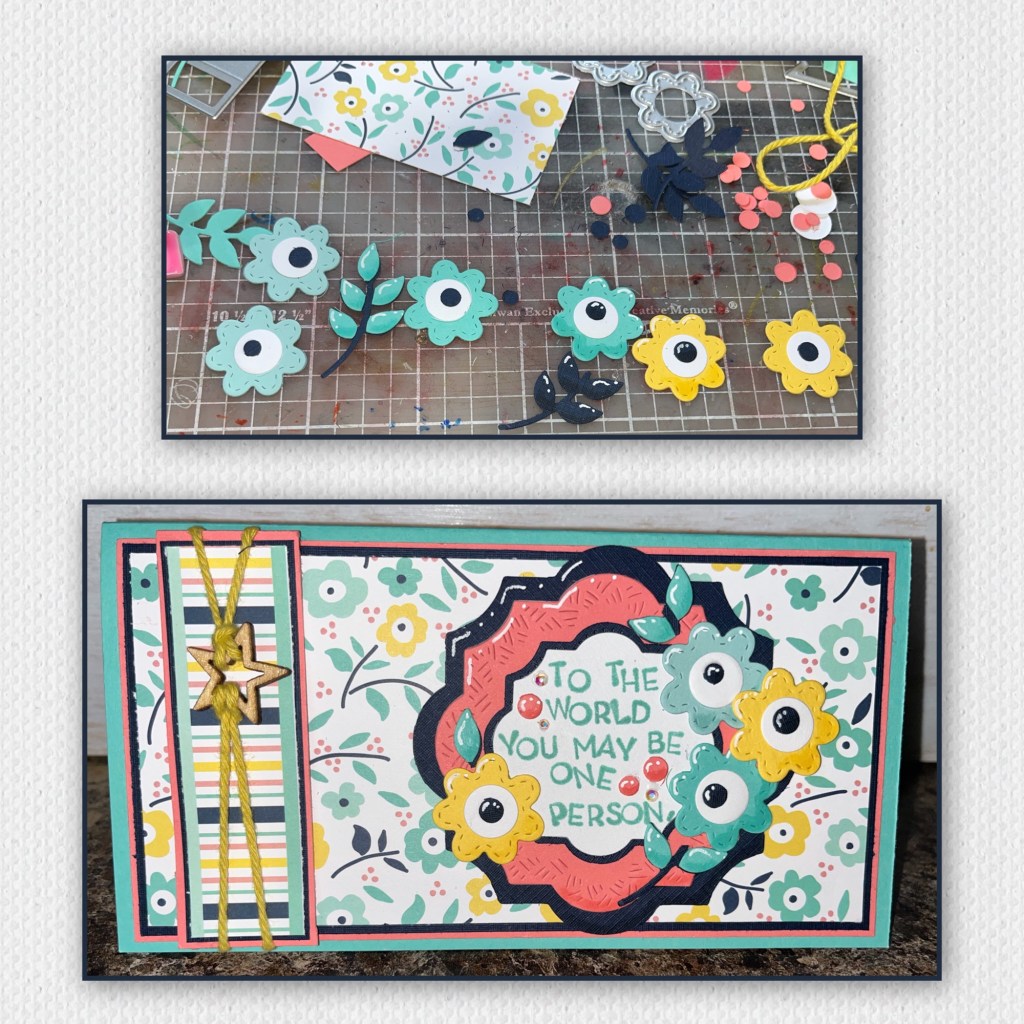
This is how I met the parameters…. Card size is mini slimline, I made a mood board with the papers that were gifted to me (picture below). The word “world” is in the quote twice. If you can’t make it out the quote is “to the world you may be one person, but to one person you may be the world”. And I am using a wood star as a ribbon charm.
All the fun is in the reveal, to see this card in action please check out my FACEBOOK page, feel free to join if you would like to share your own crafty creations. You can also see a video of this card on my INSTAGRAM page.
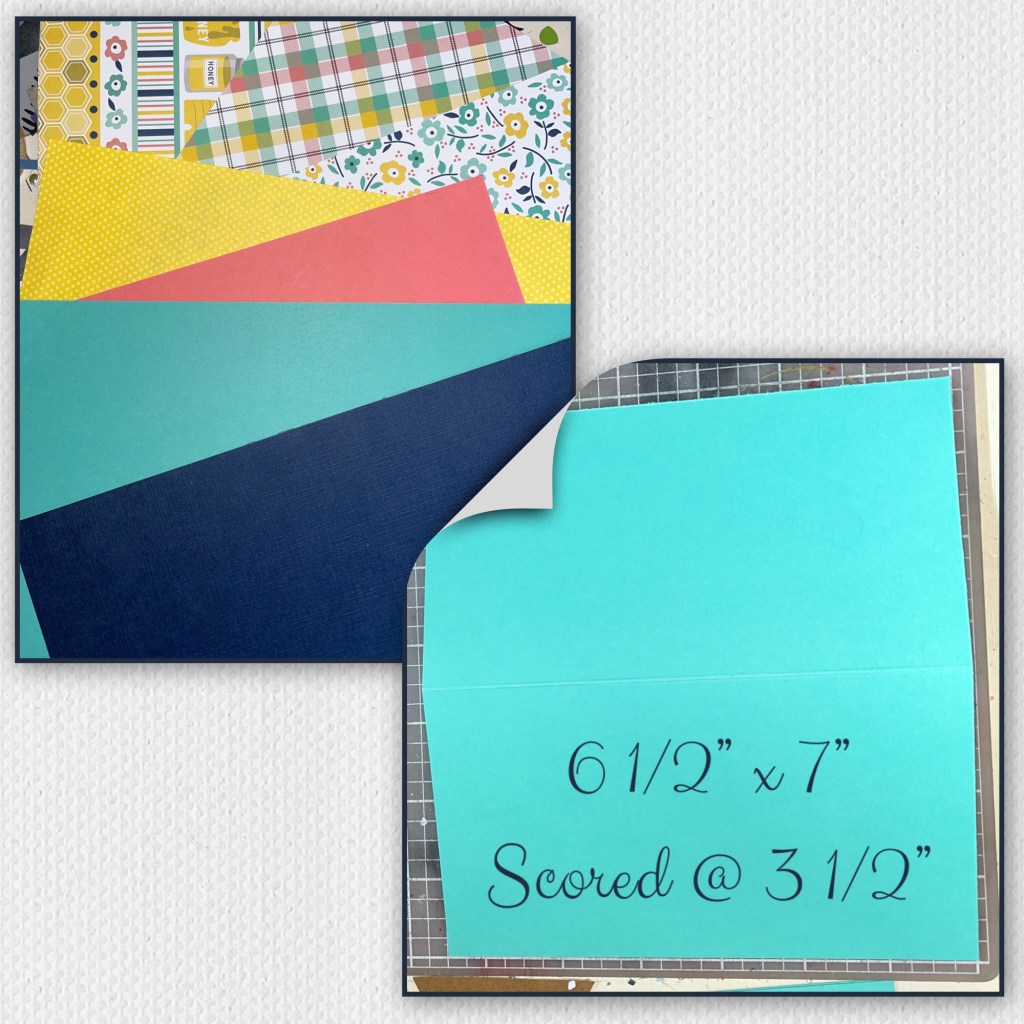
I made this “mood board” out of the paper that was gifted to me along with matching cardstock. These colours are happy colours that I thought would make a good “mood” board.
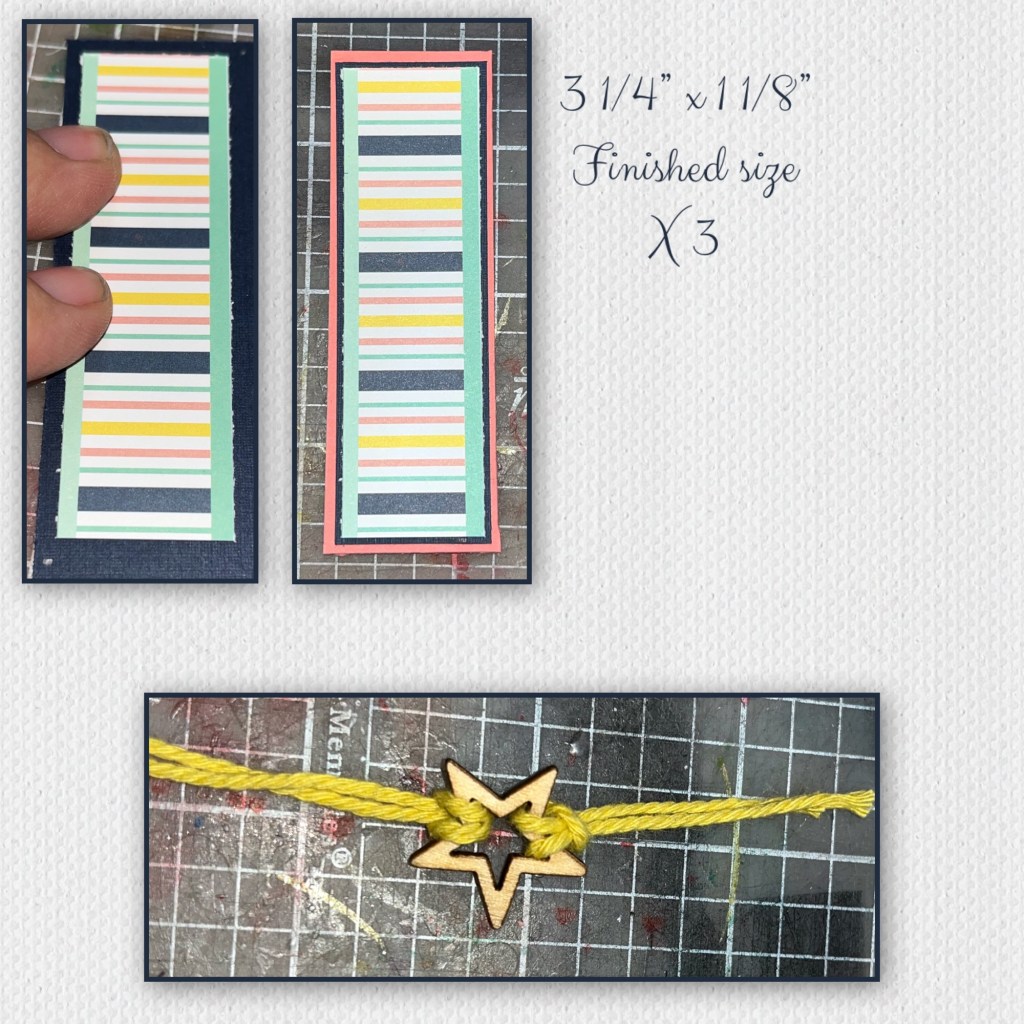
I cut the card base to the size shown below.
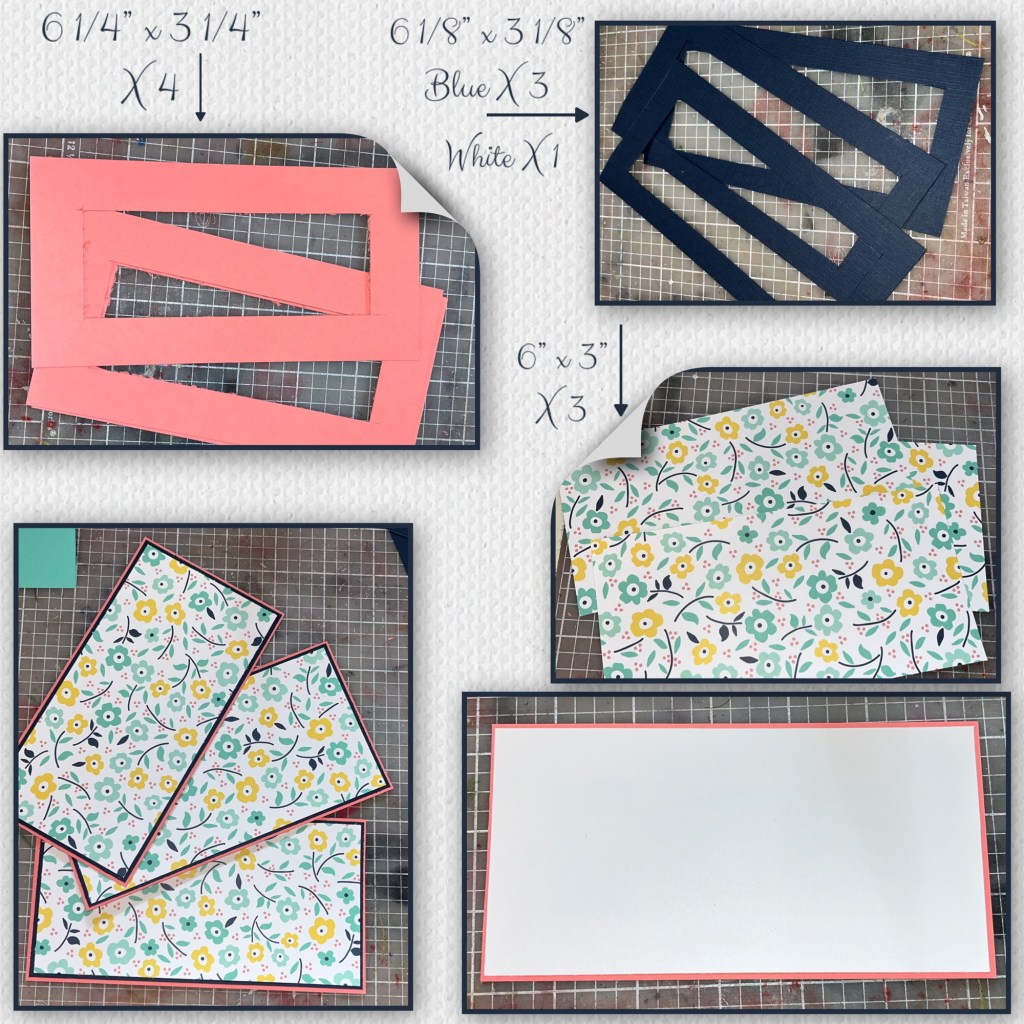
Cut and layer the panels below. I cut the middle out to lesson the bulk and conserve cardstock that I will use later.
Add the panels to the cardbase.

The striped border comes from one of the patterned papers, I layered it over the blue and pink.
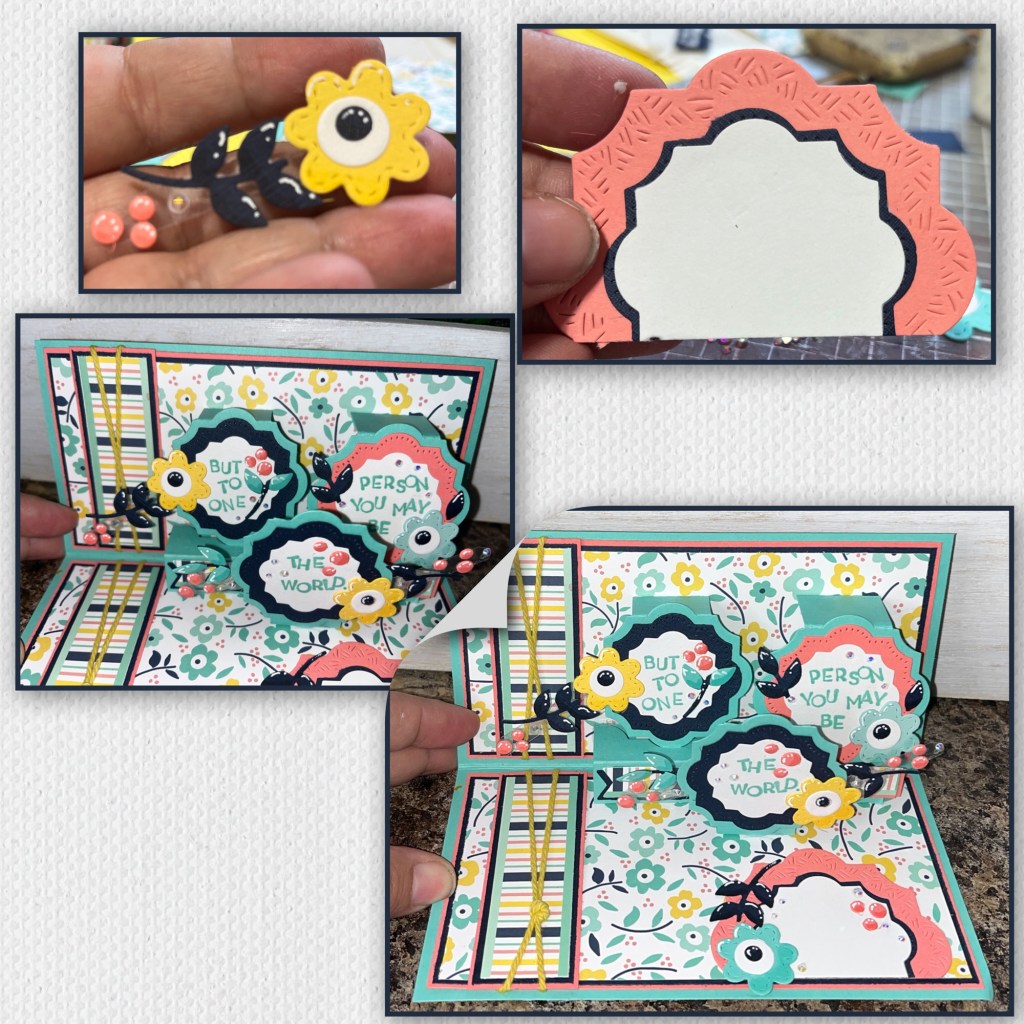
I found some yellow string and looped it through a wooden star as shown.
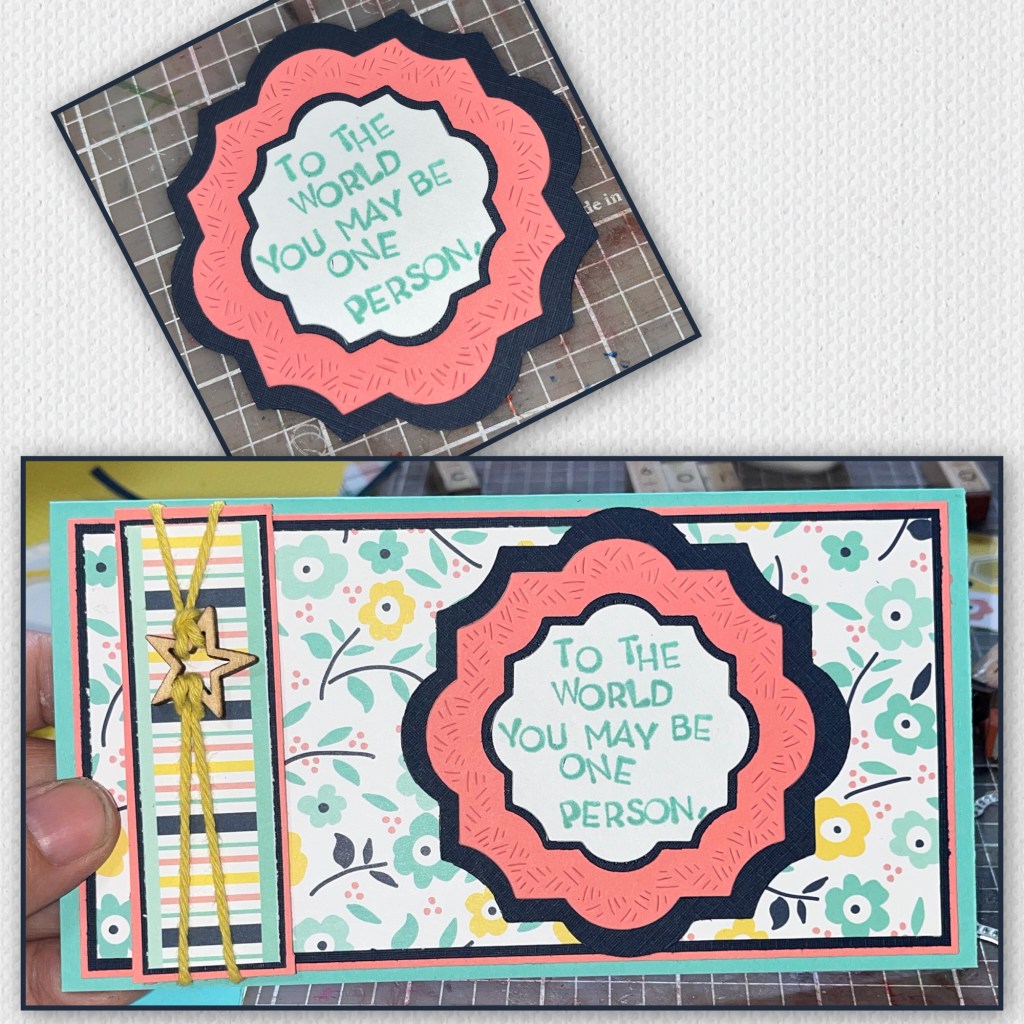
I layered the Crosshatch Labels as shown. I used a retired Stampin Up dieset to stamp out the first half of the quote.
I added the border and label to the card front as shown.
I added yellow string to the other 2 borders as shown and added to the inside of the card. This is the beginning of my mistake.

I diecut the pieces from the Little Labels Pop up and stamped the rest of the quote. I added all the layers to the mechanism piece and this I when I noticed my mistake. The layers on the border are to thick that the Little Labels mechanism will not attach properly. But I am so far into this that I am not starting over. I am determined to use the pieces I have already assembled.
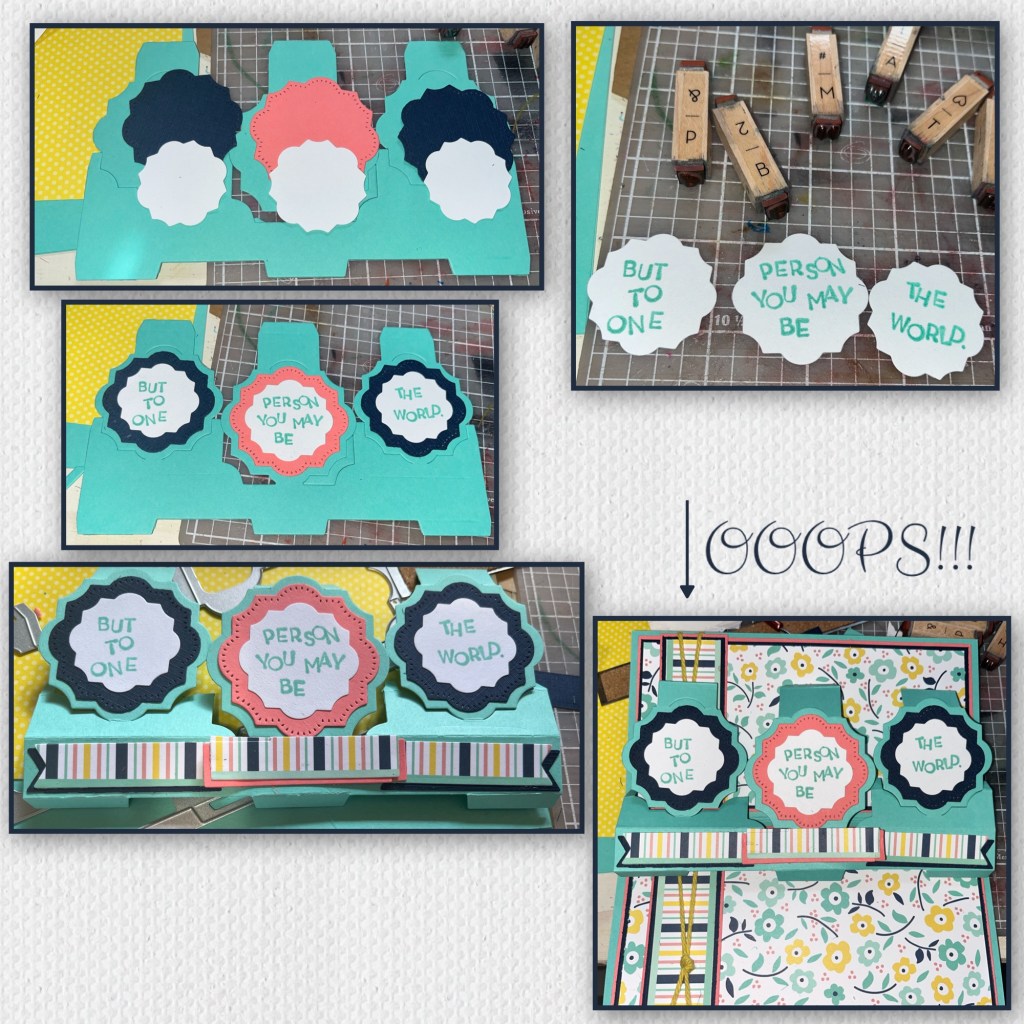
I am missing a photo but I literally just cut off the third label. And attached the other 2 labels as per Karen’s instructions. (Karen has a video tutorial on the product page Here )
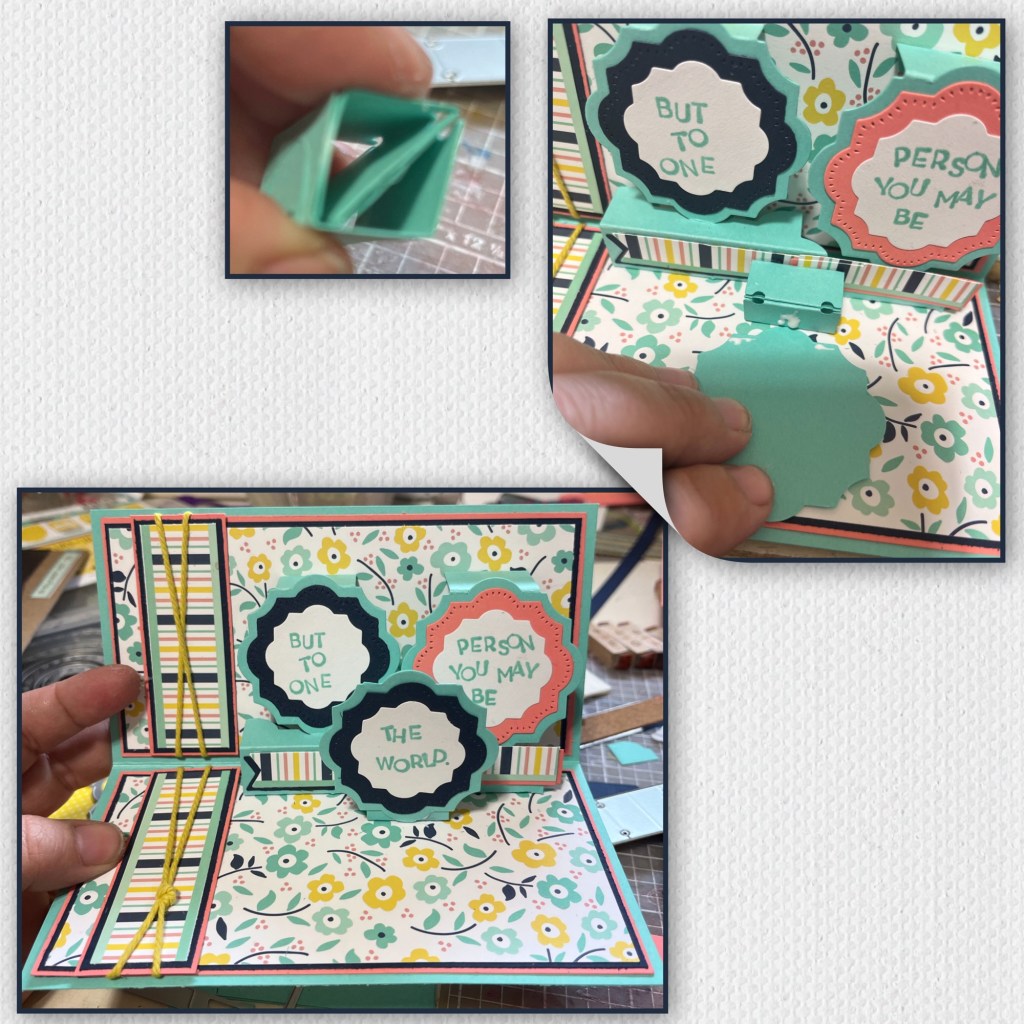
I assembled a Small Scenes Bam Box without the elastic and attached it to the front of the Little Labels mechanism. I trimmed the extra piece used to attach off the third label and attached just the label piece to the Bam box. I do really like this orientation but if I were doing this again I would have made the third label Yellow.
I cut out the Flowers, leaves and dots from the Fun Flowers to match the patterned paper. I added shading with a Versa Mark Marker, and highlights with a white Gelly Roll pen. My brain almost couldn’t handle that I was cutting blue leaves, but I think it would have looked bad if I cut green when the patterned paper has them in blue. I started adding them to the card front with some itty bitty gems.
I added some of the flower pieces to thin strips of acetate so they can come out a little further from the labels. I assembled the Crosshatch Labels and trimmed the bottom off as shown. I continued to add flowers, leaves and gems to the inside.