

Today’s the day, it’s Karen Burniston’s new release sneak peek, and it is such a fun release. I’m a tea drinker so I was really happy to see the borders and pop up.
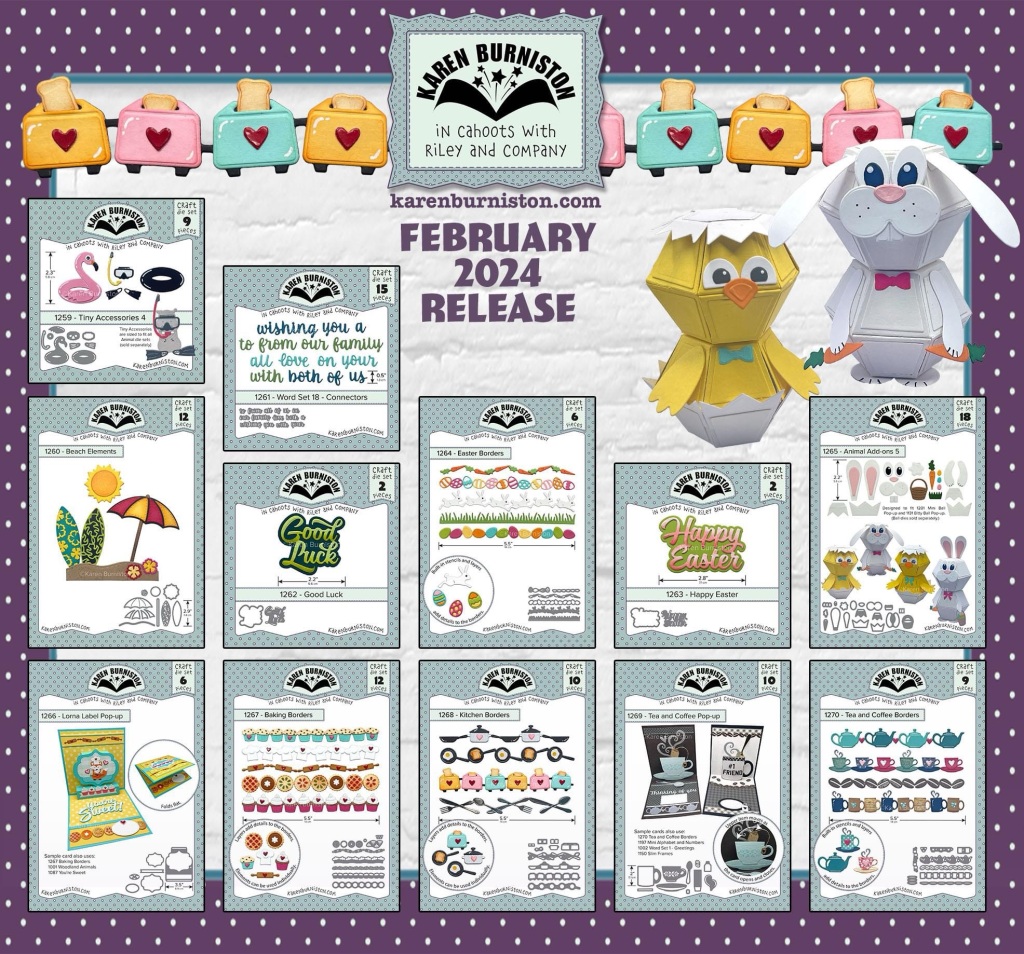
I thought it would be so cute if I used pieces from the Tea and Coffee Borders, the Tea and Coffee Pop up, and Lorna Label to make this cute little girls Tea Party.

All the fun is in the reveal, to see this card in action please check out my FACEBOOK page, feel free to join if you would like to share your own crafty creations. You can also see a video of this card on my INSTAGRAM page.
I was kind of all over the place while making this card, I started with a couple of the characters then the card base then a few more characters. I started with the doll.
1A- to make a puffy dress I cut 2 dresses from the Princess and Mermaid set from patterned paper and joined them as shown, I added them to a red coat cut from the Gnomes and Santa.
B- I cut some ruffles using a die from the Cake Trims set.
C- I combined pieces from the Tiny Gnomes and the Princess and Mermaid
D- I gave her a teacup from the Tea and Coffee Borders.

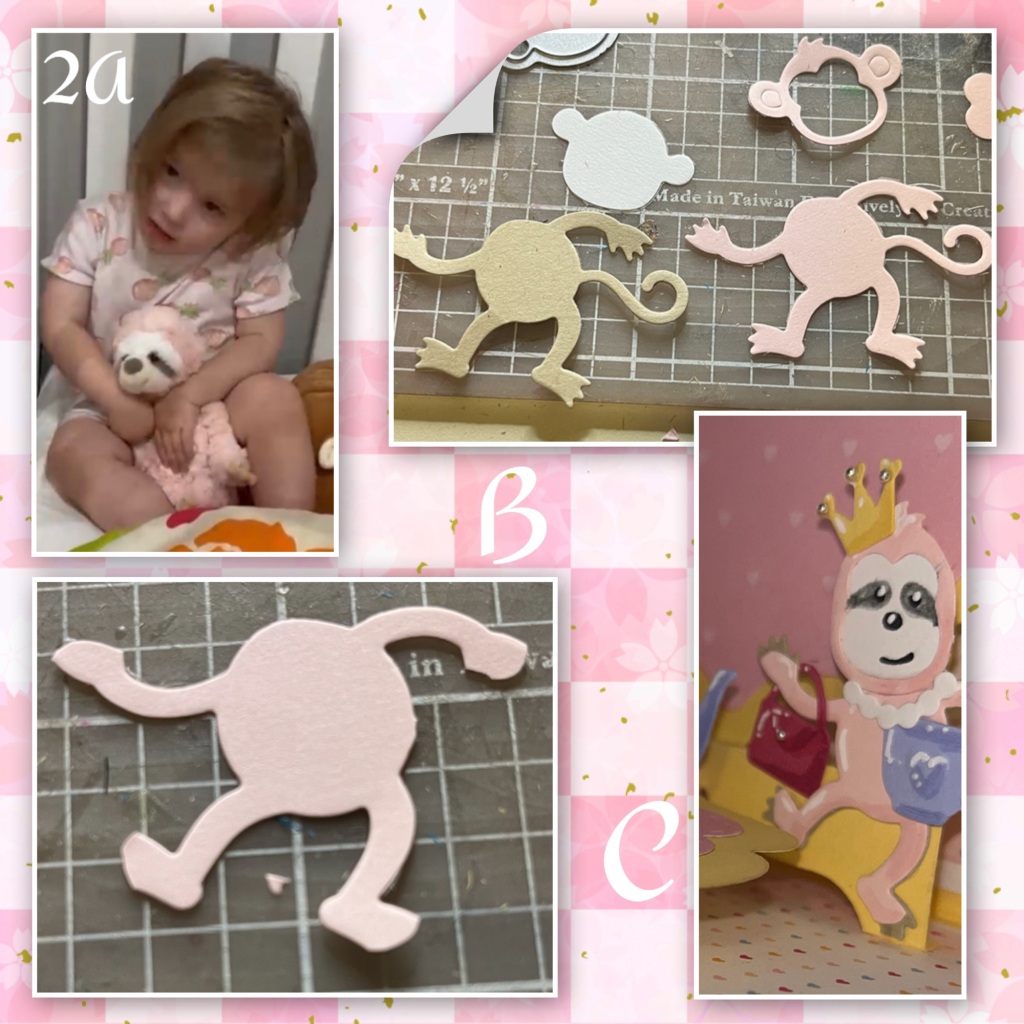
Karen doesnt currently have a sloth so I had to get creative with this character
2A- this little sweet heart loves her pink sloth, to make her I cut out these pieces from the Monkey and Lion as shown.
B- From the pink pieces trim off the fingers, toes and ears.
C- combine as shown. The accessories are from Tiny Accessories 2 and the crown is from the Princess and Mermaid set. I drew on the face.
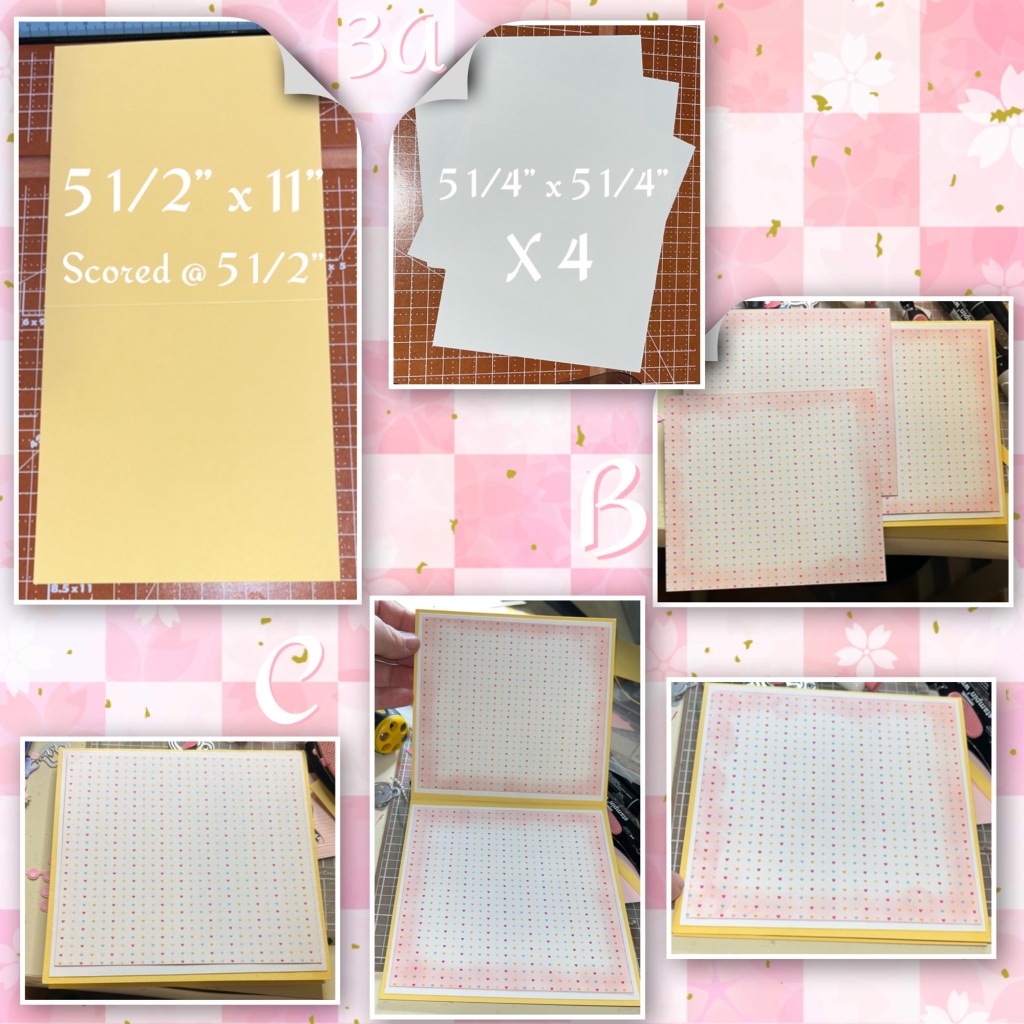
3A- cut the card base and white panels as shown. Add the white panels to the front, back and inside.
B- cut 3 patterned paper panels to 5” x 5”, I inked the edges so they would pop against the white.
C- the first photo is before the ink (sorry I have them in the wrong order) add the panels to the front and inside.
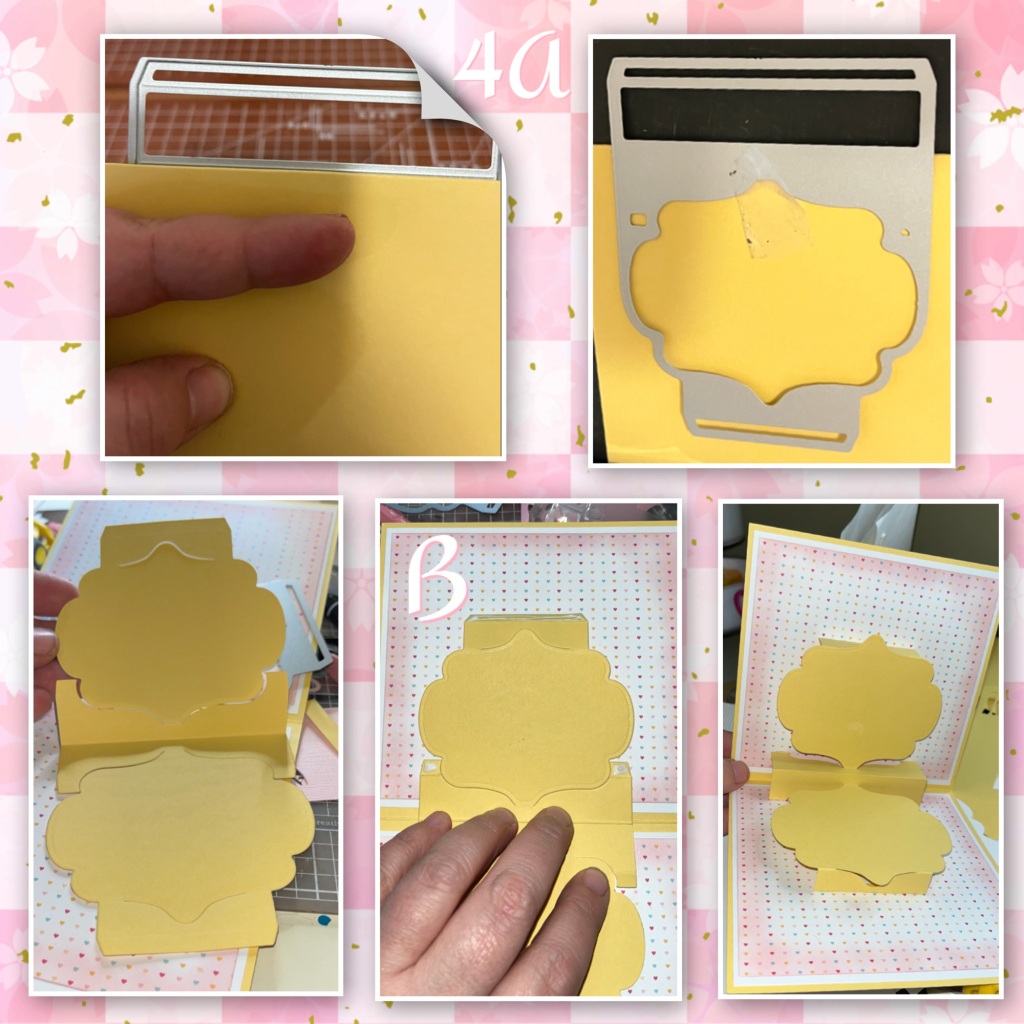
To make a Double Lorna Label, pop up follow these directions. I’m fairly sure that Karen will make a video that I will link to when it becomes available.
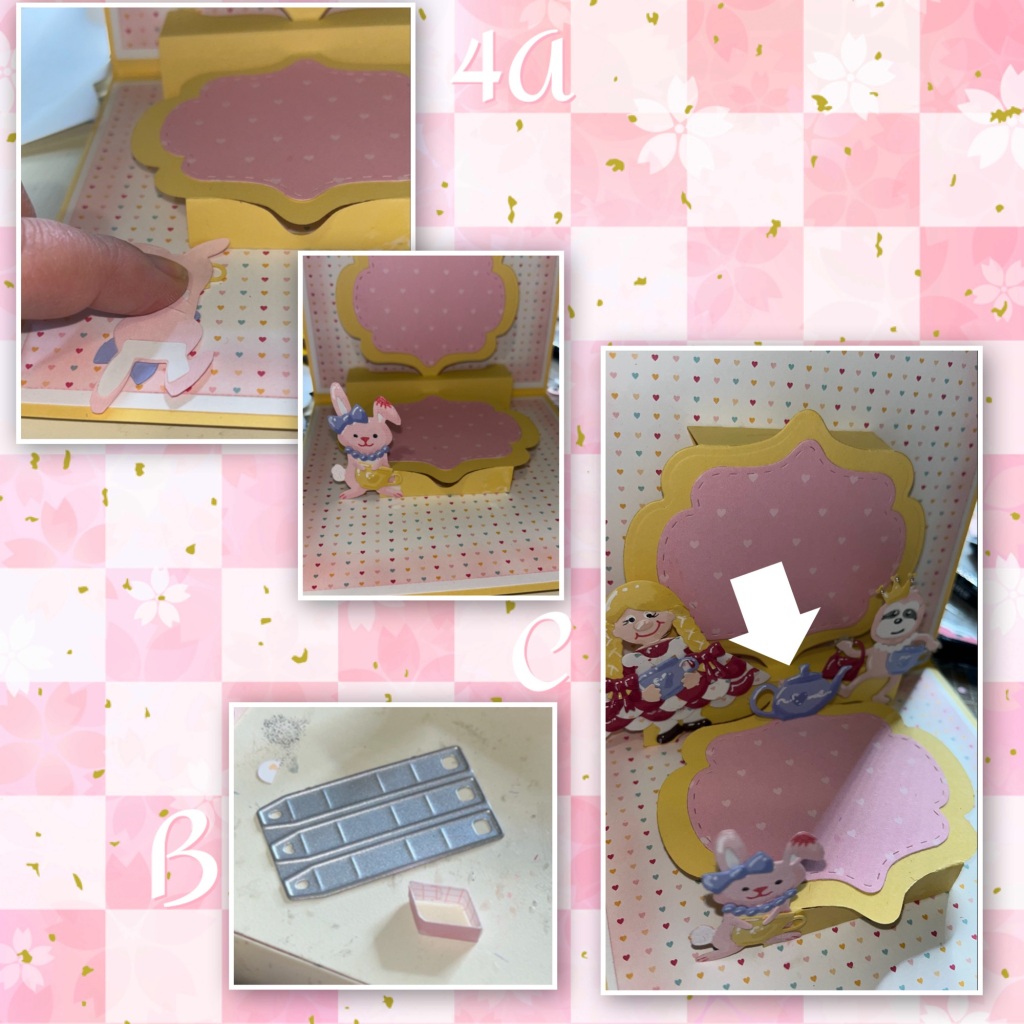
4A- fold a piece of yellow cardstock in half and line up the score line in the die with the fold in the cardstock as shown. (showing the front and the back) it should look like the image in the bottom left
B- line up the fold in the mechanism with the fold in the card and adhere down the long tabs on the very top and very bottom, and the little tabs on both sides of both labels.
Oops I numbered these as 4 as well. Sorry
4A- I added some pink labels cut from the same Lorna Label set, and added them to both labels. I also assembled the rabbit from the Spring Animals set and dressed her up as well. I drew on a stitched patch to her ear to make her look like a stuffy. Make sure the bunny stays inside the limits of the card when it is closed.
B- using this die from the Oven Pop Up I made this little box platform.
C- add the little box where the arrow is pointing and add a tea pot. I also added the doll, and sloth.
We needed more friends for the tea party so…..
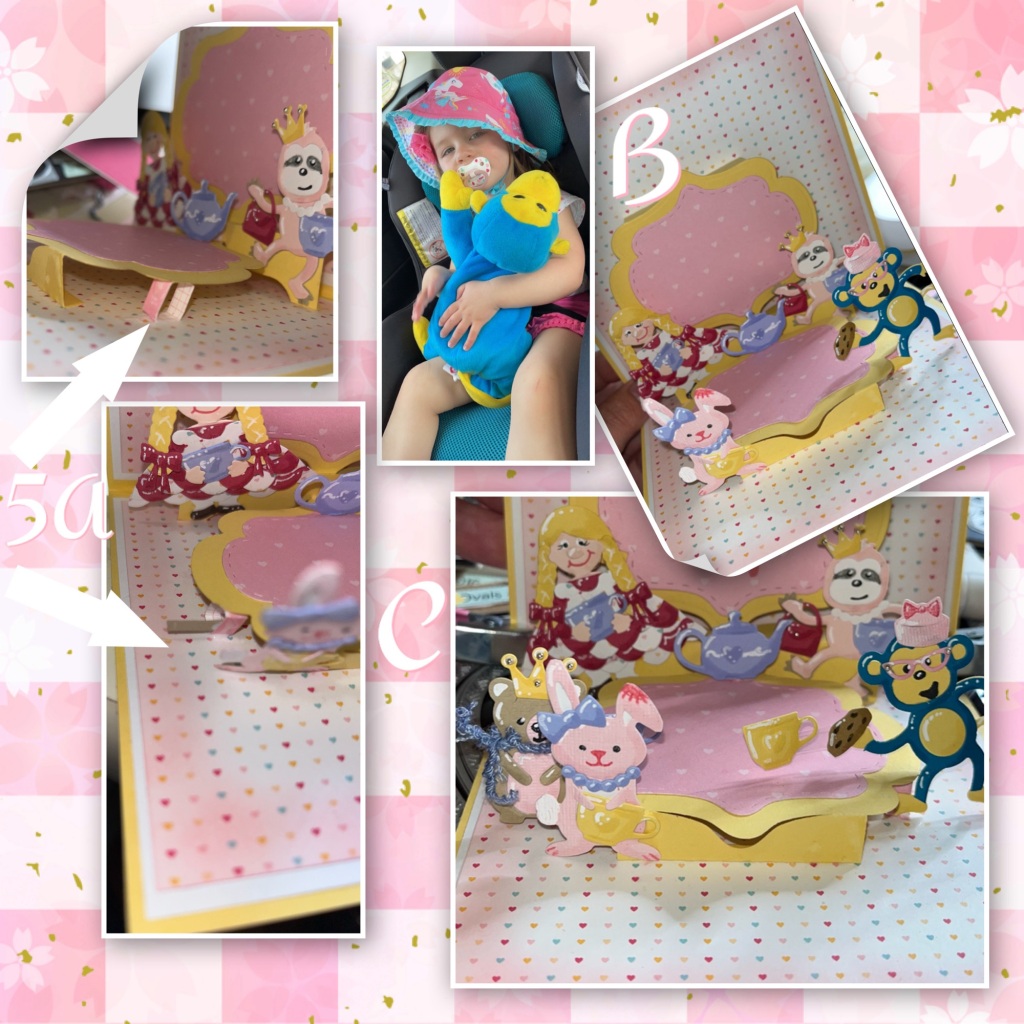
5A- the little box platforms actually fit nicely between the card base and label so I added one to each side. On the left side a added an extra little arm to add the bear to.
B- since I already had the monkey dieset out I thought I’d make another family friend. The cookie she is holding is actually the muffin top from the new Baking Borders. The bear is from the Winter Animals set. I added some fuzzy purple string to look like a boa
C- I used acetate to add to the sides of the monkey and bear and added the tea cups so it looks like the cups are on the table.
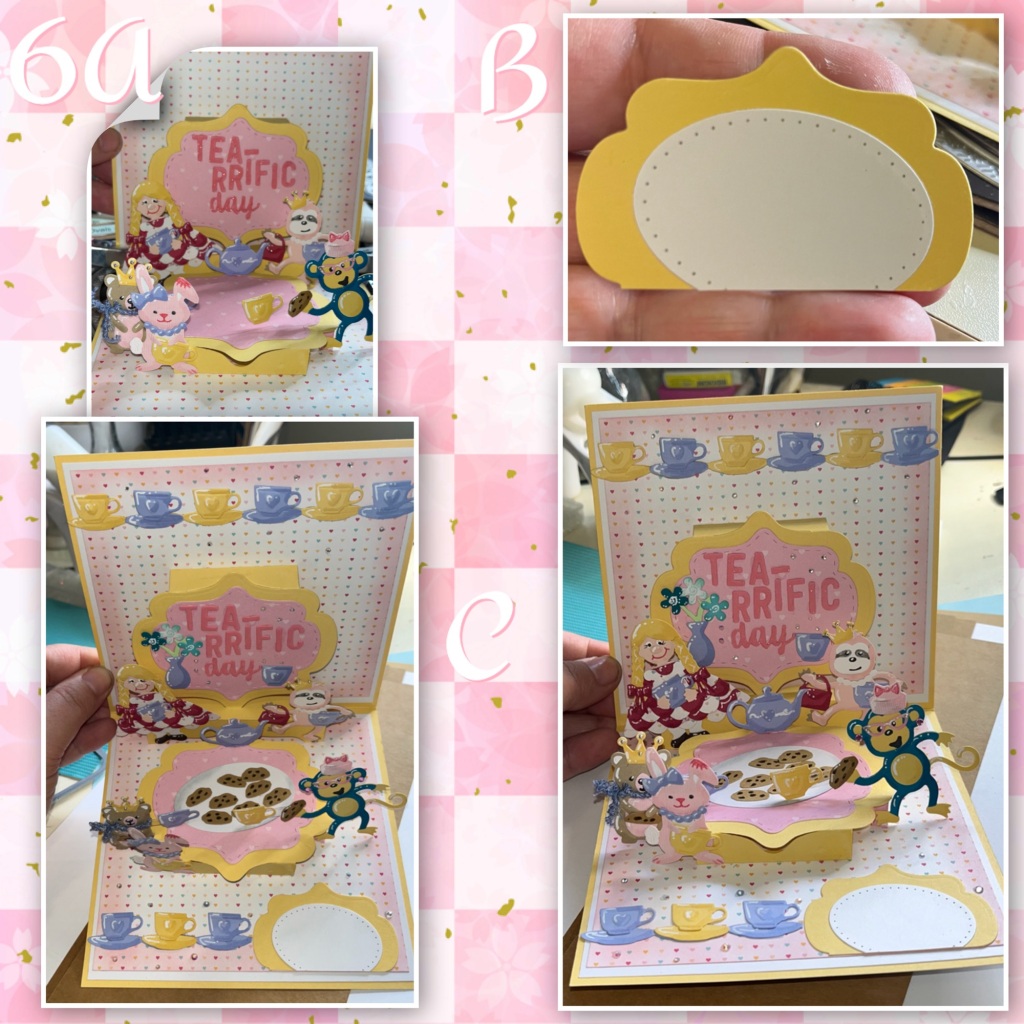
6A- I die cut TEA- RIFFIC from Mini Alphabet and Numbers, and “day” from Word set 2 -Birthday and added as shown.
B- I layered a Lornal label and ovel (from the same set) and trimmed as shown, and added it to the the bottom right of the corner.
C- I alternated tea cups on the borders in the top and bottom. I also added flowers and a vase from the Fireplace Extras 2. I also add a few itty bitty gemstones. Oh and I can’t forget the platter of cookies. I also cut the handle off of a tea cup to make a sugar bowl.
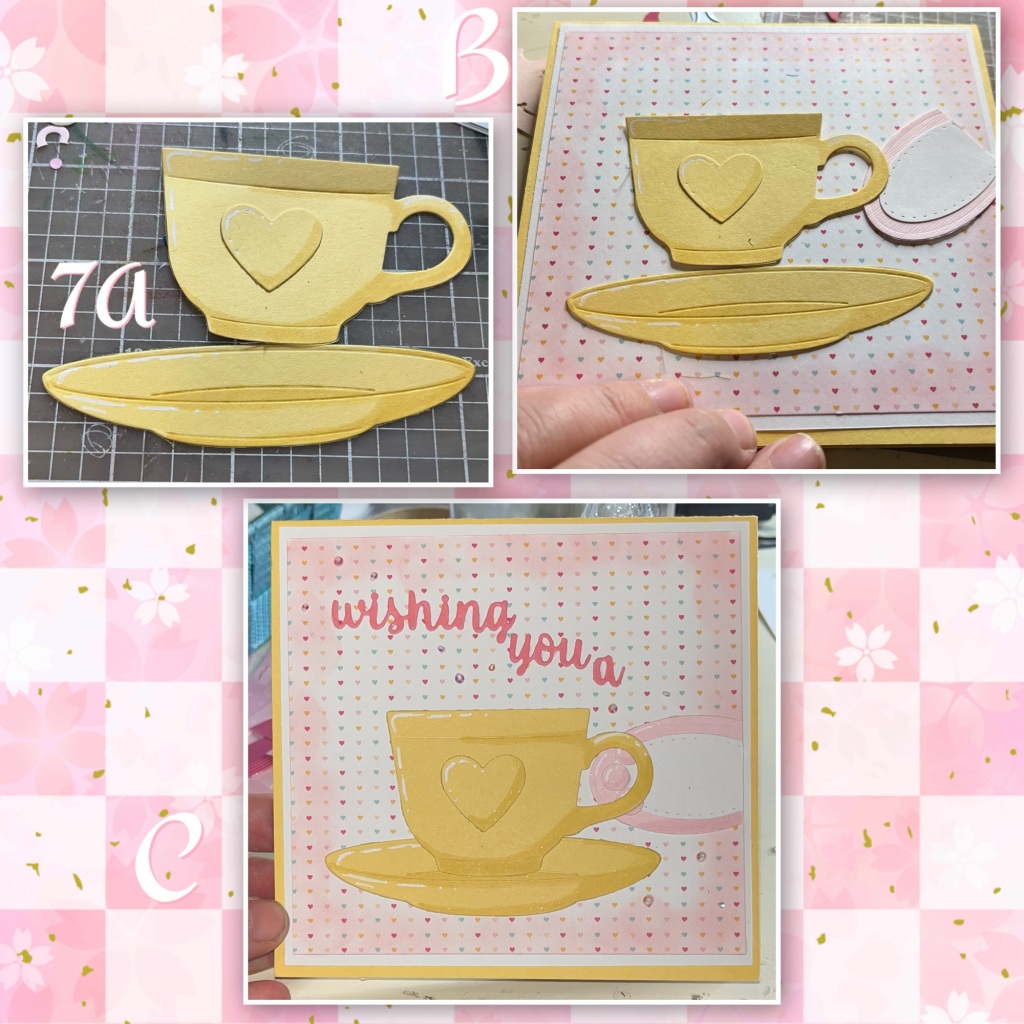
B- I diecut a teacup and saucer from the new Tea and Coffee Pop-up. I added shading with a Versa Mark Marker and highlights with a white Gelly Roll pen. I added a heart to the middle so it matches the hearts on the little tea cups on the inside.
B- a layered 2 ovals, I’m trying to make it look like it could be a paw from the rabbit. I added a few little circles as well.
C- I die cut the “wishing you a” from the new Word Set 18- connecters. I also added some itty bitty gems.

Other Tools used

What a great tea party card
Darlene Kinnear
LikeLiked by 1 person