
I have been looking for a reason to make a travel card and I thought this weeks Craft Roulette Card would be a good time. Karen Burniston made a Traveling Birthday Card a while back and I decide to make a card just to cheer up its recipients. Like the past few Craft Roulette challenges I also challenged myself to use a mechanism I haven’t used in a while and a die set I haven’t used before. Here are this weeks parameters…..
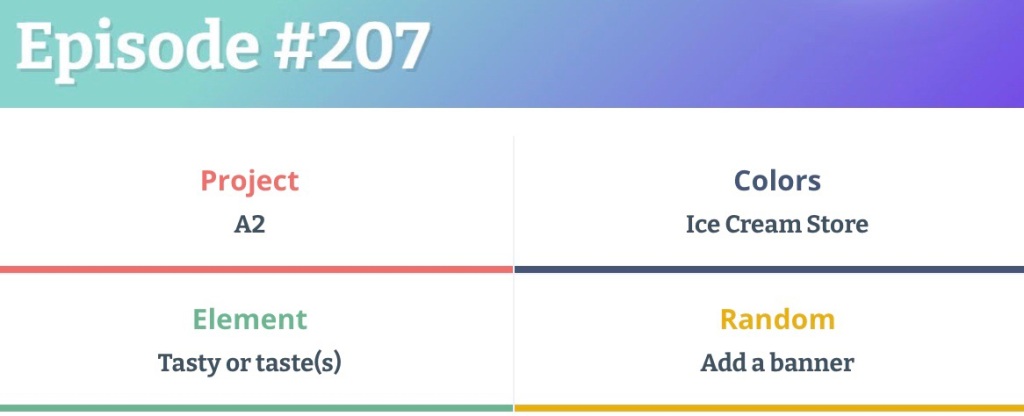
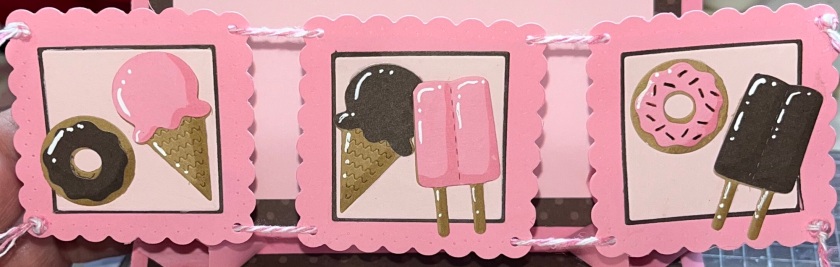
And this is how I met the parameters. It is an A2 sized card (which was a little hard for me as I usually make large cards), strawberry and chocolate ice cream colours. Who doesn’t love tasty ice cream, donuts or popcycles. And the squares are a hung banner. The Upsy Daisy Pop Up is a set I haven’t used in a while and the Sweet Treats Charms is the set that I haven’t used before.

All the fun is in the reveal, to see this card in action please check out my FACEBOOK page, feel free to join if you would like to share your own crafty creations. You can also see a video of this card on my INSTAGRAM page.
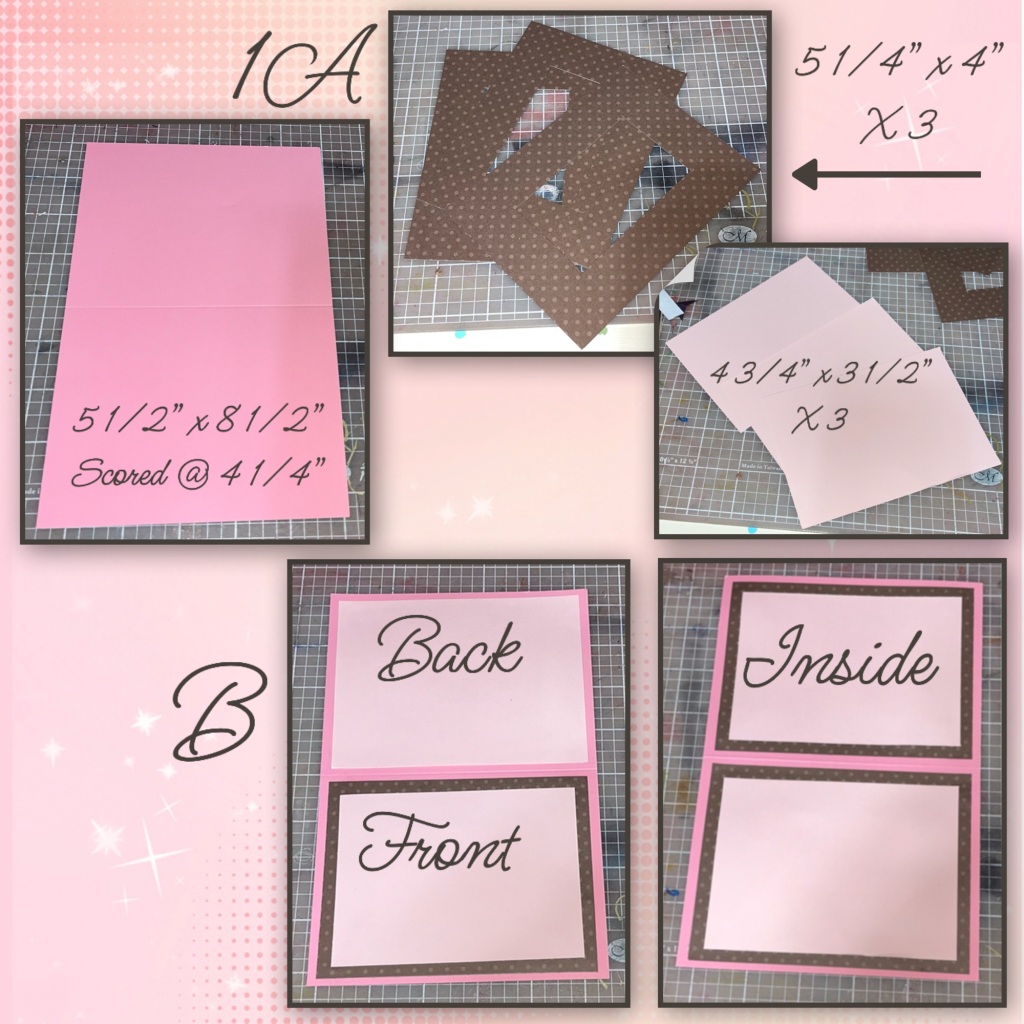
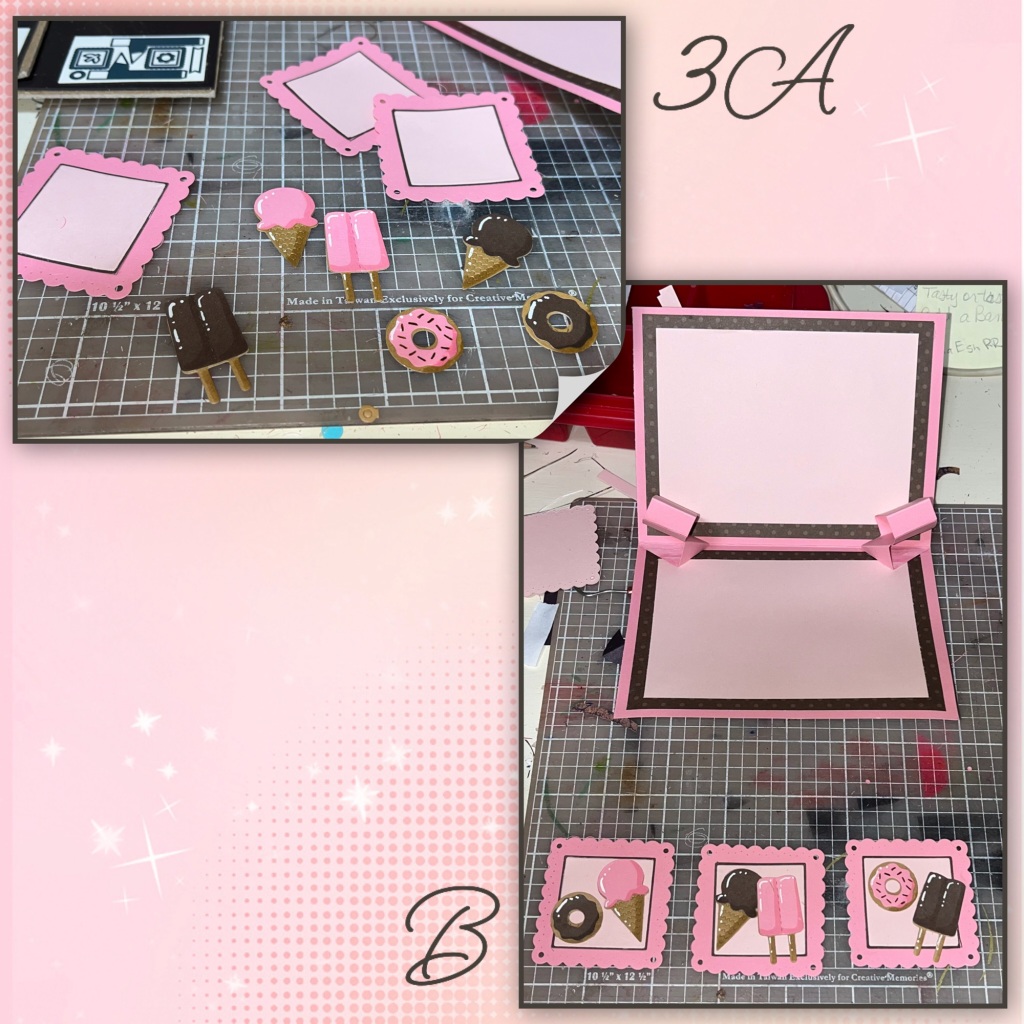
1A- cut the card base and panels as shown below. I cut the centers out of the brown paper so I could use them to cut out some of the brown treats (the other side is solid brown)
B- layer as shown. I added a solid pink panel to the back to even out the weight of the card.
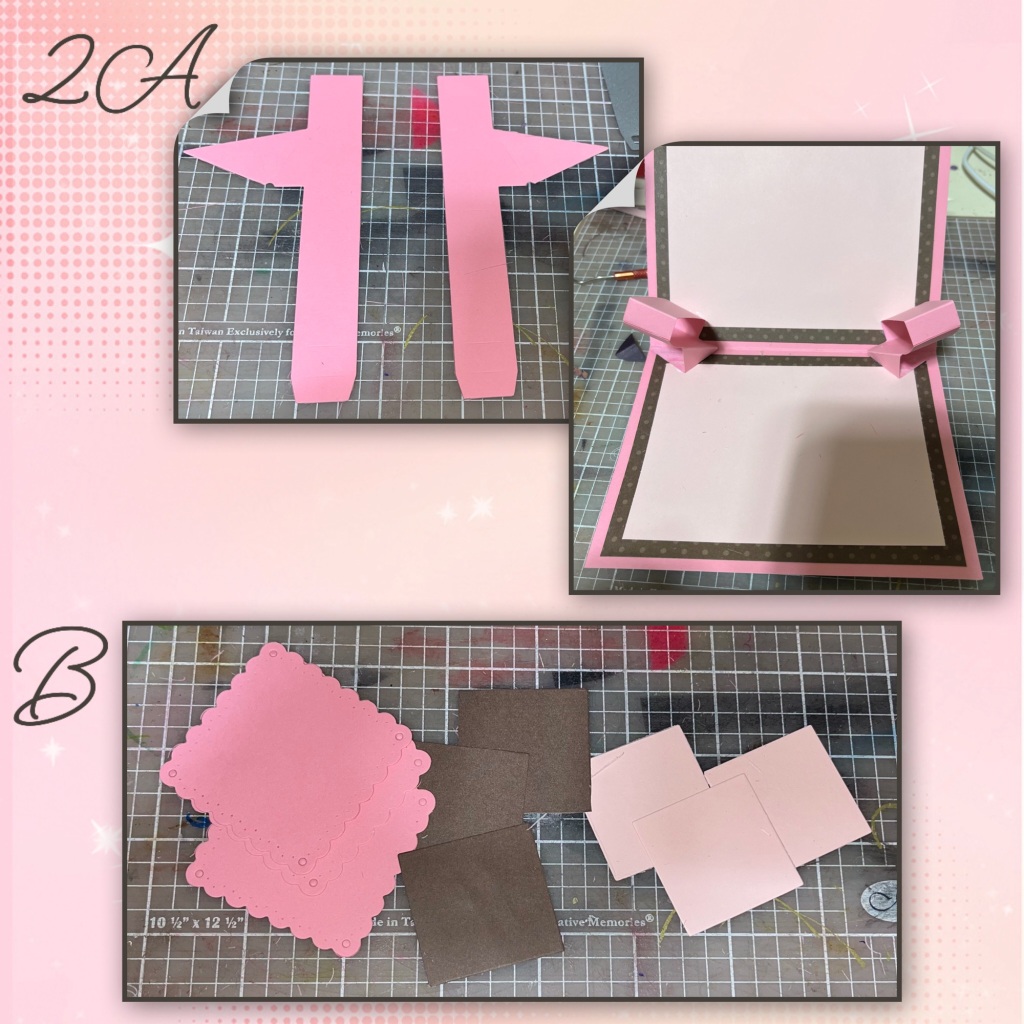
2A- I diecut and assembled the Upsy Daisy Pop Up (Karen has a video tutorial on the product page at the link ⬆️ )
B- cut out the squares and layers from the same set.
3A- diecut and assemble the Sweet Treats Charms I added shading with a Versa Mark Marker, and highlights with a white Gelly Roll pen
B- add the charms to the square.
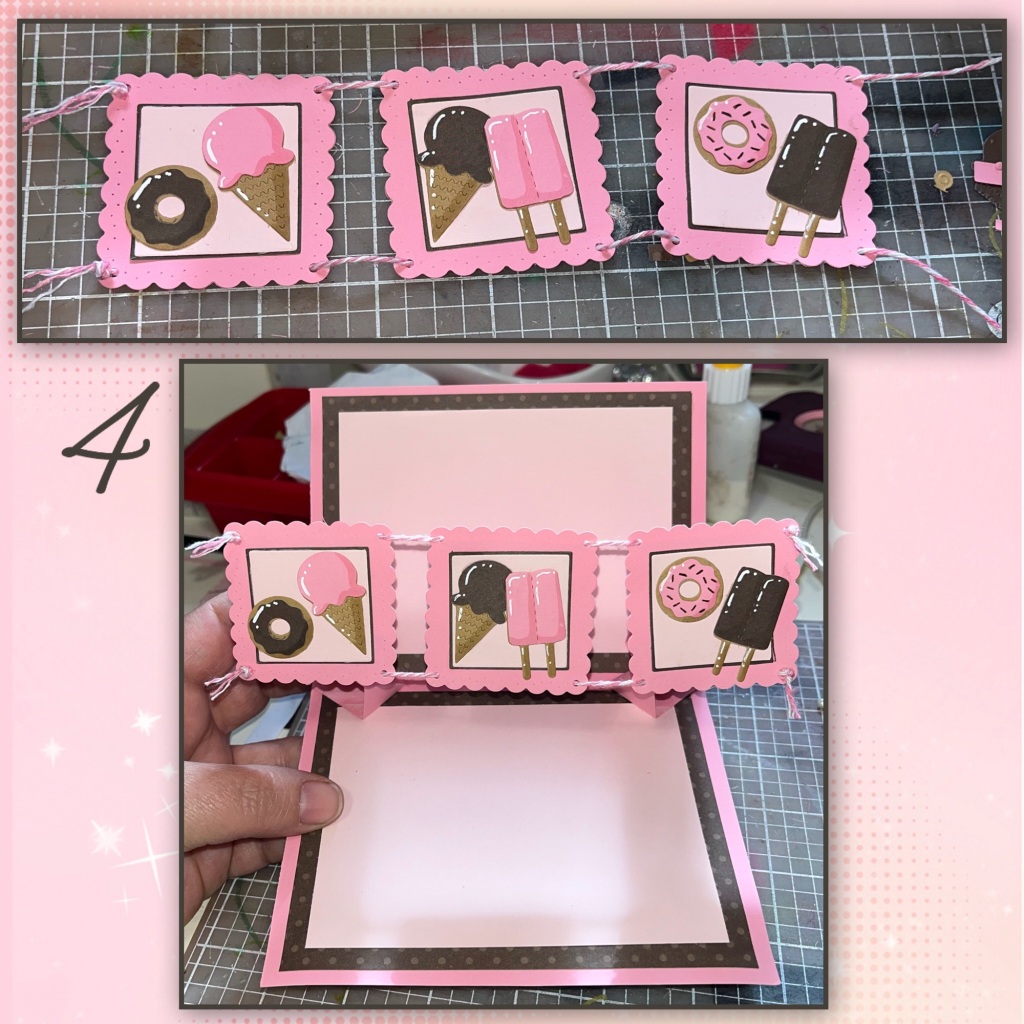
4- string the banner together using bakers twine, and add to the mechanism on the card base
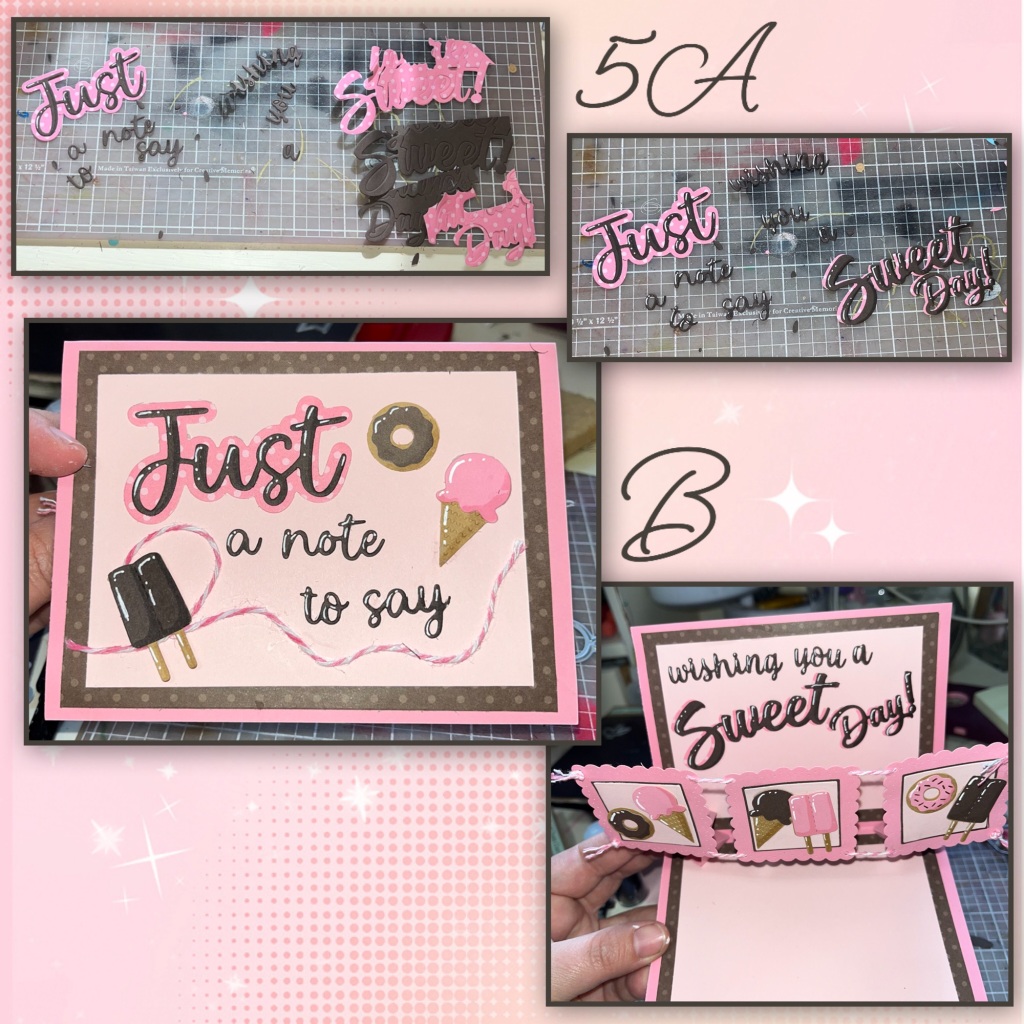
5A- I combined several word sets to creat the greeting. Just Because, You’re Sweet (just Sweet), Happy Valentine’s Day ( just the word Day), and Wordset 18- Connectors . I layered the large words as shown and I added shading with a Versa Mark Marker, and highlights with a white Gelly Roll pen.
B- oops this photo is out of order. Add the words to the front and inside.
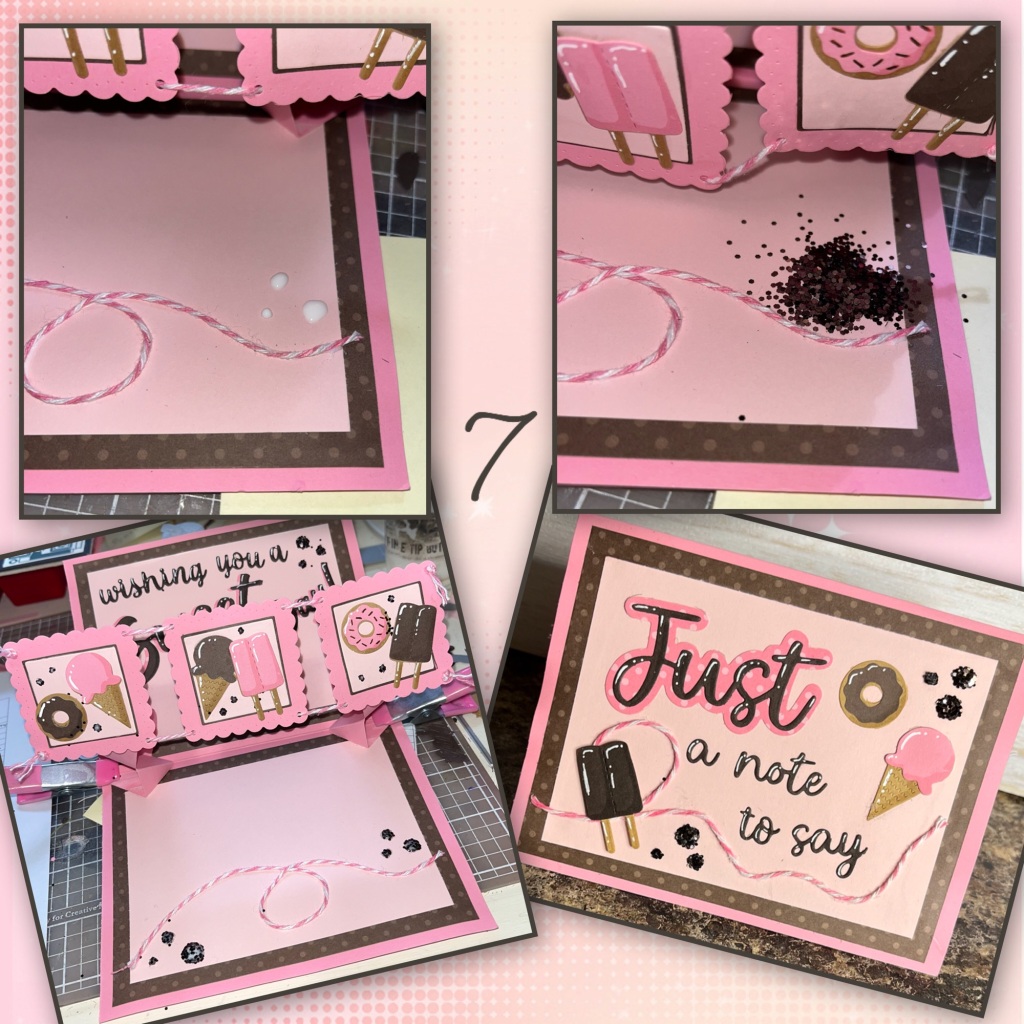
6A- using liquid adhesive and the same baking twine I added a a loop de loop to the front.
B- and one to the inside.

7- I wanted the look of brown gems so I dropped some glue blobs and added brown glitter. As it was drying I Shaped them with a metal hook tool.
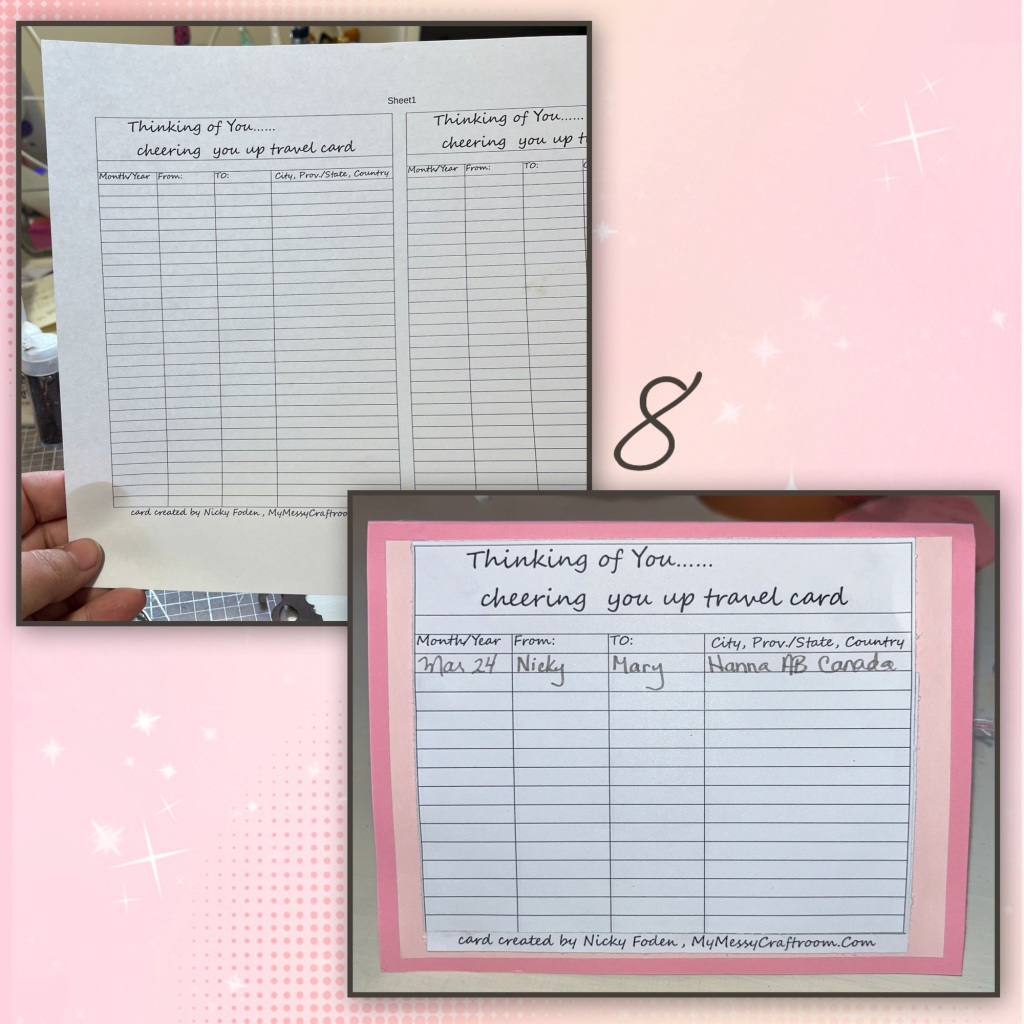
8- using Karen’s card as an example I typed out, printed and cut out the card back as shown. It was a bit big so I trimmed it to fit he back of the card.

Other Tools used
