

I’ve got a little something different this week, and that is these cute candy boxes and bags. I had some left over Halloween candy and I thought it would be cute if The candy bars were peaking through and were part of the greeting.

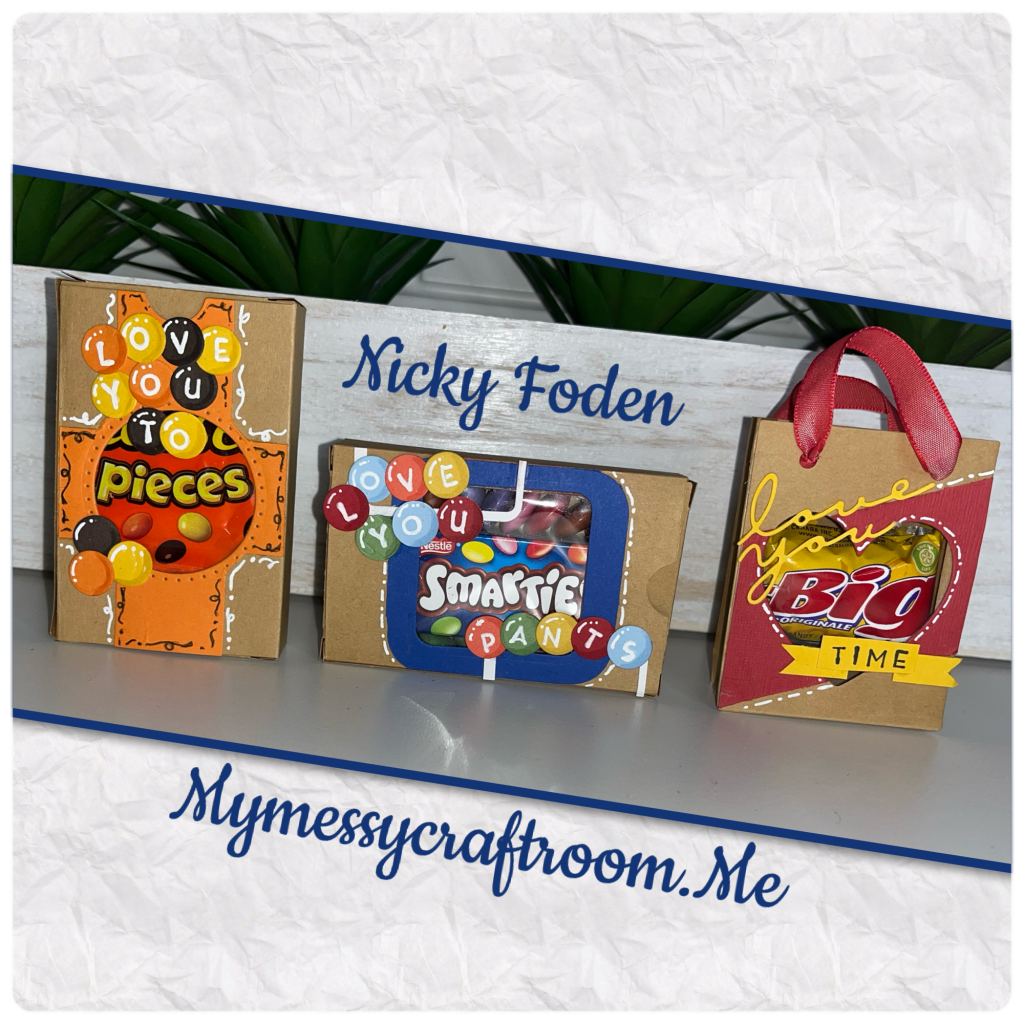
All the fun is in the reveal, to see this card in action please check out my FACEBOOK page, feel free to join if you would like to share your own crafty creations. You can also see a video of this card on my INSTAGRAM page.
The bases for the boxes and bag were made from the same Costco craft cardstock.
1A- I diecut the Candy Heart Box and cut out a square window.
B- I originally sponged red around the window but then covered it. I added a clear plastic window.
C- I adhered the smarty box inside the box.
D- I die cut a blue panel with a window the same size as the window on the box. I trimmed it into a square a used a corner punch to round the corners then added it to the box.

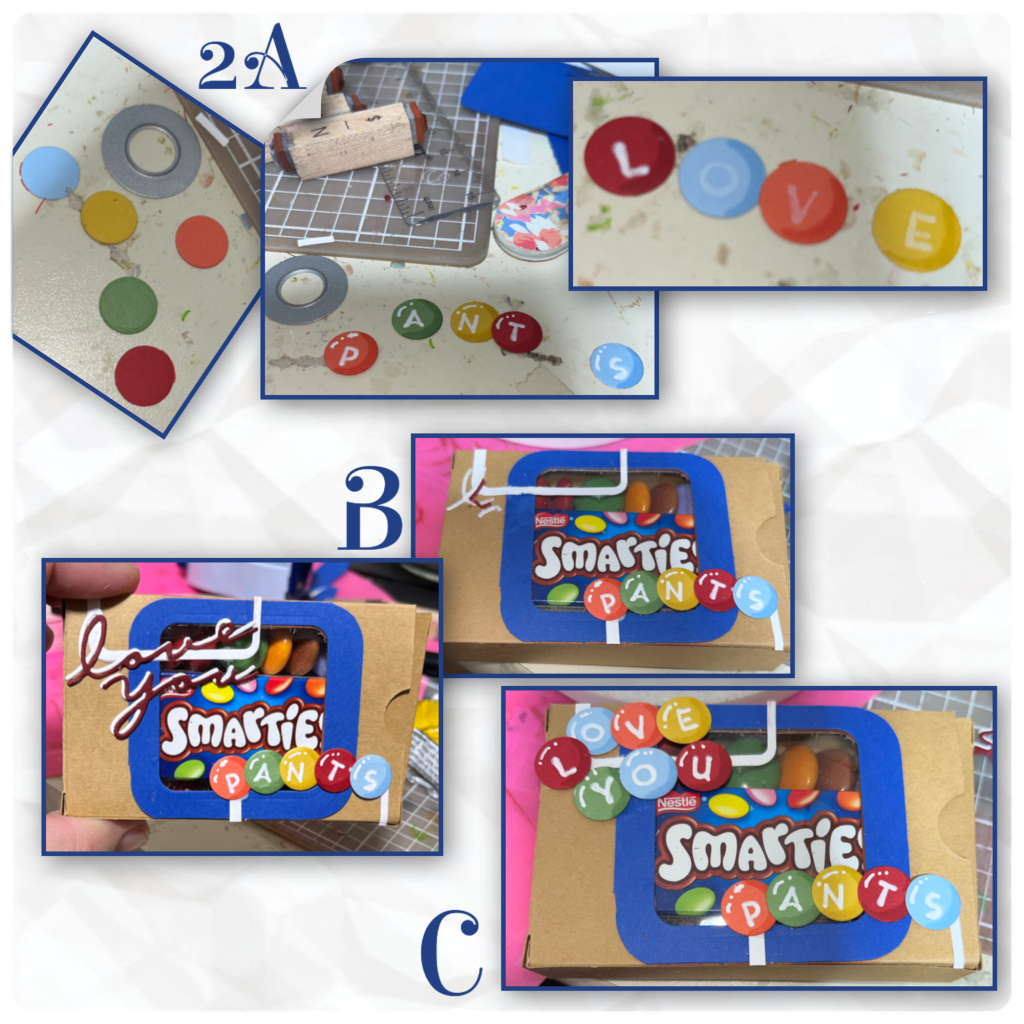
2A- I used a small circle die and cut out circles in the Smarties colours. I used a small stamp set to stamp the letters on. I also I added shading with a Versa Mark Marker, and highlights with a white Gelly Roll pen
B- I originally tried the script “love you” but didn’t like it so I changed it.
C- I added some white frames that I made using the same window die and corner rounder. I also added Smarties show they would show through the window.
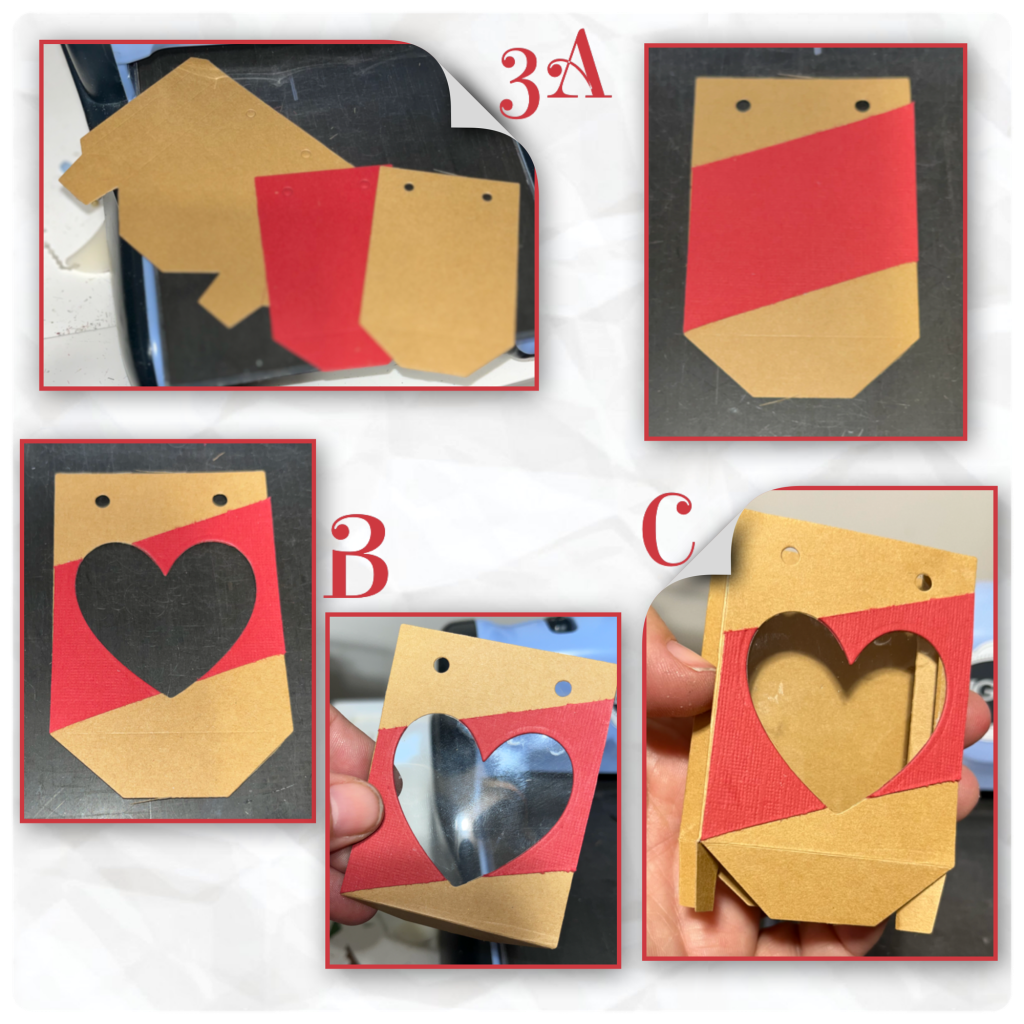
3A- I diecut the pieces to the Mini Gift Bag, with an extra red panel. I trimmed the red panel and added to the front panel as shown.
B- diecut a heart window and added a piece of plastic.
C- assemble the bag
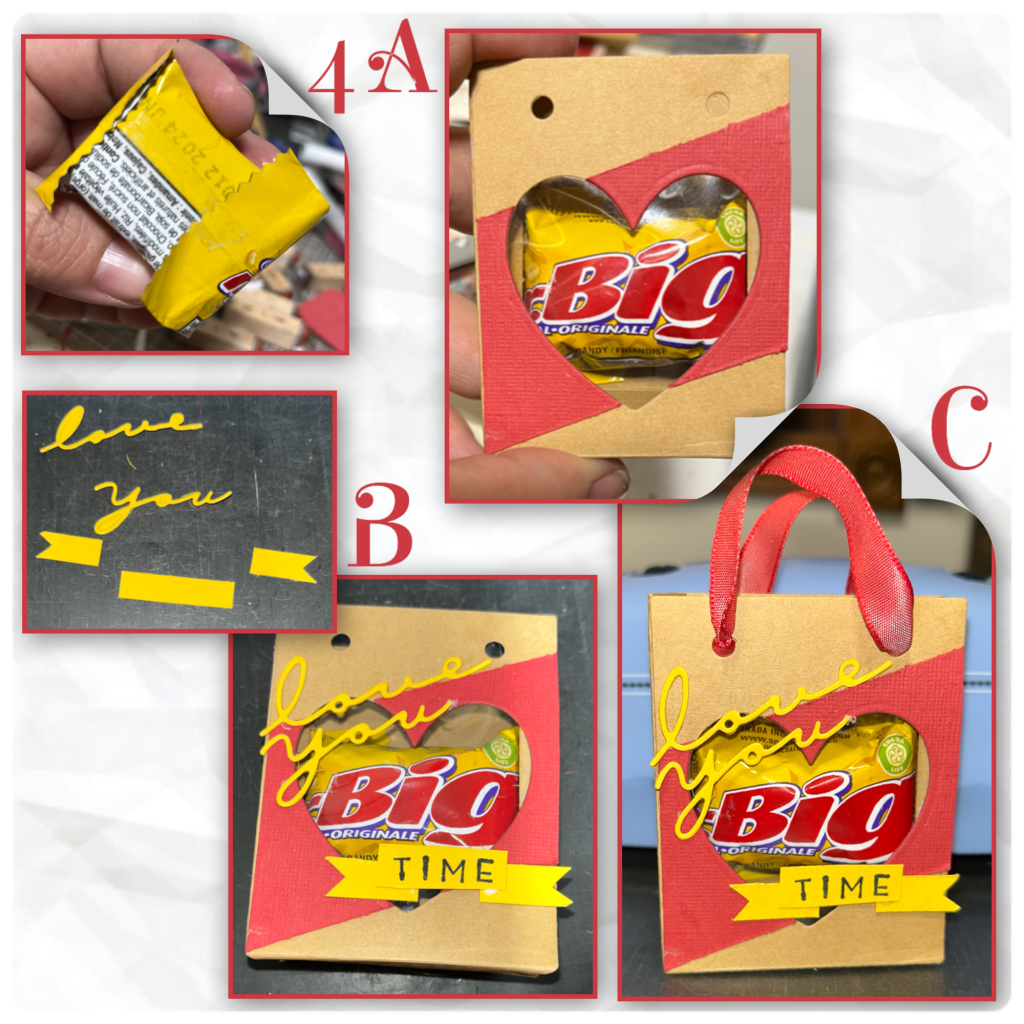
4A- I took the candy bar and adhered one side to the back. Making sure the “Big” was centred. And I adhered it in the bag so it doesn’t shift.
B- I diecut the “love you” from the Pop n Swap dieset and hand cut the banner. I used a small stamp set to stamp “time”. And added to the bag
C- add a ribbon to finish off the bag
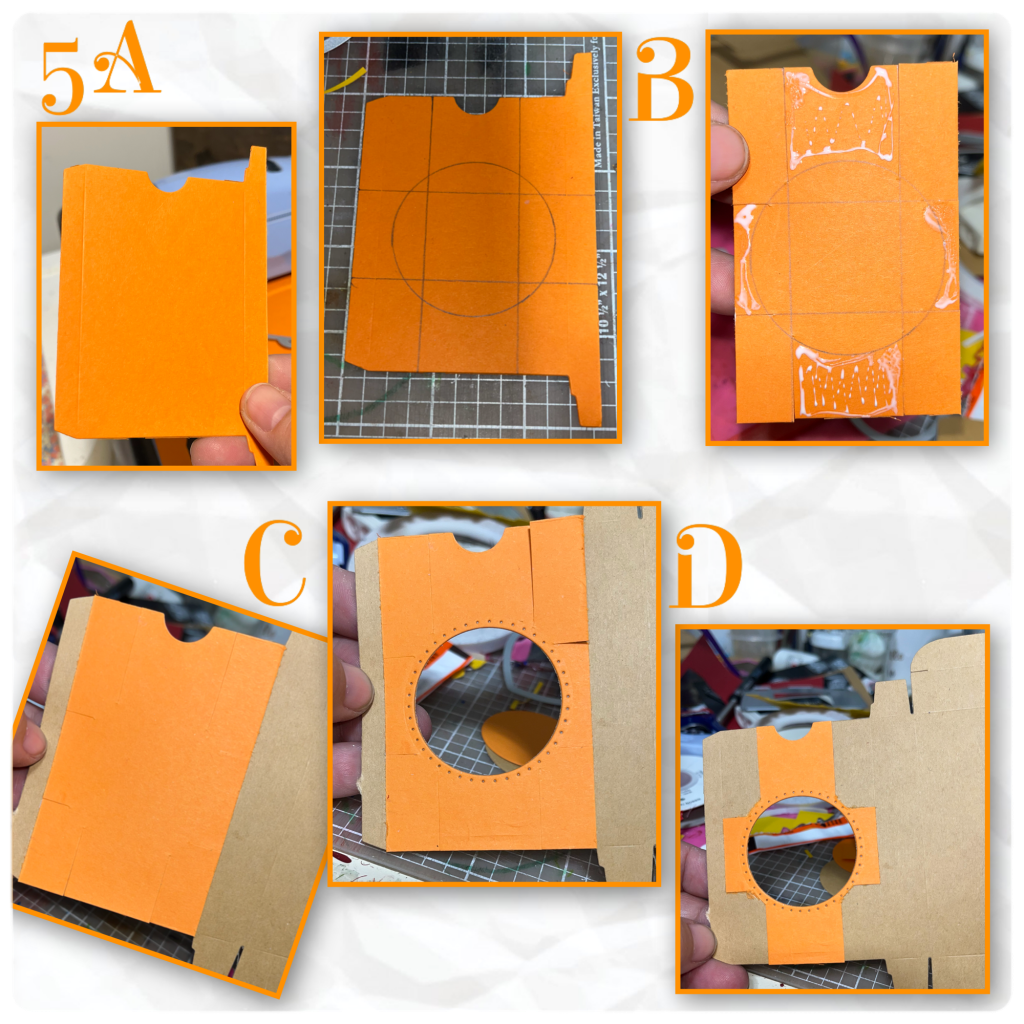
5A- cut the pieces for the Candy Heart Box, with an extra orange panel. I measured the panel as shown to find the center.
B- I trimmed the lines up to where they meet the circle and added adhesive to the sections as shown.
C- keeping track of the lines I diecut a circle window.
D- using an craft knife I trimmed away the extra pieces.
6A- adhere the Reese’s Pieces to the box so they don’t shift.
B- I made the coloured Reese’s Pieces the same way I made the smarties in step 2A

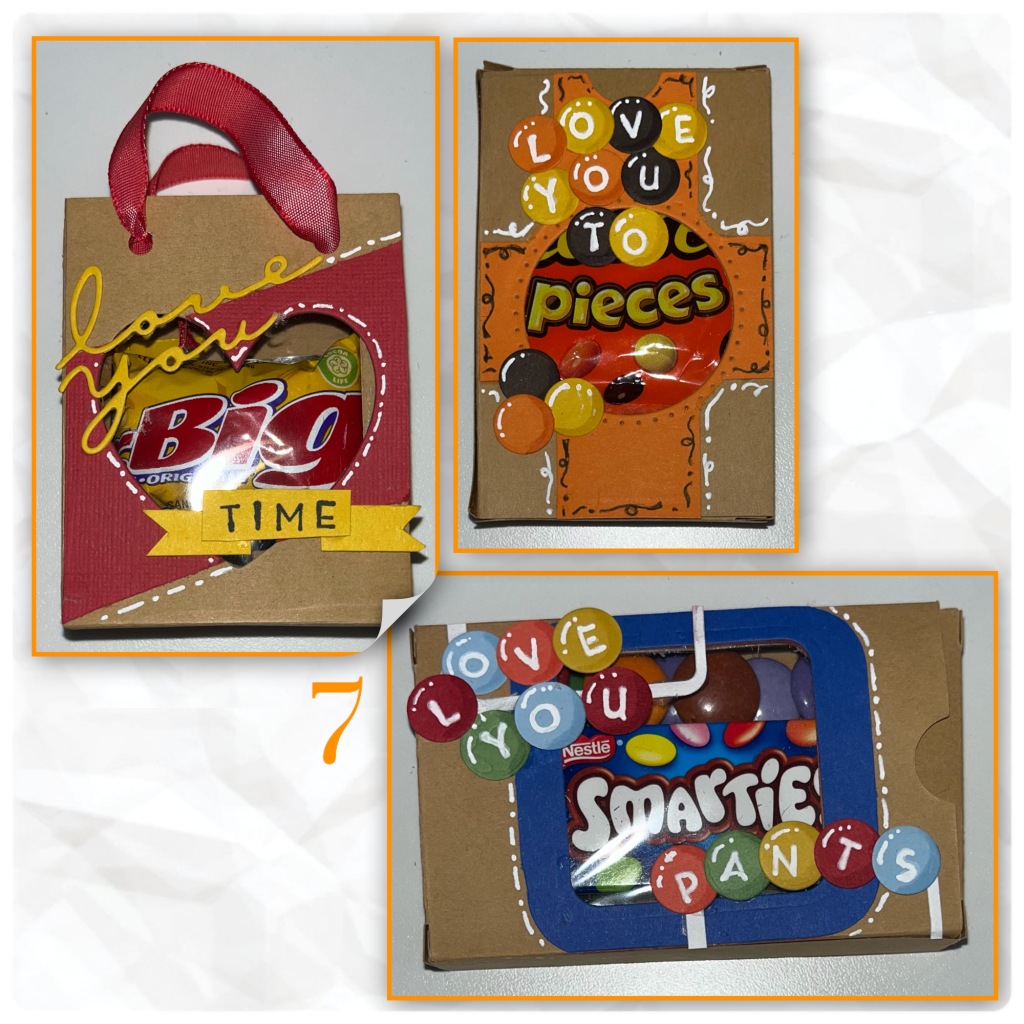
7- I added white lines to all three, and brown lines to the Reece’s Pieces

Dies used
Other Tools Used
Creative Memories corner rounder (over 20 years old)

Awesome job which is always inspiring in colour and design not to forget to mention your fab step by steps here on yur blog xx
LikeLike