

I had so much fun making this card using last weeks Craft Roulette parameters. Life has been so hectic so I’m glad I got the chance to play.
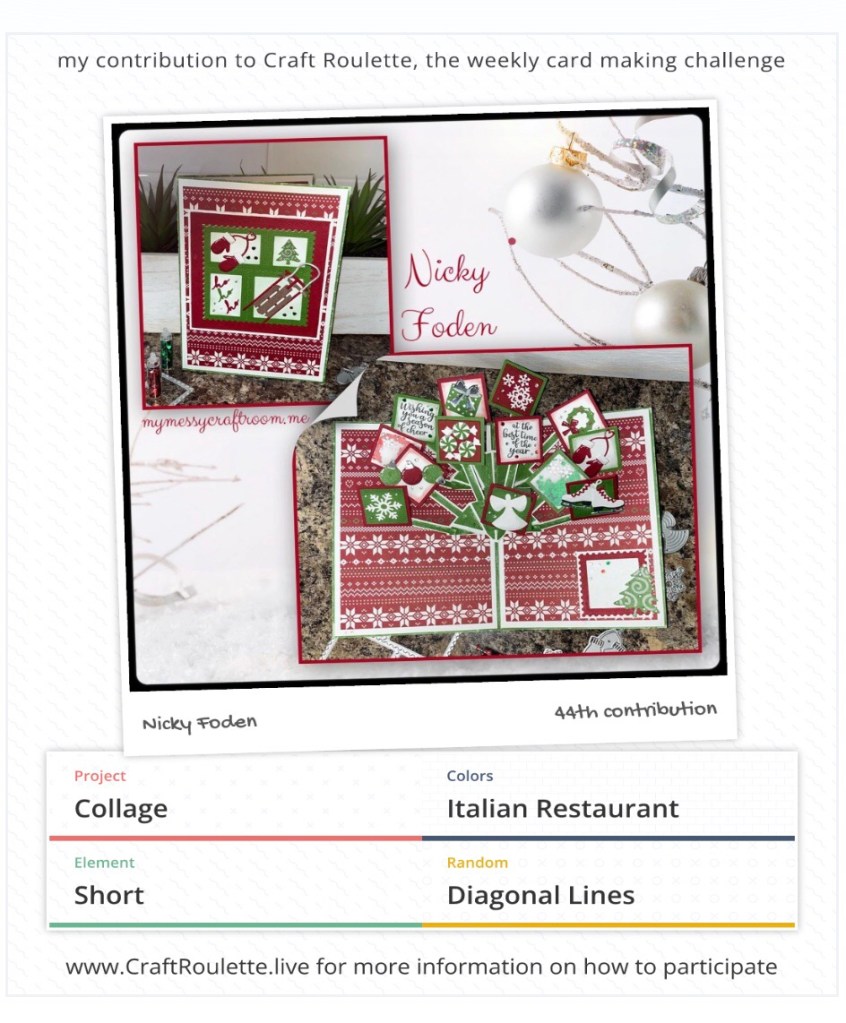
How I met the parameters- I have a small collage on the front and I think the inside also counts as a collage of Christmas items. I think the Italian Flag colours make a great Christmas card. I have a short Christmas tree on the front of the card. The mechanism on the inside has diagonal lines.
All the fun is in the reveal, to see this card in action please check out my FACEBOOK page, feel free to join if you would like to share your own crafty creations. You can also see a video of this card on my INSTAGRAM page.
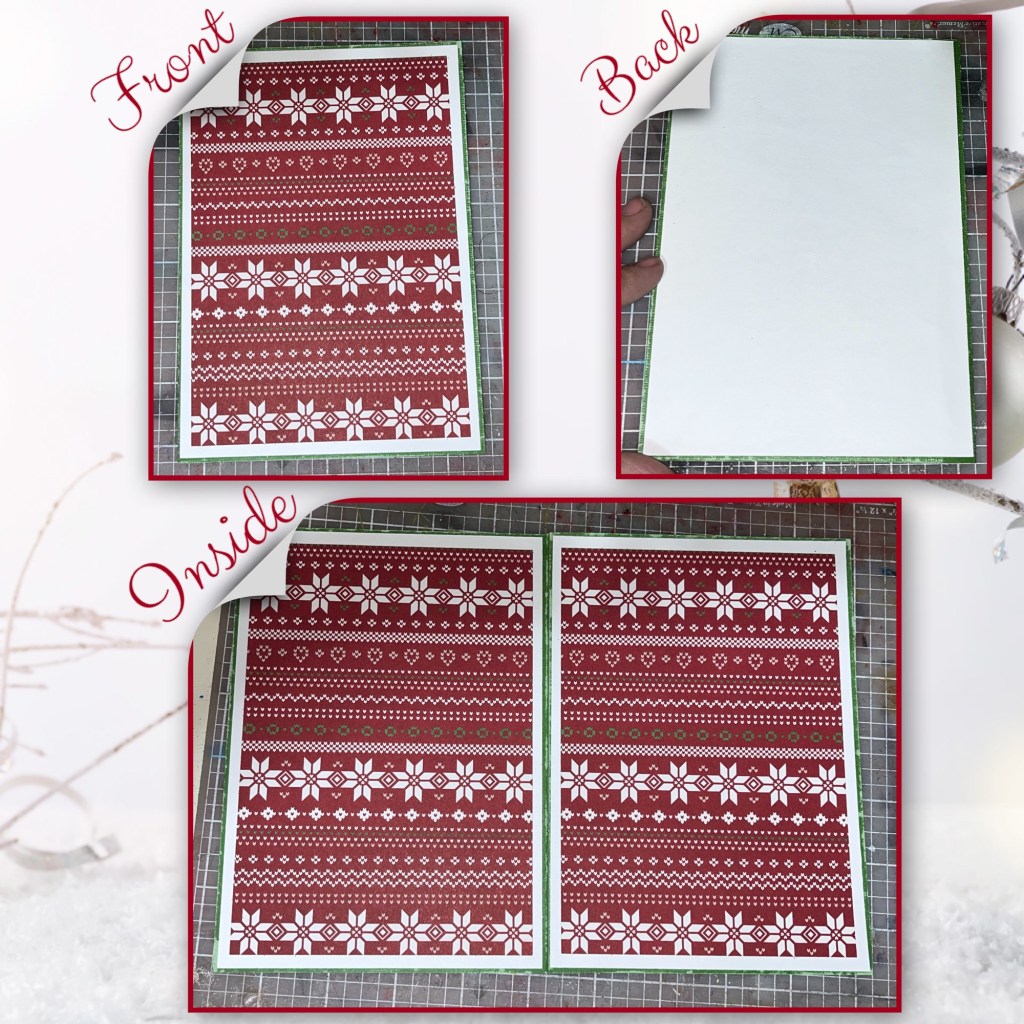
I starting by picking out this ugly sweater patterned paper which is retired Stampin Up, and found a matching green. It was Core Color card stack so I roughed up the edges a bit. Cut the white and layer the patterned paper.

Add the panels to the front back and inside.
Die cut two Photo Fan mechanisms, add the green layers and add to the card (Karen has a video tutorial on the product page at the link ⬆️ )

I thought it would be cute to make 2 mini shakers to put on the mechanisms. I used the squares from the Photo Fan pop up set and cut the pieces as shown. I used vellum instead of acetate. I did not use foam tape because I wanted them flat. I made a red one and a green one.

I used dies and stamps from multiple sets, I will list them at the bottom of the post. to colour red berries on the green wreath first I used a white gel pen, when it dried I used a red. I assembled the squares and added some itty bitty gems.
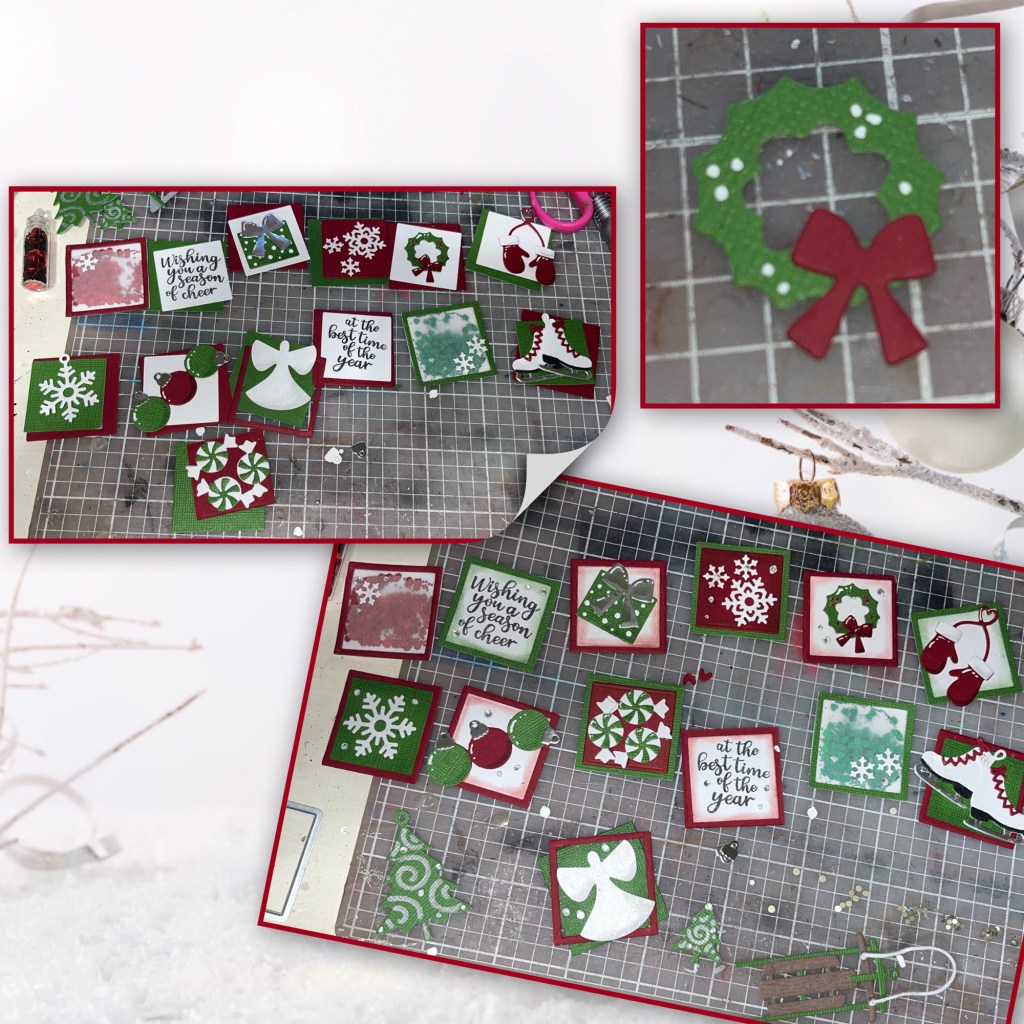
Add the squares to the mechanisms, starting from the back then working my way to the front.

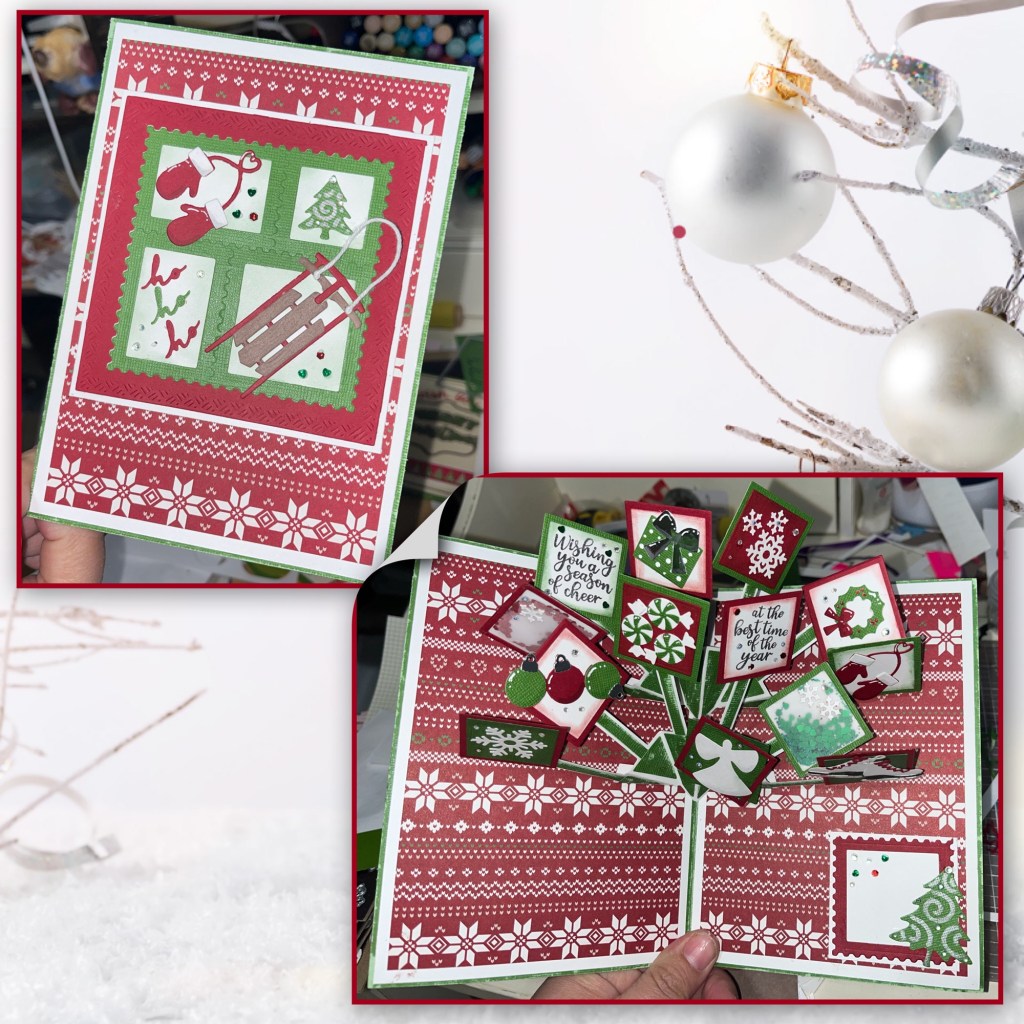
I layered the 2 larger Squares Crosshatch to make a frame in red. I used the Postage Pop up dieset to diecut from green and white. I lightly sponged green ink on the white piece as shown. I added more Christmas pieces they will be listed at the bottom.

I was just going to add the Postage Pop up piece to the front but I found that it didn’t pop like I wanted against the patterned paper. I wanted there to be it thin white border so I used the red square to mark on the white for the size and cut. Layered the pieces and added to the card front.

I cut another postage piece in red and cut apart the large square. I added a white square inside and trimmed a white border like I did on the front. I added a tree then added inside the card. I added a few little gems as well.

For a little extra Pop I added a couple of the little sequins that I used in the little shakers randomly around.

Die sets used
Photo Fan Pop-up inside mechanism
Postage Pop-up green frame in the front and red frame on the inside
Snow Charms sleigh, mitts, skates, snow angels, snowflakes,
Winter Charms small and large Christmas tree
Christmas Borders 1 peppermints and ornaments
Sleigh pop-up wreath and gift
Small Script Christmas ho ho ho
Season of Cheer STAMP SET greeting on the inside
Other Tools used
