
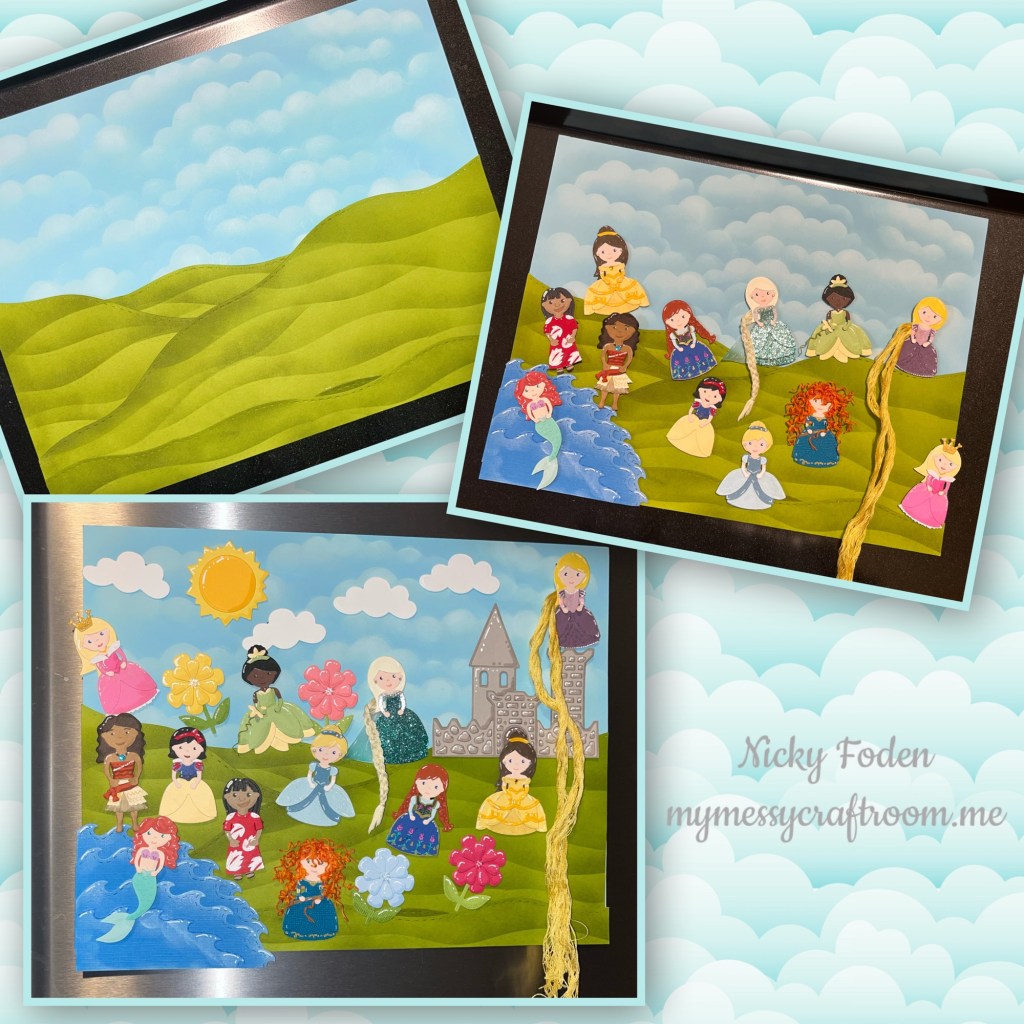
hello hello, today is the June design team challenge day. Our theme this month is “ Animals & Characters”, we were to use any of the people or animals from Karen’s collection. I was kind of stumped at first at what I was going to do because I had all of these little characters that I had previously made and wanted to use them. When I’m bored and don’t have a project on the go I make these little characters.
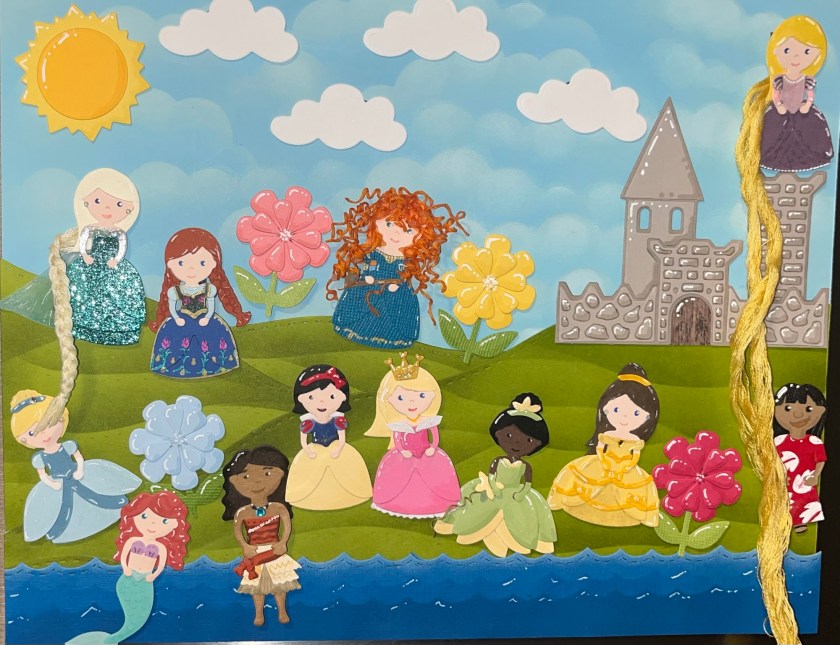
I decided to do something different, and make a background that could be magnetic to a fridge or a cookie sheet and then add magnets to the back of the characters to make little scenes.
I knew I would not get all of these characters descriptions done for this blog post. So I decided to do a different Post specifically for characters that I’ve made and will make in the future so they are all in one spot. I will work on completing them as soon as possible.
IMPORTANT INFO- I used flat black leftover magnet sheet that I had and trimmed. I did not use the tiny little round metal magnets, even though they are stronger because they do pose RISKS for small children. if you want to do something similar, and don’t want to risk using magnets consider Velcro or adding a popsicle stick to the back to make stick puppets.
All the fun is in the reveal, to see this project in action please check out my FACEBOOK page, feel free to join if you would like to share your own crafty creations. You can also see a video of this card on my INSTAGRAM page.
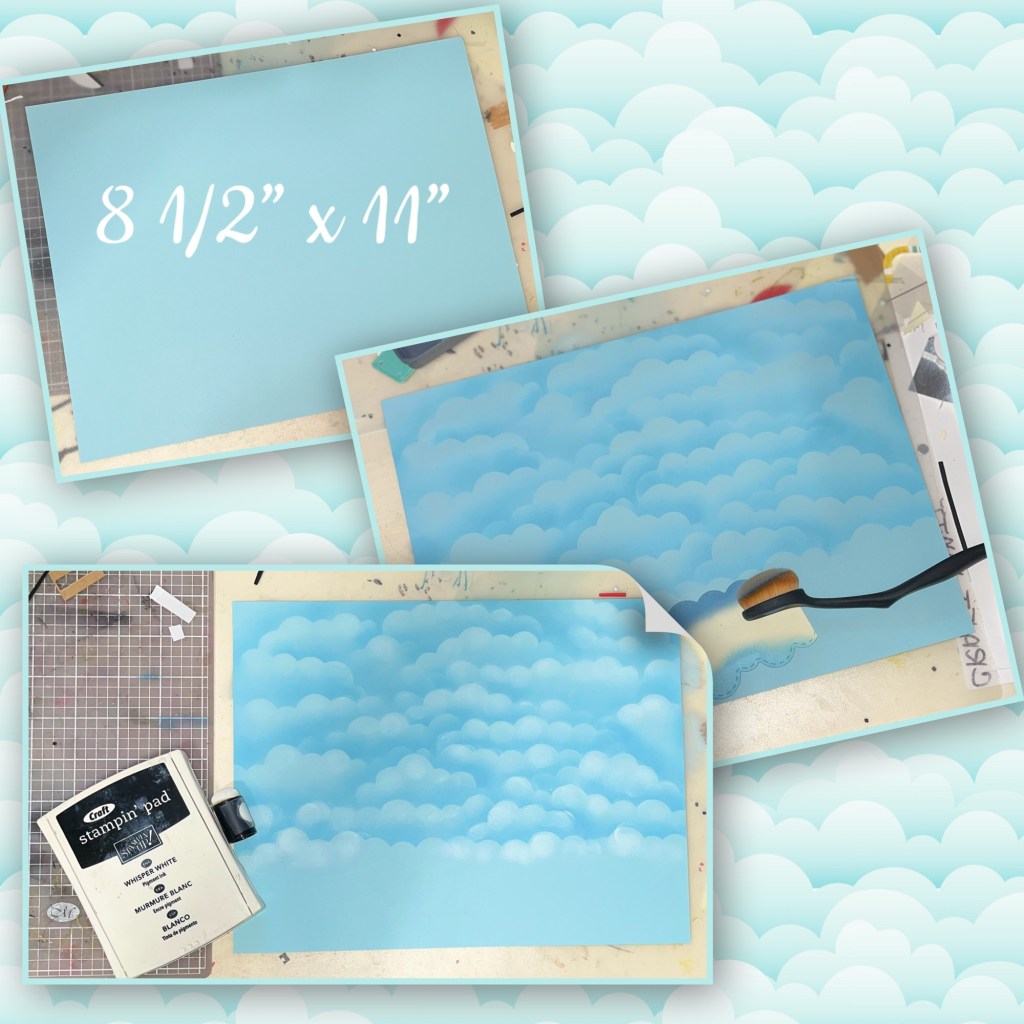
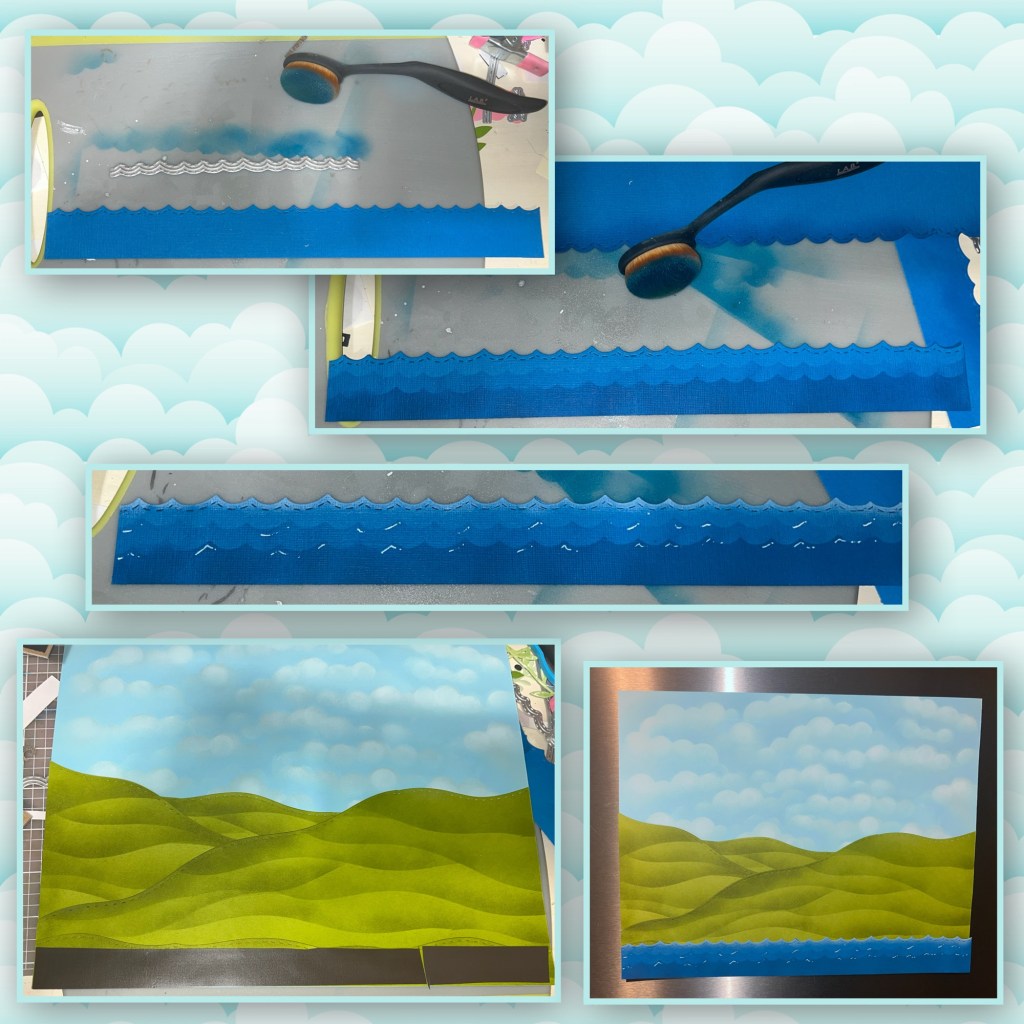
Using a whole sheet of light blue card stock I created my background. I made a stencil using the Natures Edges then I used it to make the clouds. I started at the top and worked my way down. To give the clouds more depth I used a sponge dauber and white craft ink and sponged the top of each cloud.
Originally I pictured a castle on top of the hill. But once I cut the card stock, I realized by doing it this way I had more sky than ground and didn’t have much room for my characters. So I added more rolling Hills. If I was doing this again, I would have just sponged the hills onto one piece of card stock.
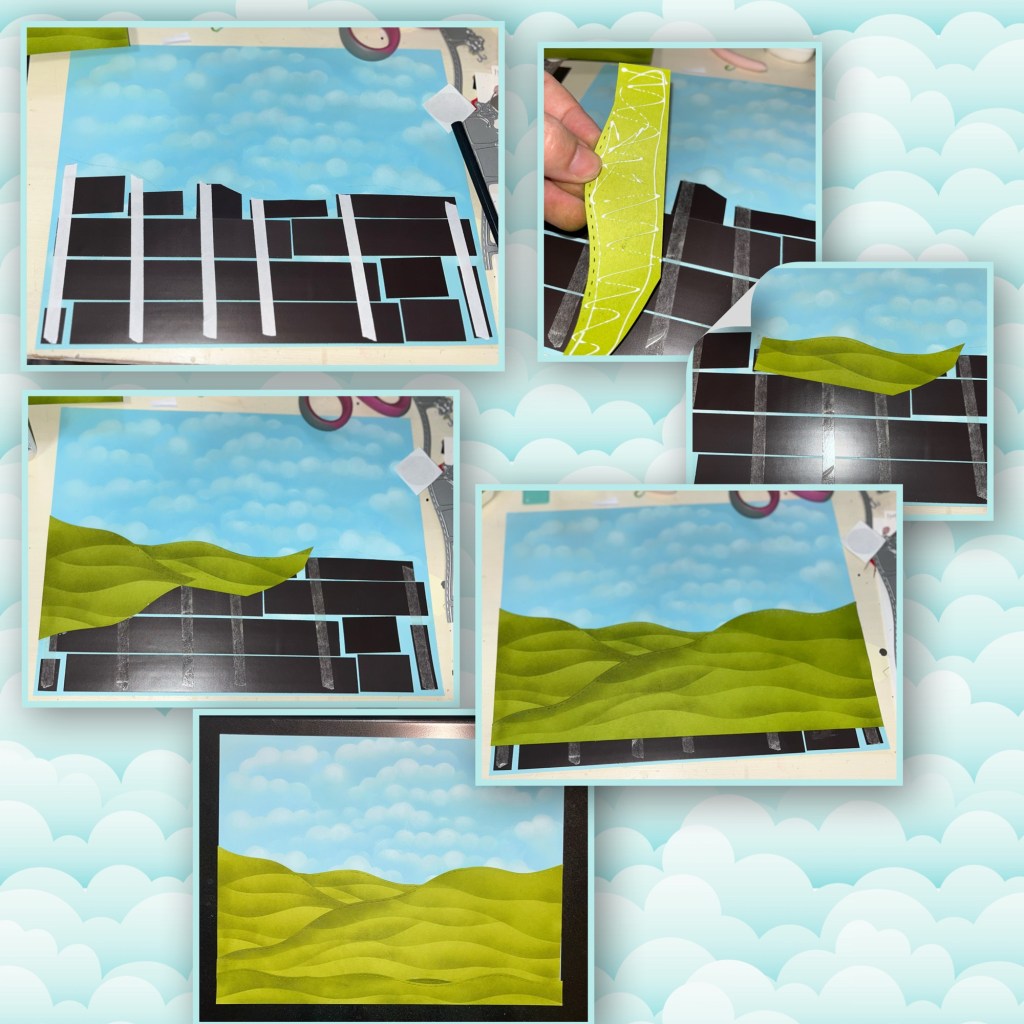
Using the Long Nature Edges I cut the hills. I also made a stencil using the same die to brush rolling grass hills.

I added long strips of magnets to the back of the cloud paper, and tested it on a cookie sheet. I started adding long magnet strips to the front I used the hills as guides all the way up to make sure they will all be covered when complete.

I wasn’t sure of the best way to use adhesive. So I used double-sided strips to the magnets, and liquid glue to the back of the hills. I also trimmed the hills so there wouldn’t be too many layers and cut off what wouldn’t be seen.
I cut a blue strip the cut the top edge using the Ocean Edges. I used the opposite edge as a stencil, I brushed the bottom the darkest and lighter as I went up. I used white craft ink and a dauber to add white to the top of the border. I also used a white gel pen to add highlights to the top of the waves. I ran a row of magnet strip and then the blue waves strip on the bottom of the hills.
I cut pieces of the Castle Pop Up. To add the details first I traced the bricks and stones using the stencil features in the dies. Then I used a Versa Mark marker to add shading to the bottom right of each brick and stones. Using a white gel pen I added highlights to the top left of each brick and stone. On the base piece of the castle and tower I inked Versa Mark ink to make it a shade darker. I added shading and highlights on some of the other pieces as shown.

I added a wooden door and assembled as shown. Then I added magnets to the back.
I found some flowers in my box of extra pieces and added magnets to them. I added shading with a Versa Mark Marker, and highlights with a white Gelly Roll pen. These flowers are from Flower Pot Pop Up

I added my back ground to the fridge and now the pieces can be played with.

Other Tools used
