

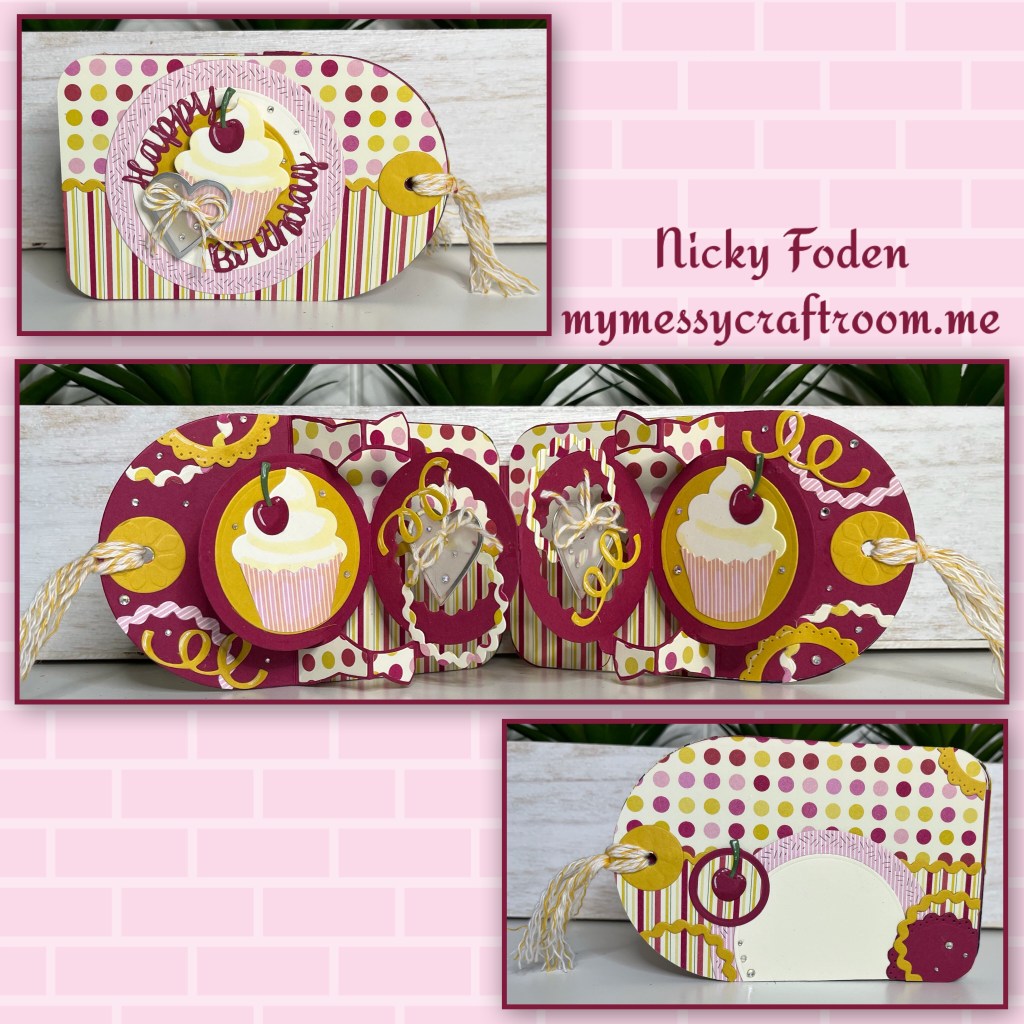
Hello hello, can you say Cheery Cherry Cupcake card 3 times 3X fast 😀🍒🧁😀🍒🧁😀🍒🧁. I made this bright and cheerful cupcake card for this weeks Craft Roulette Challenge. This weeks parameters ⬇️⬇️⬇️
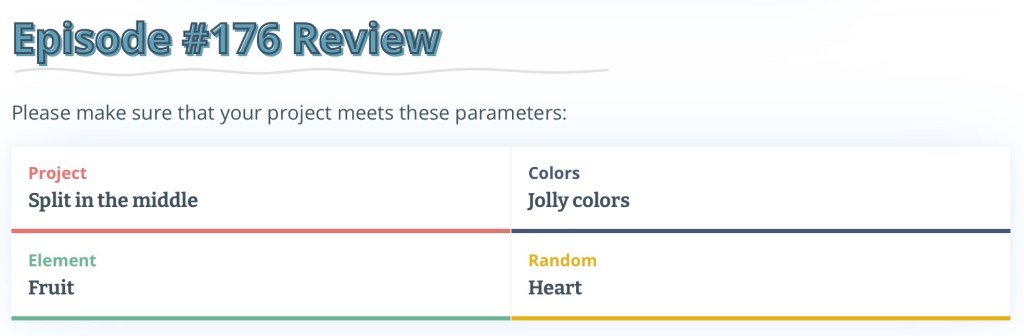
My “split in the middle” is the split in the patterned papers throughout the card, “Jolly Colours” are happy colours and I think these work well. My fruit is the cherries on the cupcakes, and my hearts are vellum metal rimmed heart tags.

All the fun is in the reveal, to see this card in action please check out my FACEBOOK page, feel free to join if you would like to share your own crafty creations. You can also see a video of this card on my INSTAGRAM page.
I was originally stumped with the colour parameter because I was stuck on Christmas colours in my head and didn’t really want to make a Christmas card. I flipped through my patterned paper until I found a these retired papers from Stampin Up.
1A- I cut most of the pieces from the Circle Tagbook dieset from pomegranate coloured cardstock, yellow, and the patterned papers. When I cut the inside mechanism I put scalloped circles in the middle of 2 of the circles to cut windows.
B- I diecut cupcakes from the Cupcake Add ons set

2A- I cut all the card fronts in half,
B- attach the card base pieces together as shown
C- add all the pattered paper pieces to the front, back, and inside of the card, striped paper on the bottom and dots on the top.
D- I added the yellow trim to the front back and inside, I covered the holes on the out side only

3A- I like to put the decorative pieces on the arms before folding, it makes them stronger and less likely to buckle when folding.
B- fold as shown
C- add to card as shown
(Karen has a video tutorial on the product page at this Link )

4A- assemble cupcakes, I made 3
B- I added some of the yellow pieces to the inside, the hole covers and large circles

I added the cupcakes to the outer circles
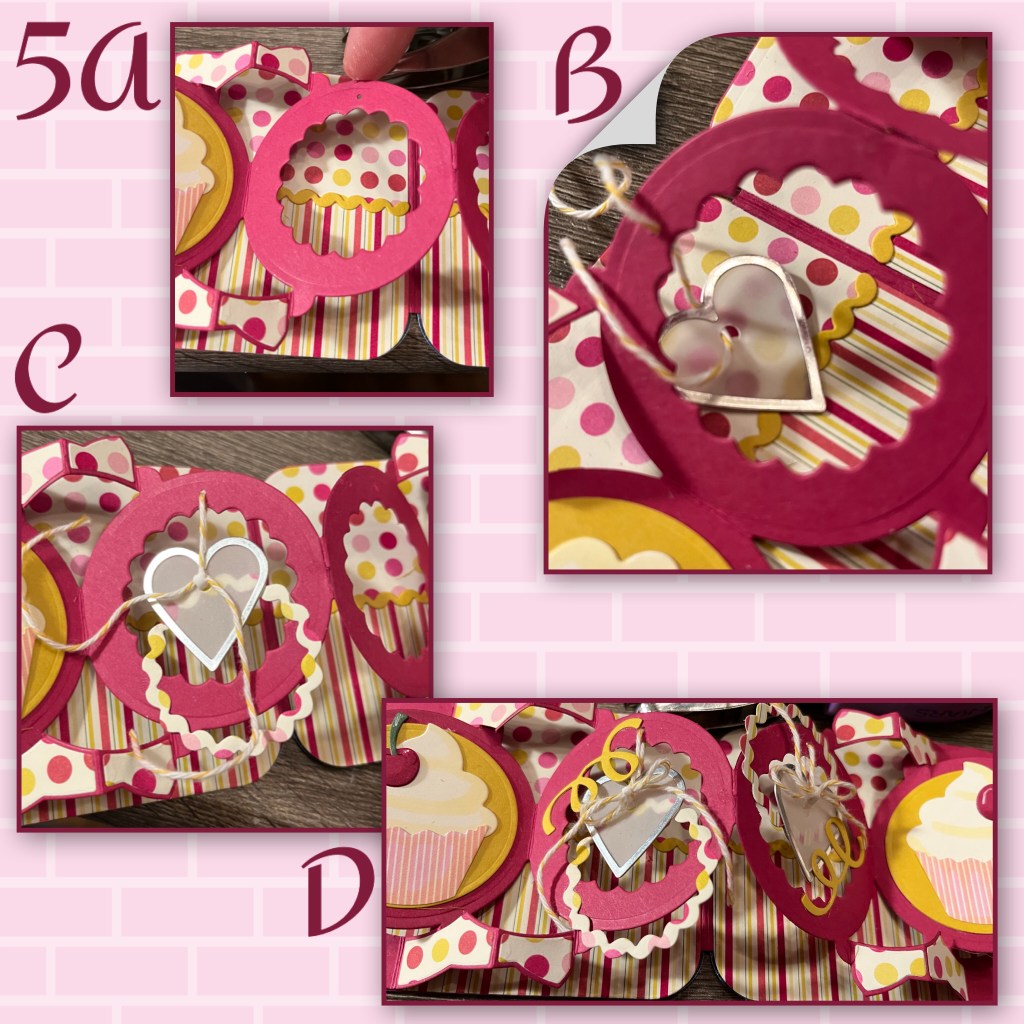
5A- I used an itty bitty hole punch to punch holes above the windows
B- I used some yellow and white bakers twine to add the vellum heart tag.
C- I wanted the bow to cover the hole in the tag and I was struggling so I attached a paper ring under the heart to support it. I also added a little adhesive over the knot in the twine so it won’t come loose.
D- tied the bow and added a yellow streamer. I repeated for the second window.
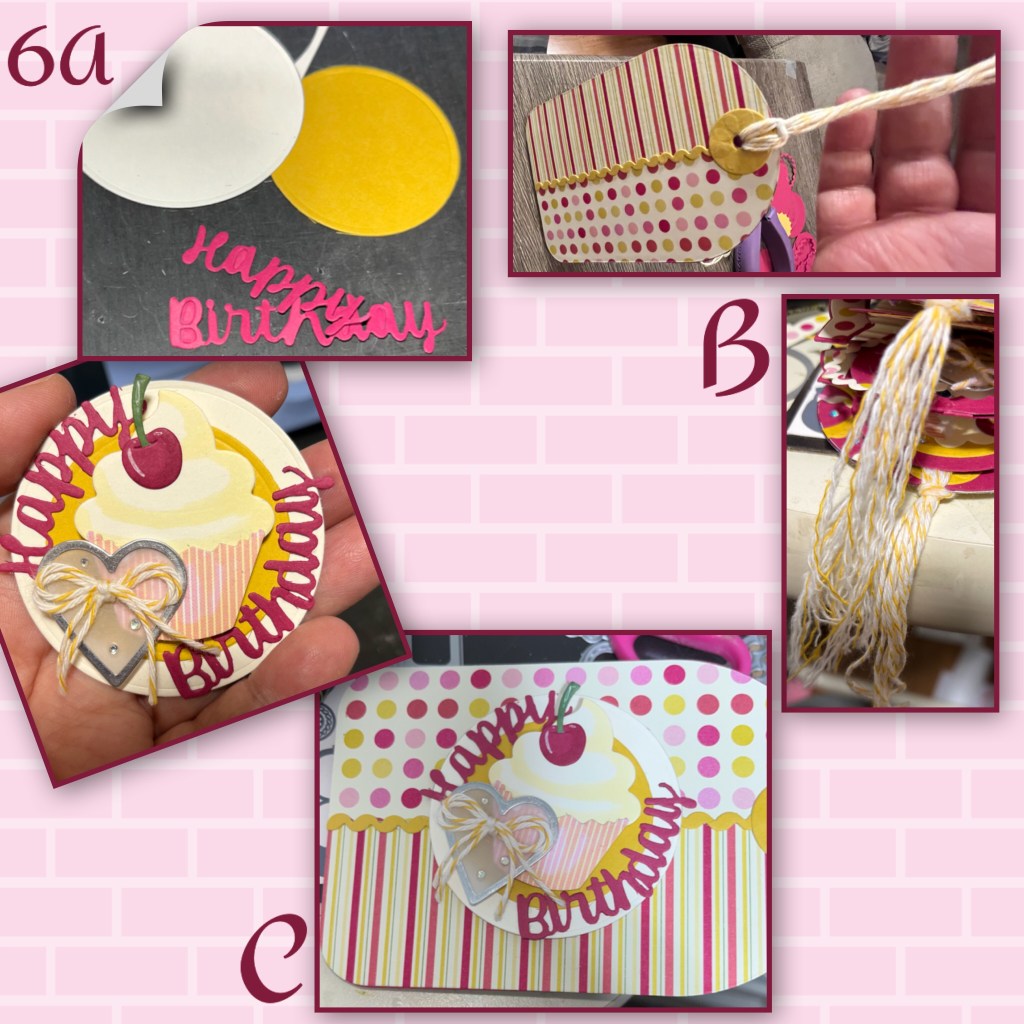
6A- I die cut Happy Birthday from the Wordset 2 Birthday set, and a vanilla circle from the Circles Crosshatch slightly bigger than the yellow circle I previously cut. I added the pieces together, wrapping the Happy Birthday as shown. I added the cupcake with foam adhesive and another heart with a bakers twine bow.
B-I added bakers twine to both holes in the cardbase. I also pulled the strands apart and trimmed
C- add the greeting to the card front
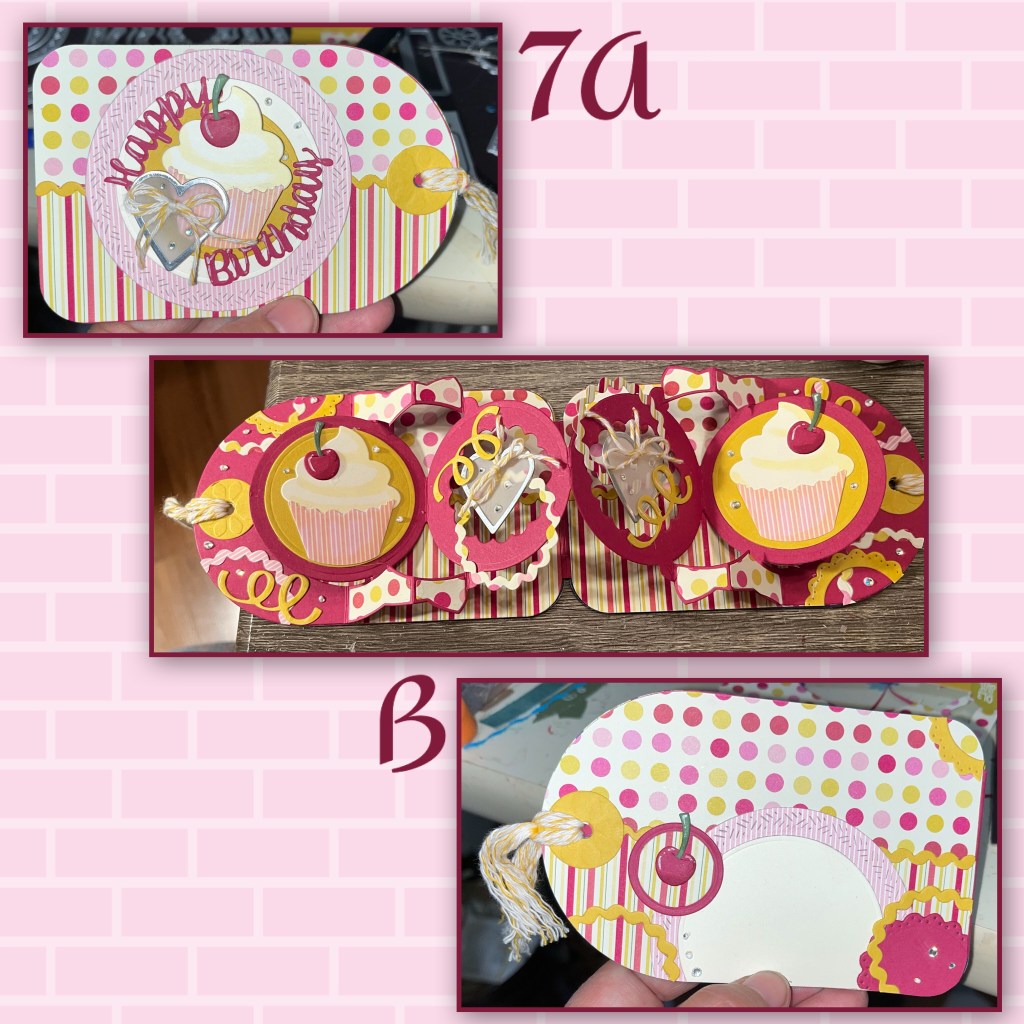
7A- I added gems stones randomly around the card and I added more streamers and rings around the inside
7B- I decorated the back as shown and added an extra cherry.
Other Tools used

Looks amazing and you make these so well, gorgeous colours and design x
LikeLiked by 1 person