

Today Karen Burniston is releasing a Stamp Release. She has come up with quite a few fun phrases, I am using the Fall Phrases, and Fun Faces 1 on today’s card.

It is an anniversary in which I used the new Fun Faces stamps to give their faces a little more character.

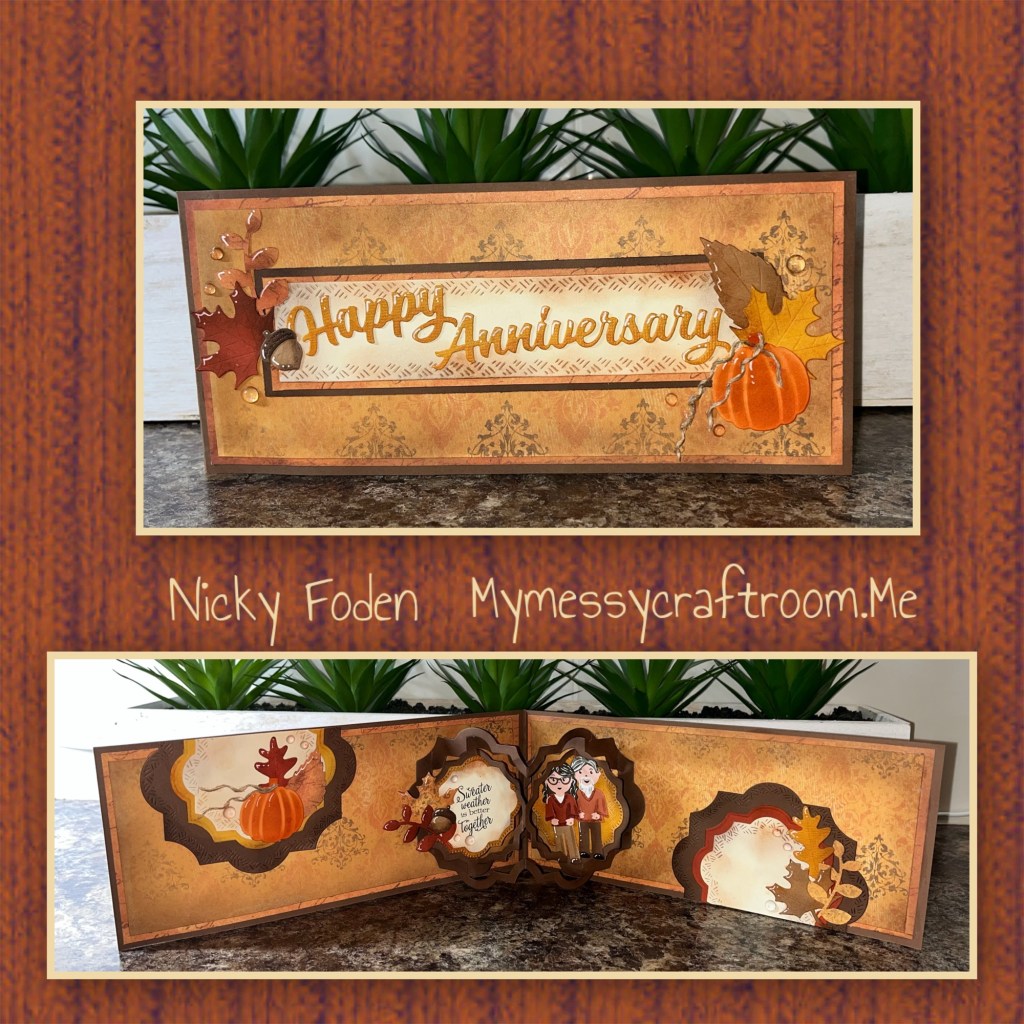
All the fun is in the reveal, to see this card in action please check out my FACEBOOK page, feel free to join if you would like to share your own crafty creations. You can also see a video of this card on my INSTAGRAM page.
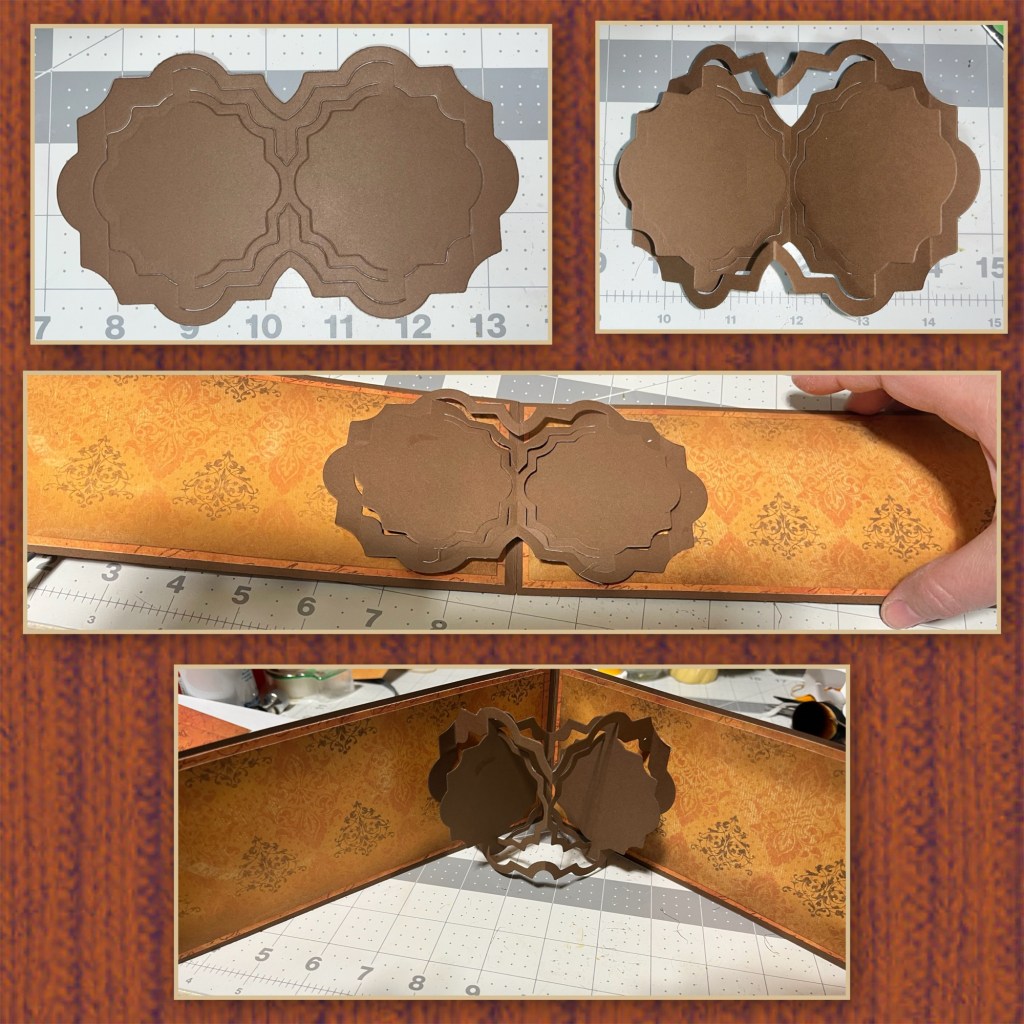
I haven’t made a slim line card in a while so I decided it was about time. I went through my cardstock/ paper stash and found 2 patterns that had fall colours. I cut the card base from the brown cardstock as shown below, and 2 layers of the patterned paper. On the yellow paper I made sure to cut the paper so that the pattern in the paper runs continuously across the length of the inside. The front one doesn’t matter. The orange pattern I decide to cut the middles out to reduce the bulk and save paper. For the back of the card I just cut out an extra piece of brown to help even out the weight.

I started adding the layers to the panels and decided that I needed a little more contrast between the yellow and the orange so I brushed on a bit of brown ink around the edges. I had to use a mask to add the ink on the one that I had already glued down, it was easier to add the ink on the pieces that I had not attached the layers yet. when adding the layers to the card base i made sure that the brown cardbase panels were lined up so the tab that would attach the 2 together would end up on the back, then added the brown panel to cover where they are attached.

I just love the look of the Paper Frames, it adds such an elegance with such as easy mechanism. (Karen has a video tutorial on the product page at the link ⬆️ )
Now for the fun, I chose 2 of the new Face stamps (don’t you just love the eyelashes and lips), I diecut using the Paper People dies, and coloured using alcohol markers. I knew that I was going to use the “Sweater Weather” stamp and thought that my happy couple needed to be wearing sweaters, but currently there are no sweater die cuts for the Paper People (Karen B hint hint 😊) So I decided to use the robe from the Graduation Elements and trimmed it into a sweater. I used a fine line marker to add details, I added shading with a Versa Mark Marker, and highlights with a white Gelly Roll pen. I trimmed and coloured pieces to make the couple look like my parents.

I stamped the image on to a smaller label from the Paper Frames set, and brushed some orange and brown ink around the edges. I die cut 2 yellows labels and inked them up as well. I added the pieces to the mechanism as shown.

I cut 2 of the largest of the Labels Crosshatch from brown, one orange and one yellow from the medium and 2 from the vanilla in the next smaller label. I inked the edges of the vanilla and layered as shown. I cut edges flat as shown, then added them to the card.

I wanted to add to the “sweater weather” theme and cut out several pieces from the Autumn Elements in fall colours I even cut some of the leaves from the pattern paper to add interest to the leaves. I brushed ink on to all the pieces to add shading and added to the look of the leaves changing colours. I used a white Gelly Roll pen to add highlights. I used a piece of twine to add a vine to the top of the pumpkin.

Now for the front. I cut the thinnest rectangle using the Rectangles Crosshatch, I wanted the matts behind it to be a bit thinner than if I had used the rest of the dies form the set so I just used my cutter to make the layers 1/4 bigger than the piece above it. I cut the greeting using Word Set 12- Anniversary , I added shading using a yellow alcohol marker and highlights with a gelly roll pen. I added some of the Autumn Elements to the front as well.

To finish it off I added some clear 1/2 bubbles randomly around the front and the inside.


Die sets used
Other Tools used

Adorable design and I do love your details on your blog as always. xx
LikeLiked by 1 person