

I feel so far behind this week, but I finally have my second post for the Karen Burnistons February release

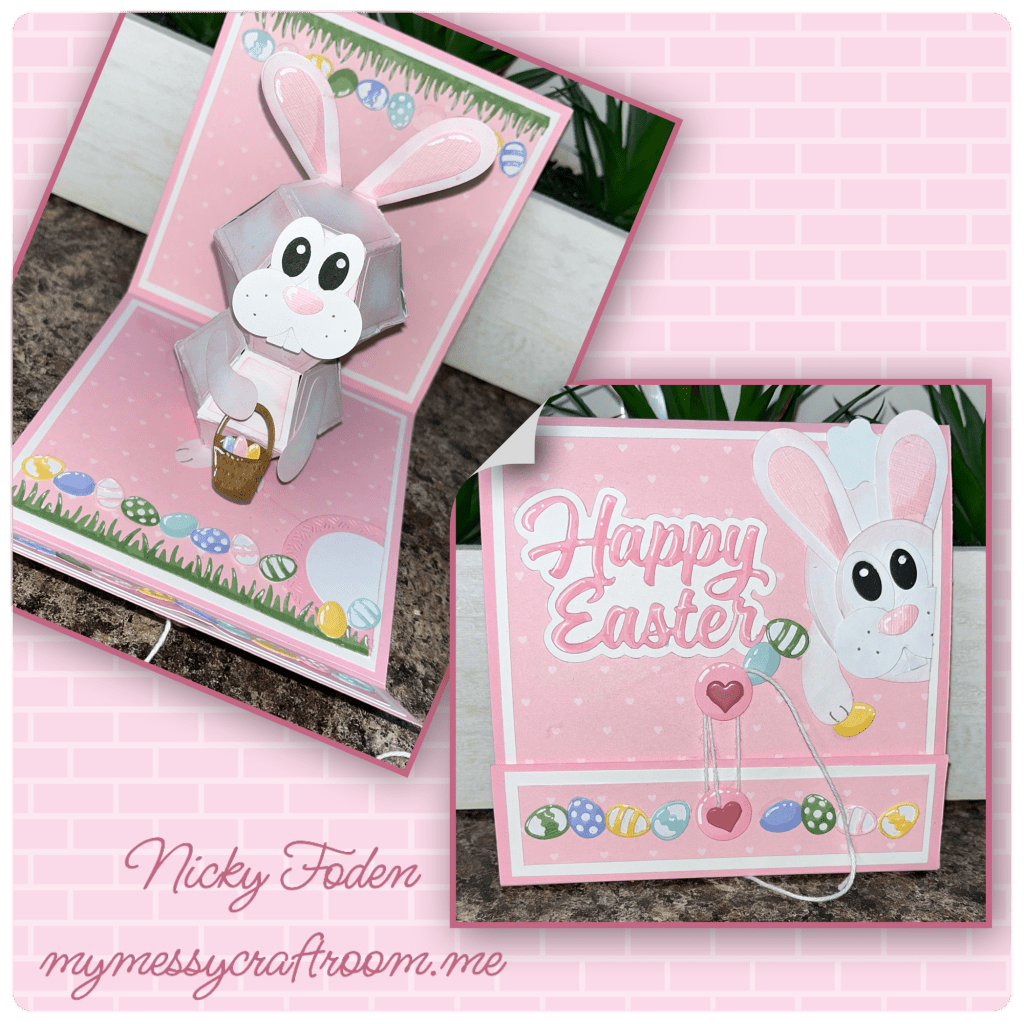
I couldn’t resist creating this super cute Easter Bunny using the Mini Ball, the new Animal Add on 5, Easter Borders, and Happy Easter die sets.

All the fun is in the reveal, to see this card in action please check out my FACEBOOK page, feel free to join if you would like to share your own crafty creations. You can also see a video of this card on my INSTAGRAM page.
*note that the links below for the new products will not work until February 19 2024.
I only had thin pink cardstock so I added several layers to make the card as thick as I could to support the pop up.
1A- cut the pink card base, and white panels as shown.
B- I cut to strips as shown
C- add all the white panels and strips to the card base as shown. Front, back and inside.

2A- cut pink heart panels as shown. Also cut 2 strips to 1”x 5” (sorry not shown)
B- mark and then punch a hole into the flap and card front as shown.
C-Add the pink panel to the front of the card and punch a whole through this one as well. In the same place as the layers beneath it. Also add the pink strip to the front of the flap and punch the whole through that one as well.

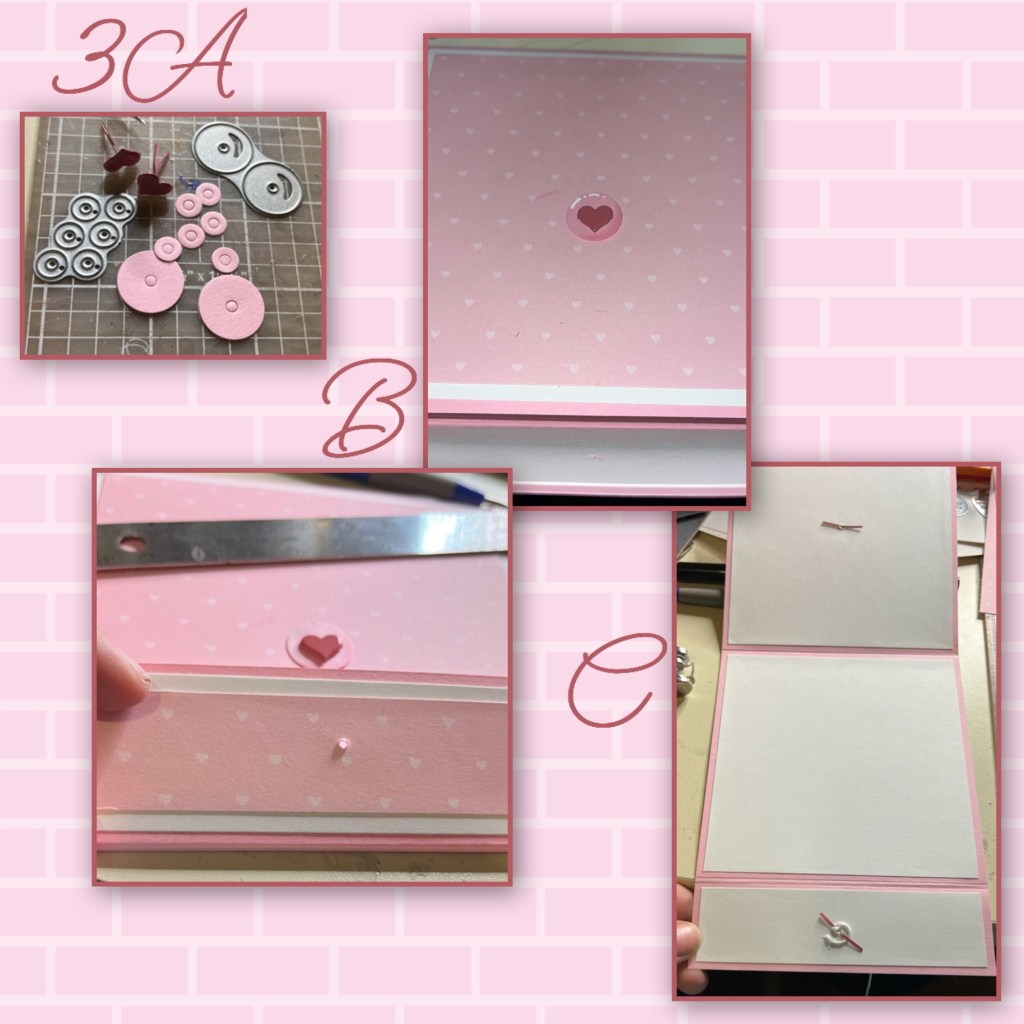
3A- die cut the pieces from the Flap and Closure. (Karen has a video tutorial on the product page at the link ⬆️ ) I added shading with a Versa Mark Marker, and highlights with a white Gelly Roll pen
B- add the closure piece to the card front, I used a large pink brad. Use another pink Brad to the flap, add a piece of string to this one. (sorry not shown but Karen explains in her video at the above link)
C- this what the card should look like on the inside.
4A- this is what the card should look like on the outside.
B- add the rest of the pink panels to the inside. This is what the inside should look like now.

5A- die cut the pieces to make 2 Mini Balls
B- using a sponge dauber I inked the edges of the ball pieces and layers.
C- die cut the pieces from the Animal Add ons 5, I sponged the fur pieces with the pink ink as well.

6A- assemble the head
B- attach to the body, and attach the bunny to the middle of the card.

7A- diecut and assemble the eggs from the new Easter Borders, I added shading with a Versa Mark Marker, and highlights with a white Gelly Roll pen, I also cut out the grass border from the same set.
B- I added the borders as shown.
C- die cut, layer and trim 2 of the circles from the Circles Crosshatch for a place to sign, and I added a couple more eggs.

8A- die cut some more pieces from the Animals add on set and assemble. I die cut a large circle but it was too big to be the head.
B- I die cu the smaller circle from the Circles Crosshatch, sponged all the rabbit pieces with pink.
C- assemble the bunny as show. I also added the Happy Easter, and another easter egg border.

Other Tools used

You are so talented Thank you for another great card Nicki
Darlene Kinnear
LikeLiked by 1 person
SUPER cute and love how you transform these dies into spectacular cards and designs. your tut on your blog is great xx
LikeLike