
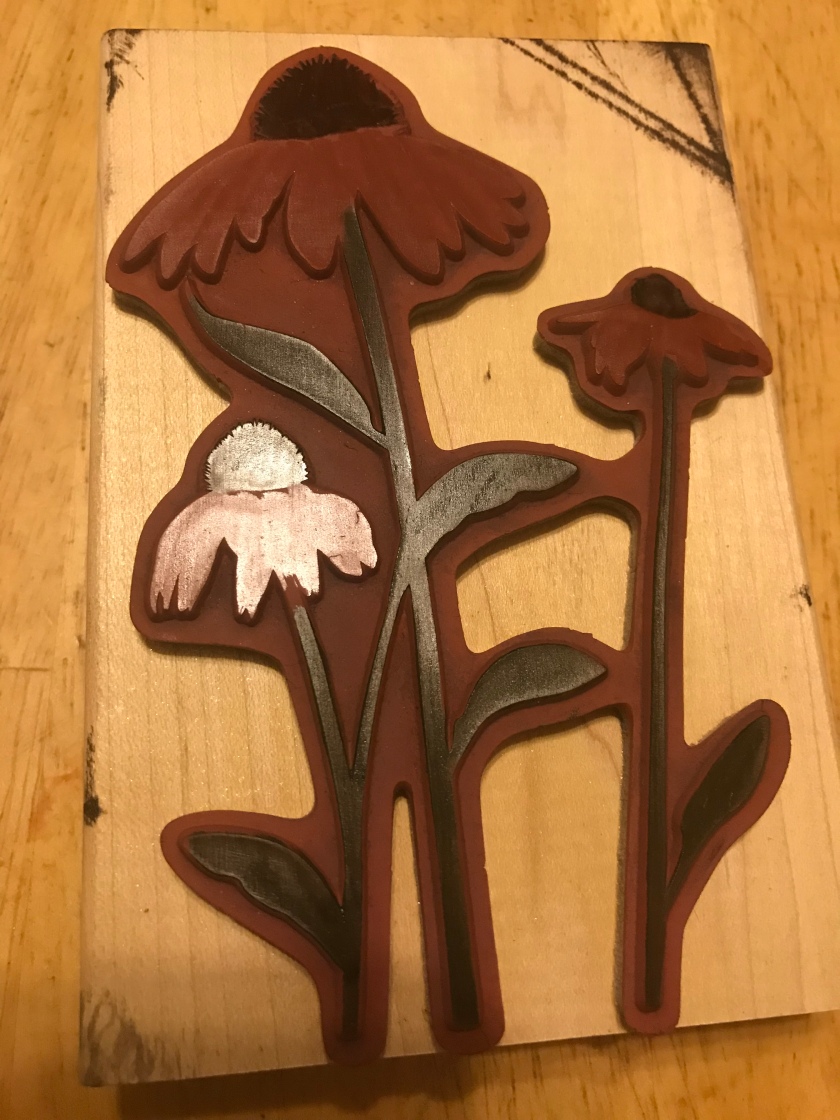
Well, I have another fun technique today, Believe it or not, the stamp used for this card is a silhouette stamp, not a lined detail stamp. It was pretty easy to add the colour and a little bit of detail to make these flowers look like they were hand painted as opposed to stamped. This is a technique that I learned quite a few years ago when I used to be a Stampin’ UP demonstrator. It gives a much different look to stamps you may already have in your stash.

Click “Read More” to see more
All supplies used to make today’s card are from Stampin’ Up. The colours used are Pretty In Pink, Chocolate Chip, and Garden Green. I also used Shimmery White Card stock.

In case you aren’t sure what I mean by a Silhouette stamp, I am referring to a stamp that when typically used it is meant to create a solid image.

To create the colourful image I used the broad end of my Stampin’ UP markers to colour each section of the flowers, Garden Green for the stem and the leaves, Pretty in Pink for the petals, and Chocolate Chip for the cone of each flower.

Now, this step is REALLY important, you need to huff your breath onto the stamp to remoisten the ink. If you skip this step then only the last colour you applied will be nice and crisp and the colour that you used first may be too dry to stamp the image. Once you are sure you have the image remoistened quickly stamp it onto your cardstock. You will only get once chance at this if you are using a red rubber stamp (like I used) so apply pressure to all sides and the centre of the stamp before you pull the stamp up off your cardstock.

To add the details to the image I went back over all the edges, with the fine tip of the same markers that I used above. I also added details to the petals and the leaves.

I used the broad tip of the Chocolate Chip marker to add some dotted detail to the cone section of the flowers.

To add a little more shine I spritzed the entire front of the card with a mixture of shimmer paint and rubbing alcohol that I mixed myself into a spray bottle, Not my original idea I learned this also when I was an SU demo. (note, the mixture doesn’t have a long shelf life, after only a few days it separates and clogs the nozzle.)

I stamped the Birthday greeting to the top left corner with Chocolate Chip Ink. Then I centred the stamped panel onto a Pretty in Pink card base. Then I centred the card onto a 4 1/4″ x 5 1/2″ Chocolate Chip matt.
When I put the original card (which I made a few years ago) next to the new card front I made to take photos of for this demo I noticed that there was a change in the colour, which is funny because they are from the same package that I bought way back when. I guess since the unused one is kept in a file cabinet and the card that I made was in a clear box exposed to light maybe that contributed to why one changed shades and the other didn’t.


Your card looks lovely. The technique produces a very nice result.
GG
LikeLike
Lovely card. I still have this set. I really like how you outlined the images after you stamped them.
LikeLike
Gorgeous cards and thank you for the tutorial
LikeLike
Beautiful! What is the name of this stamp? Thank you!
LikeLike
It’s called “inspired by nature” and it is a retired Stampin’Up stamp.
LikeLike